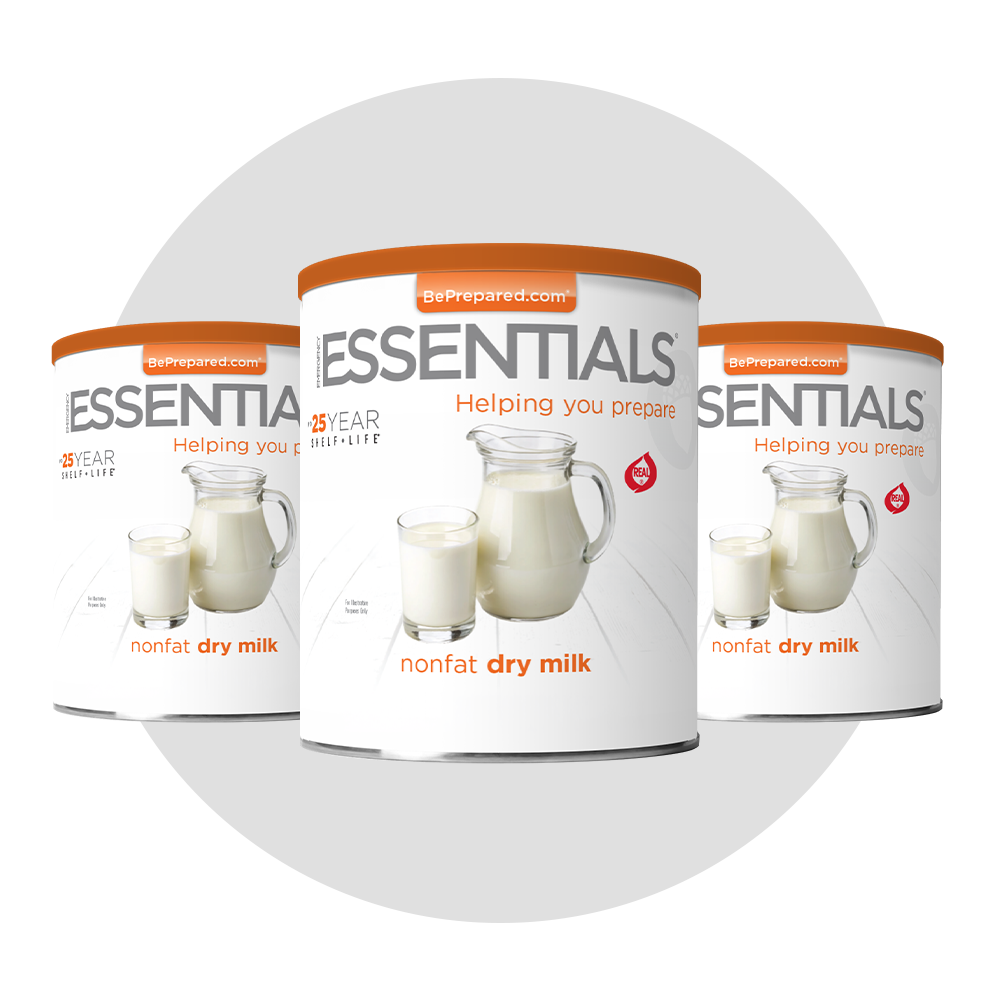
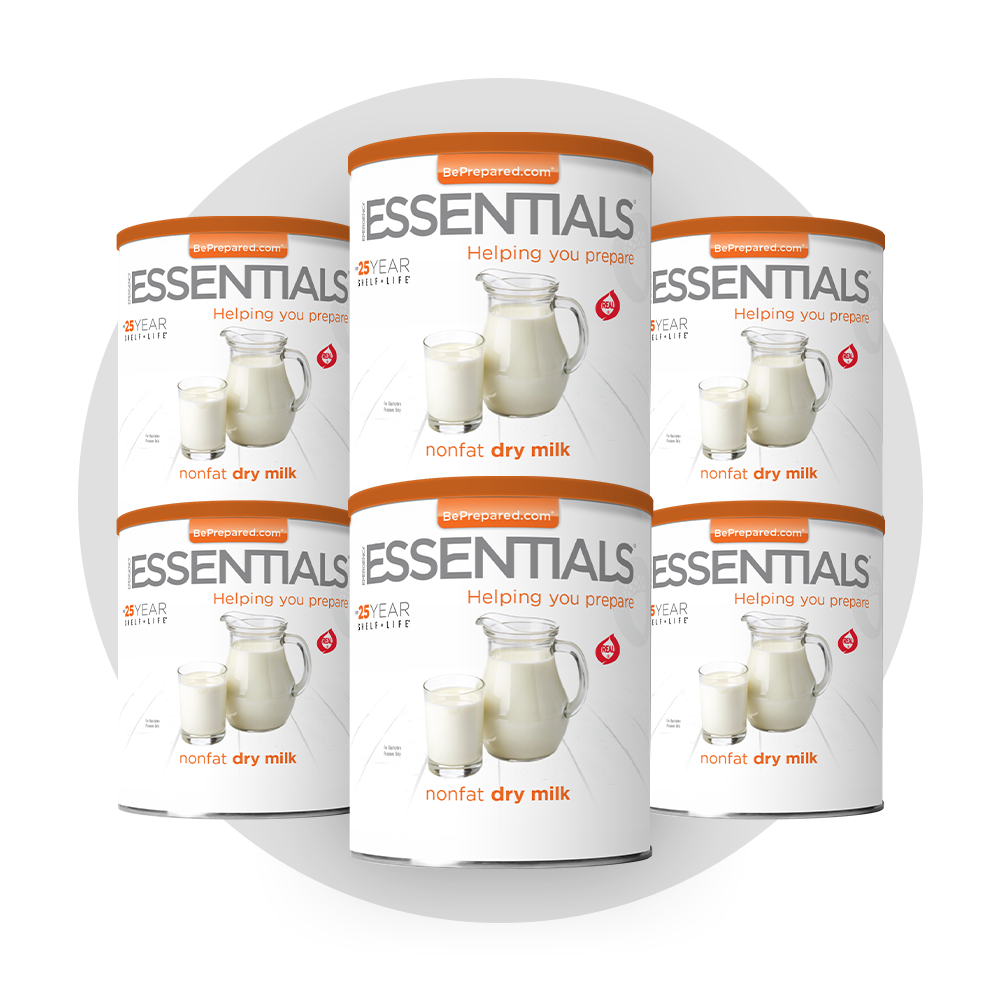
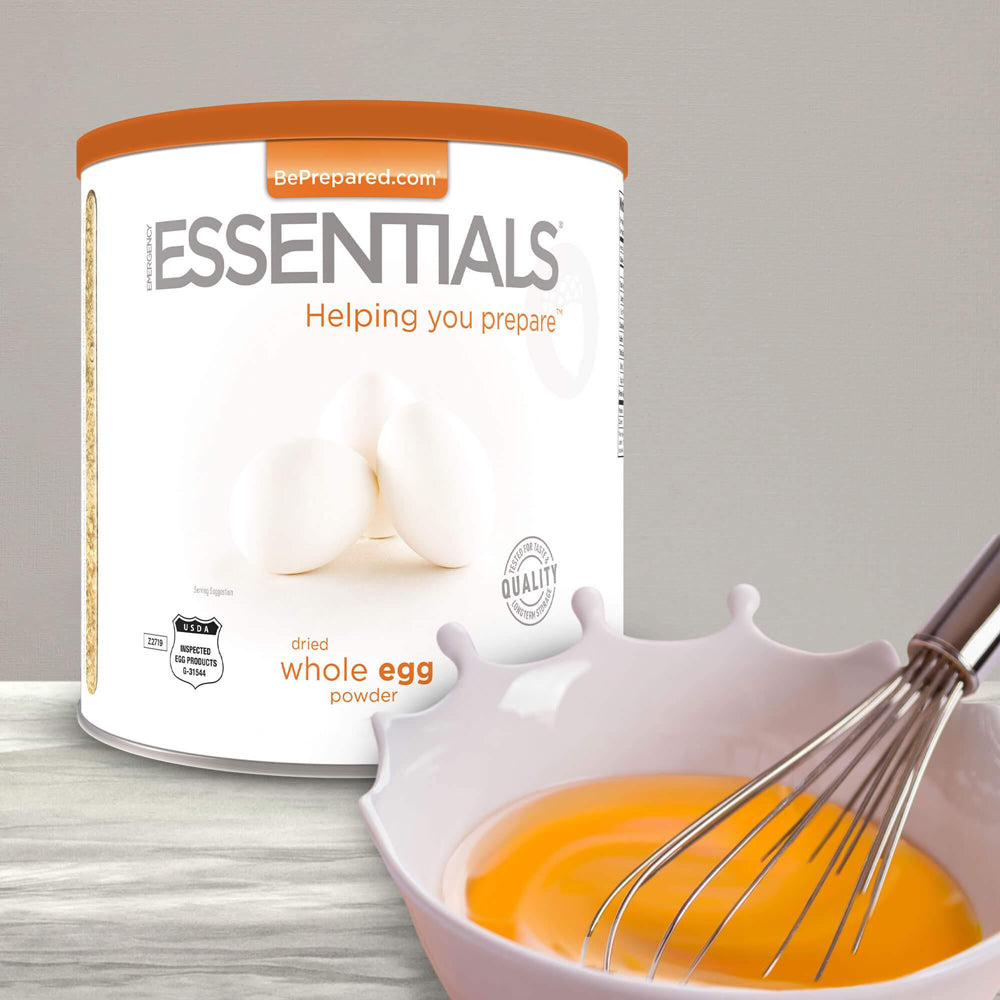
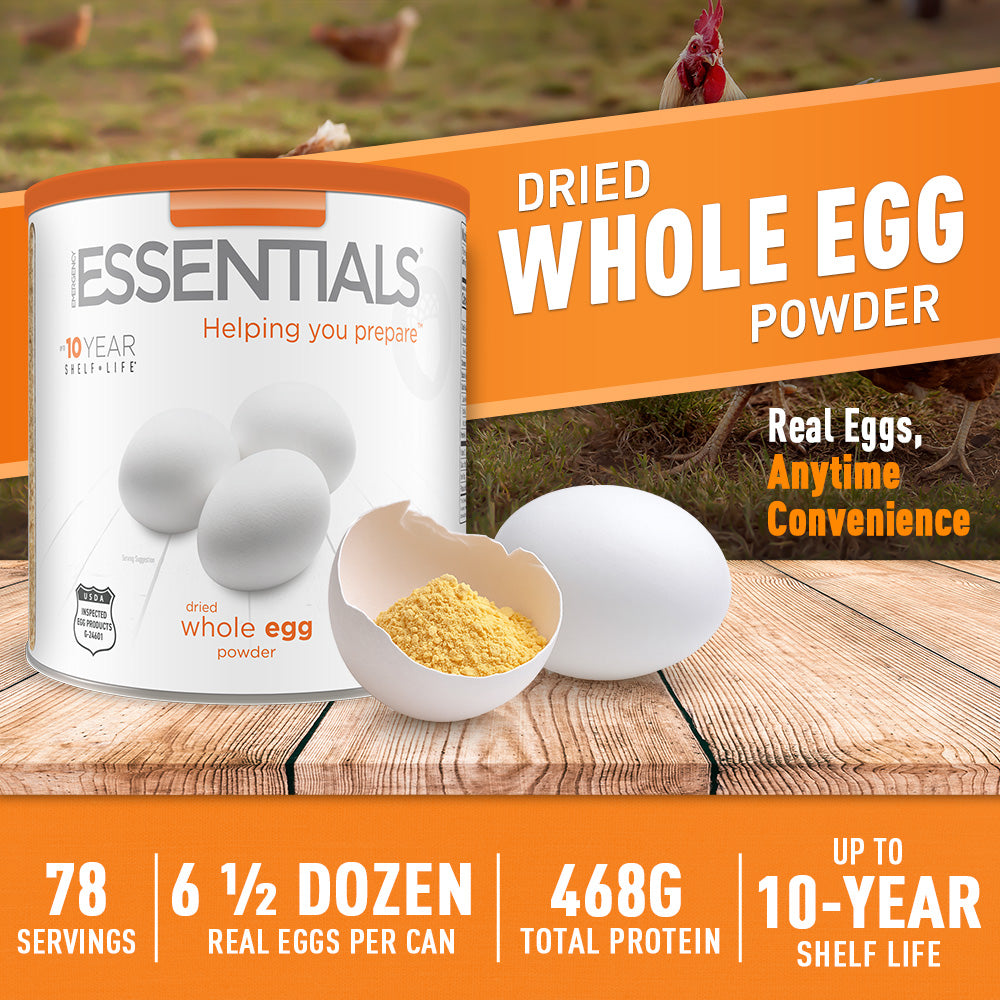
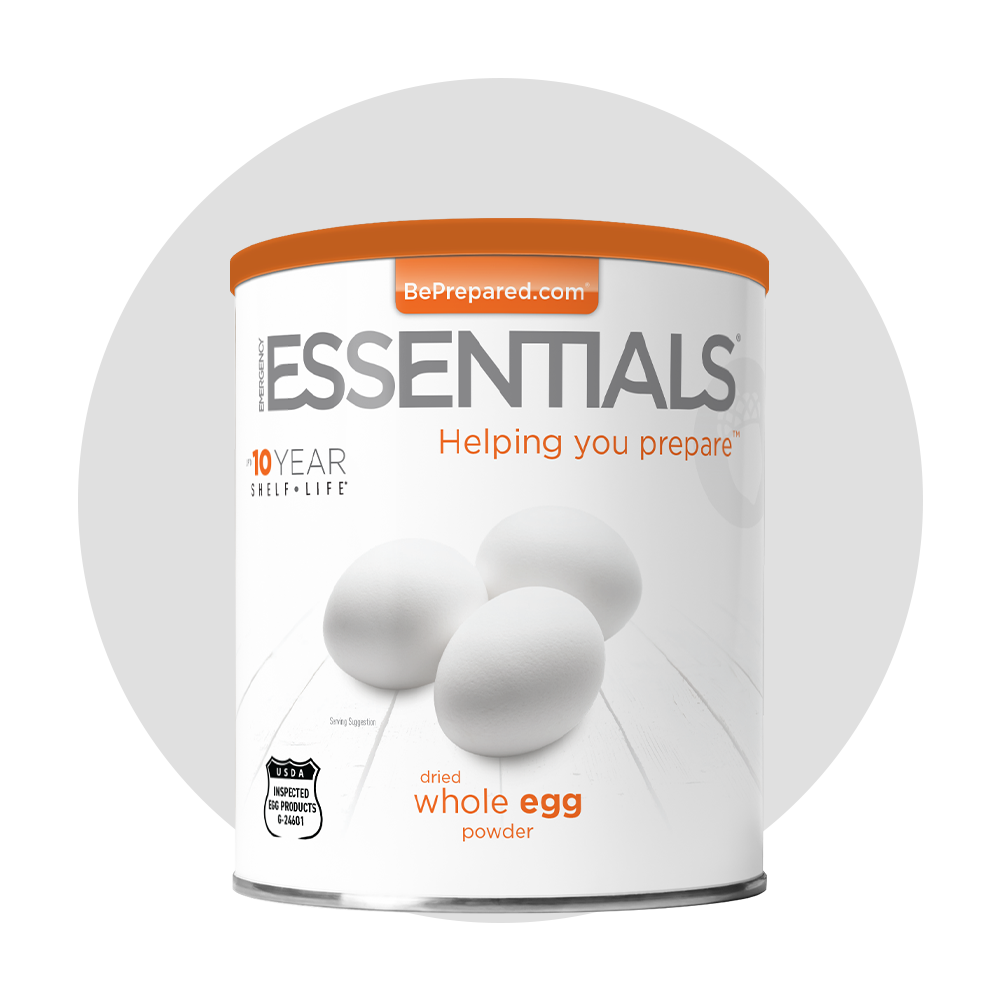
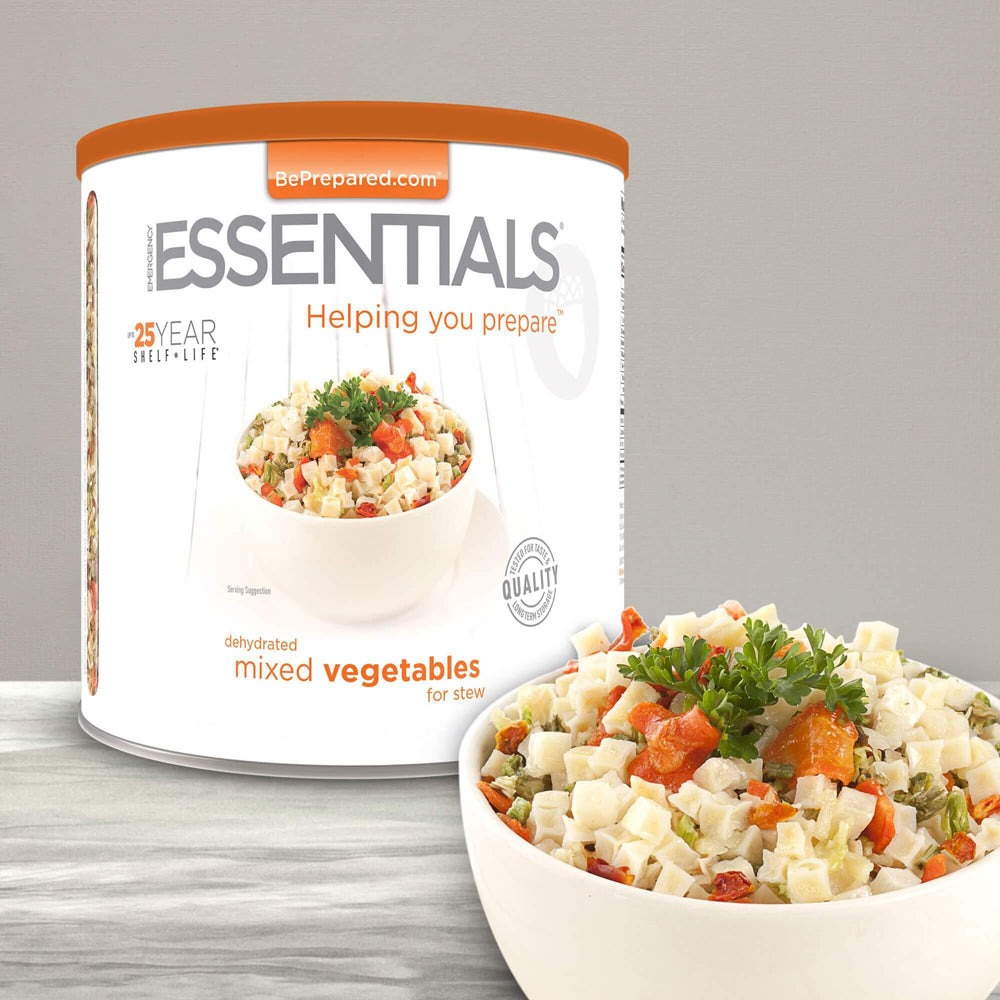
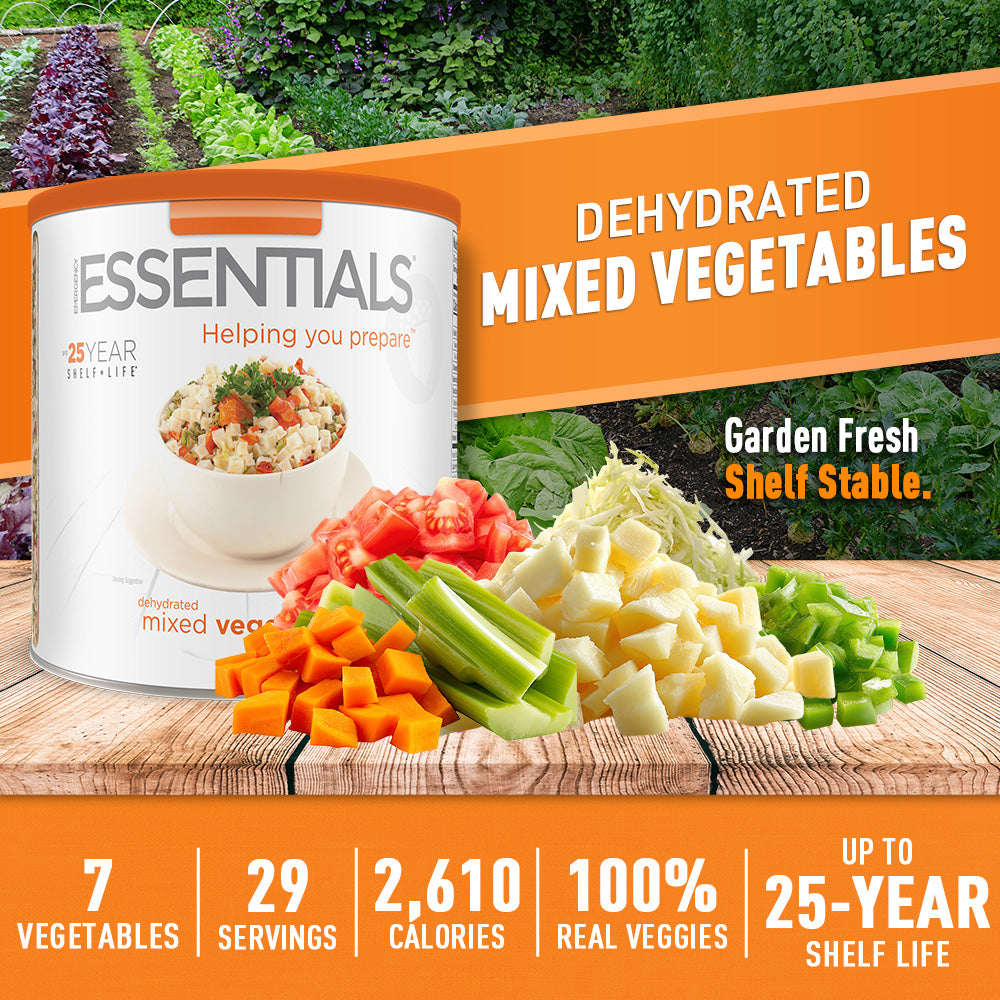
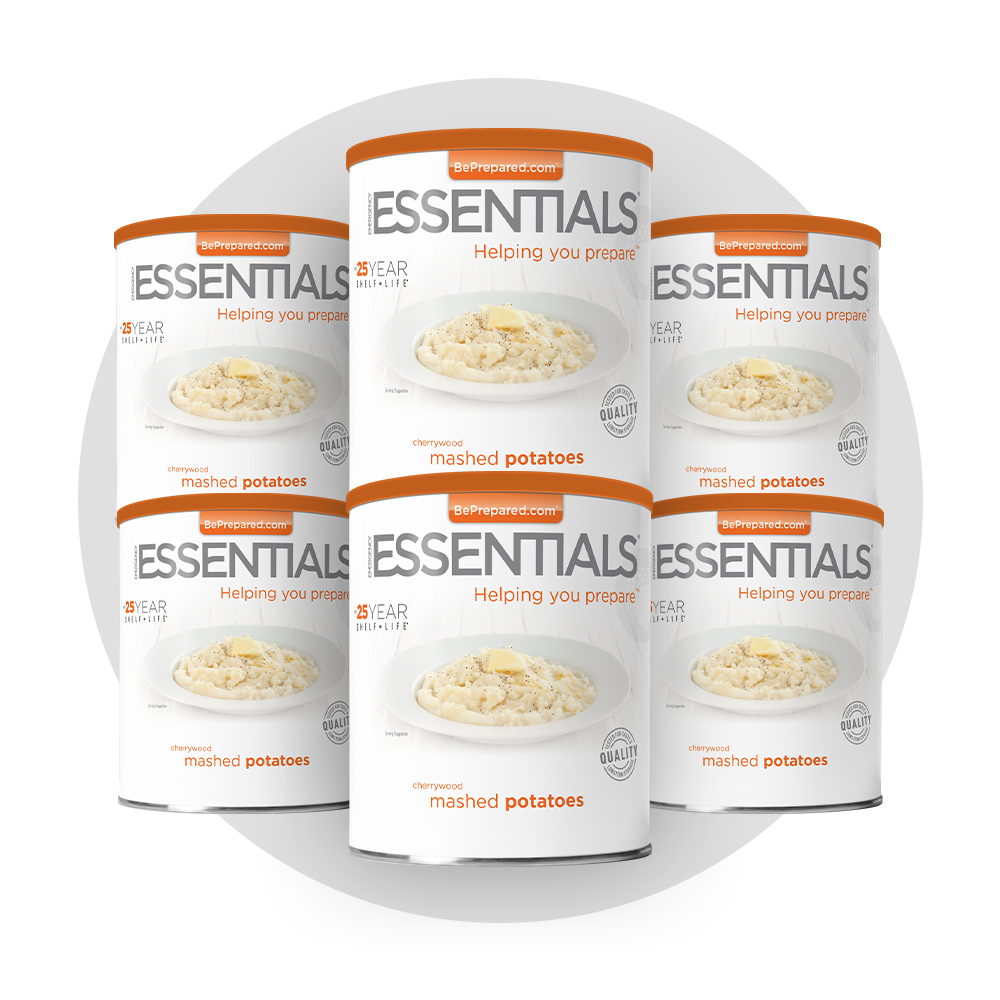
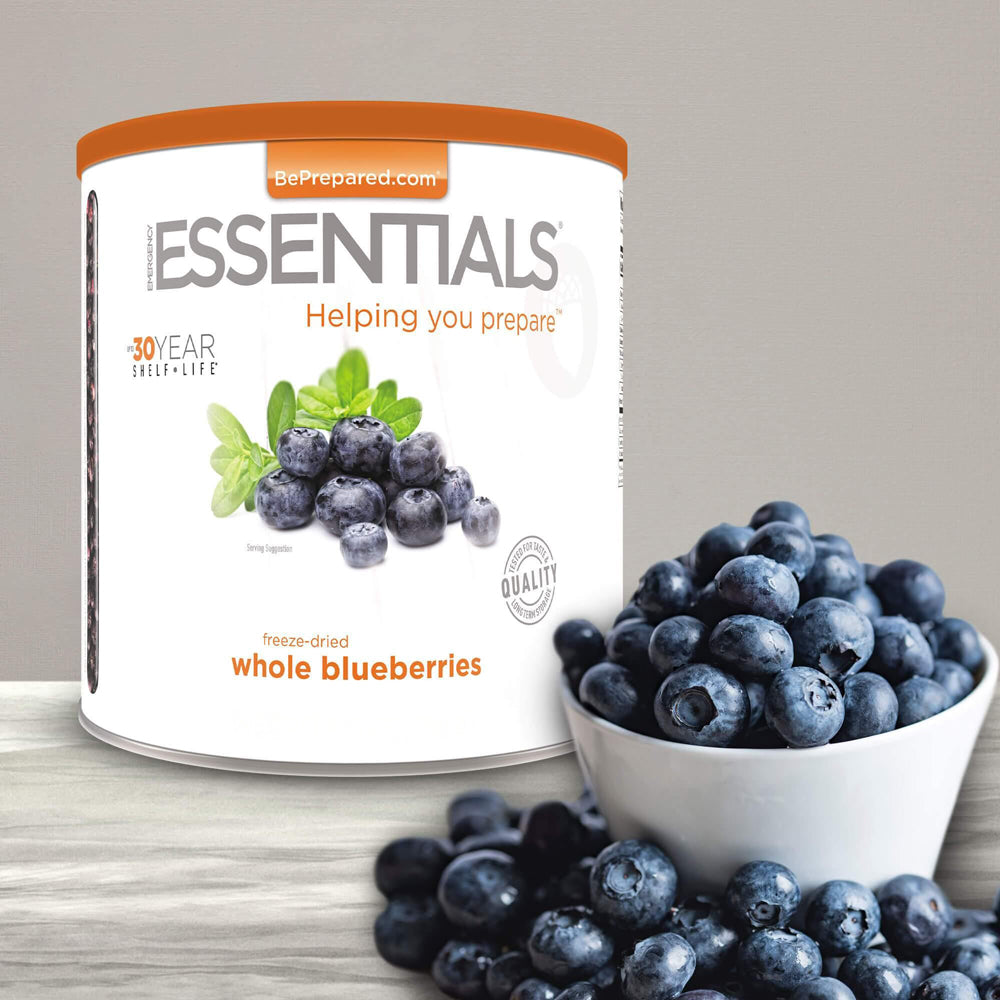
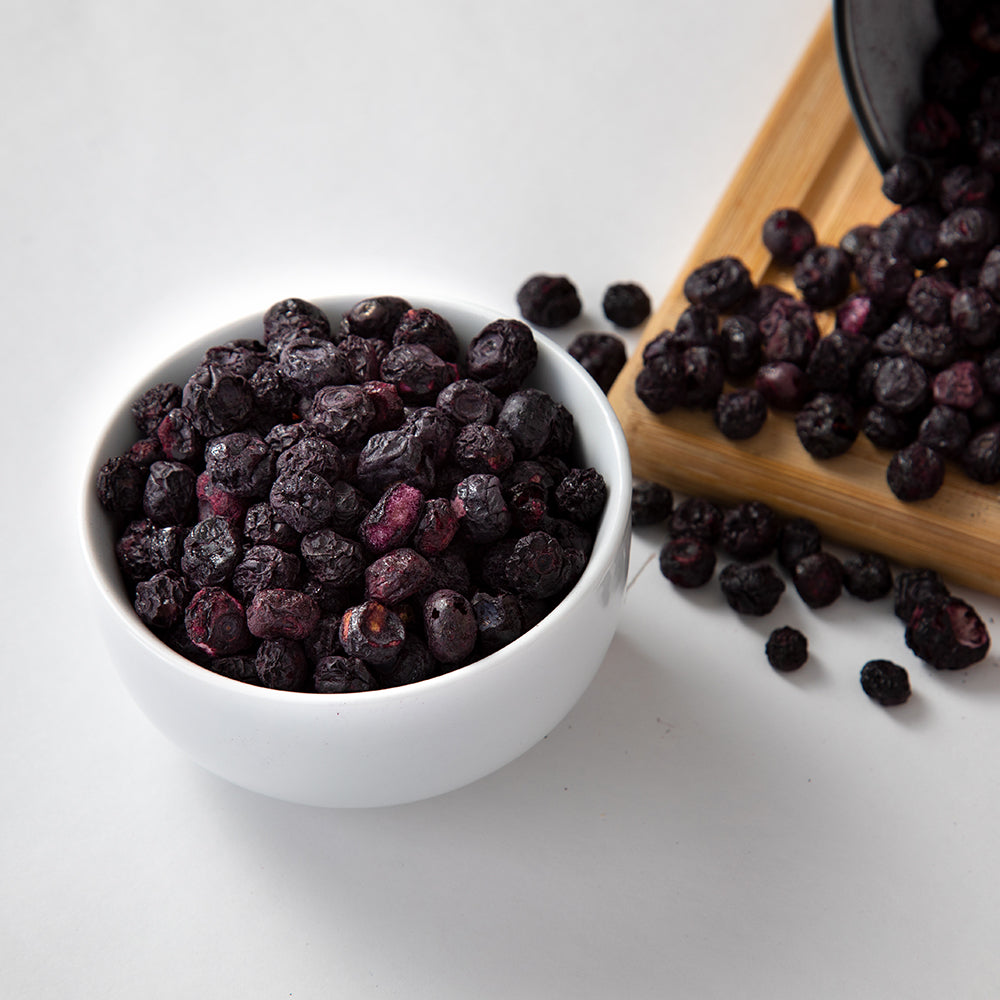
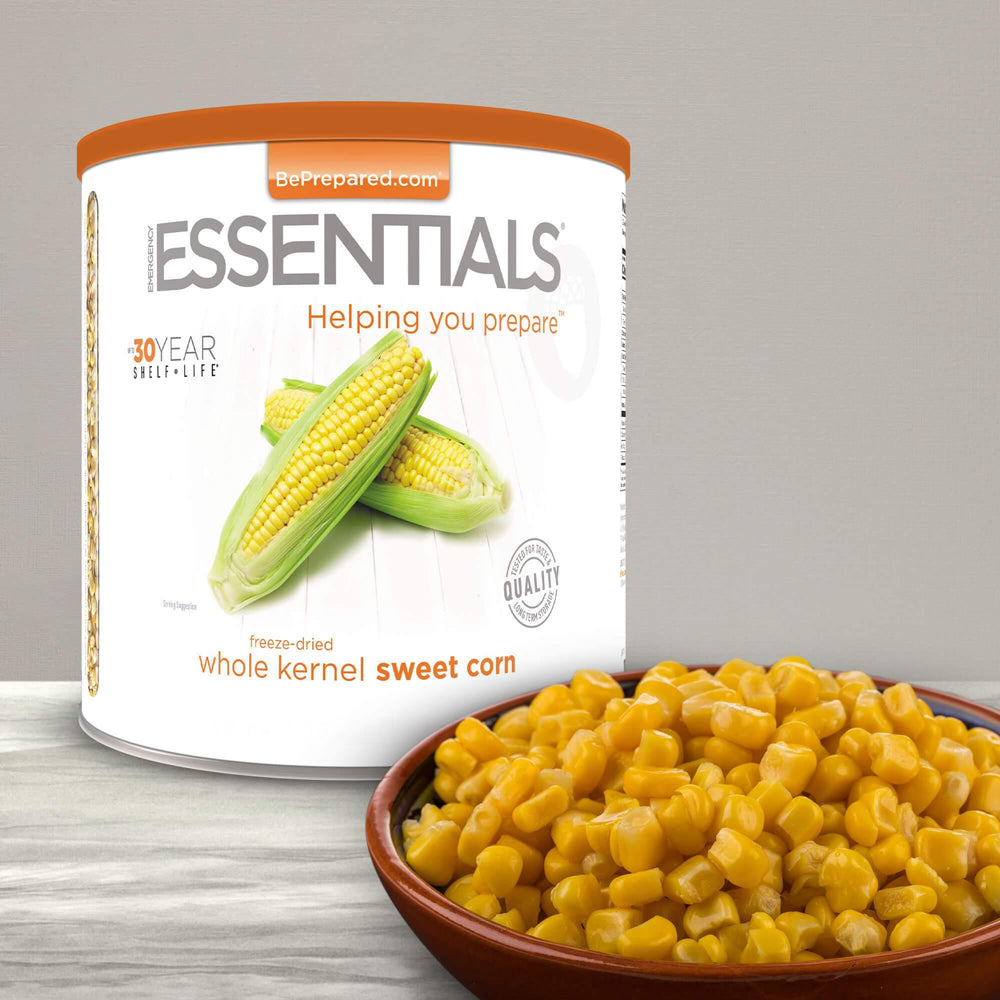
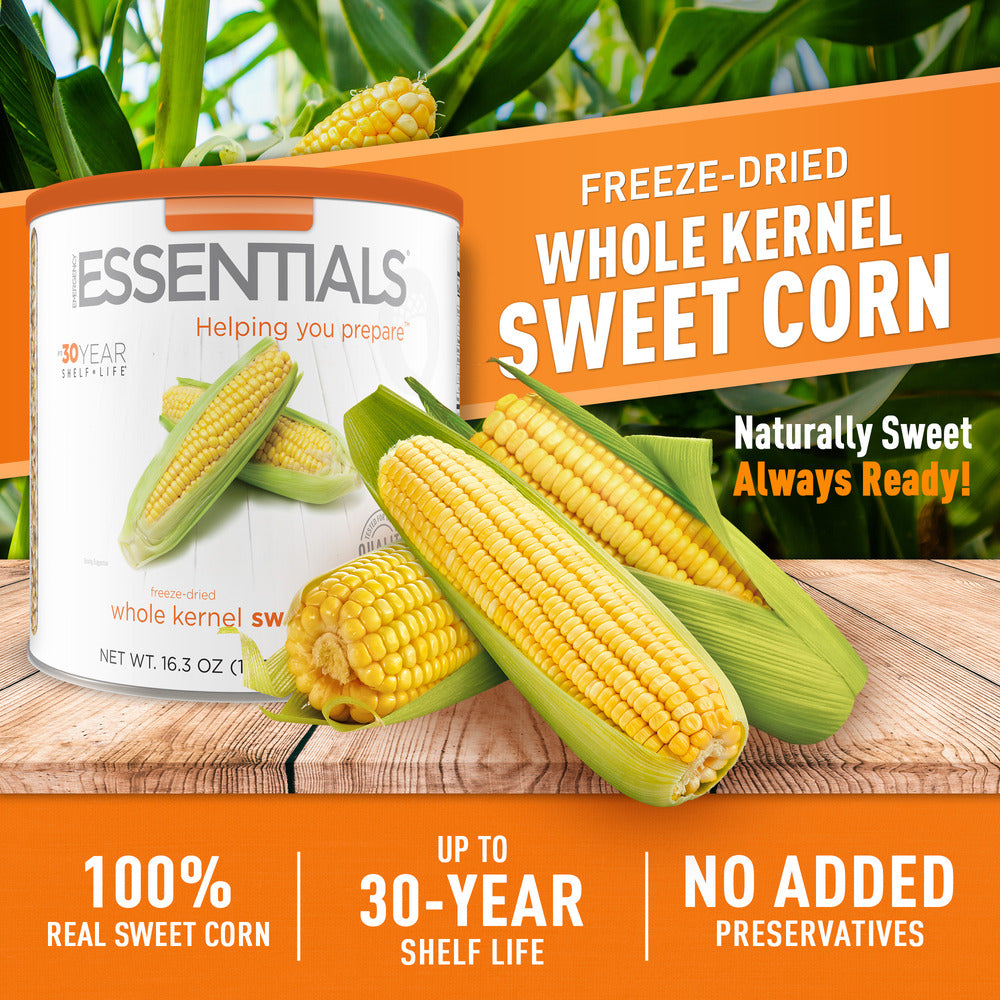
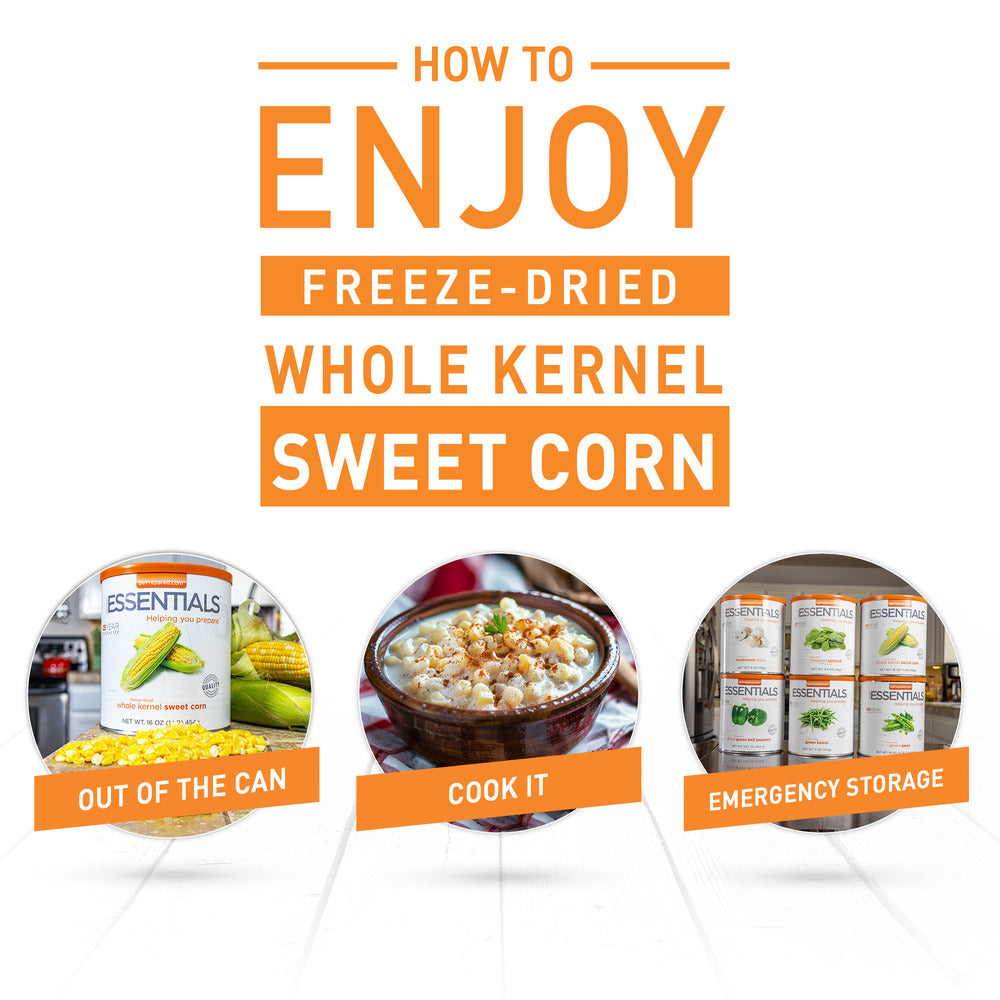
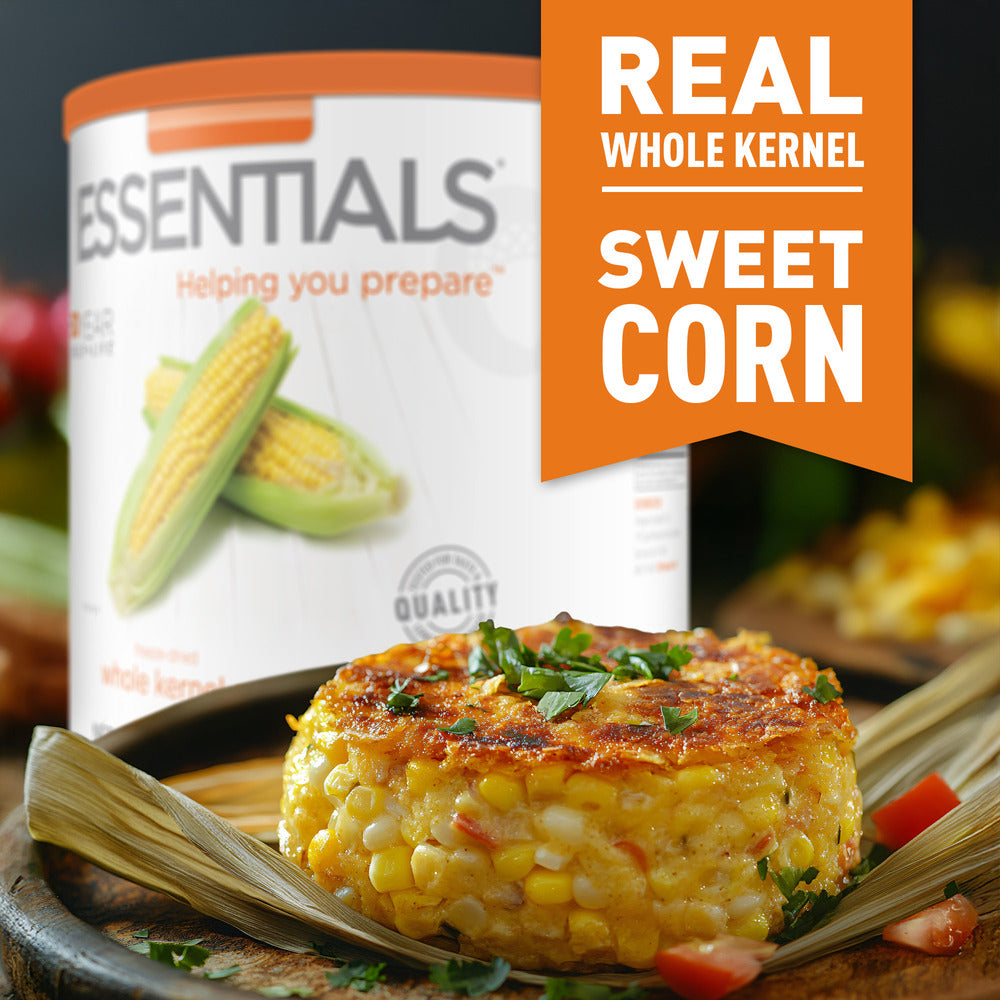
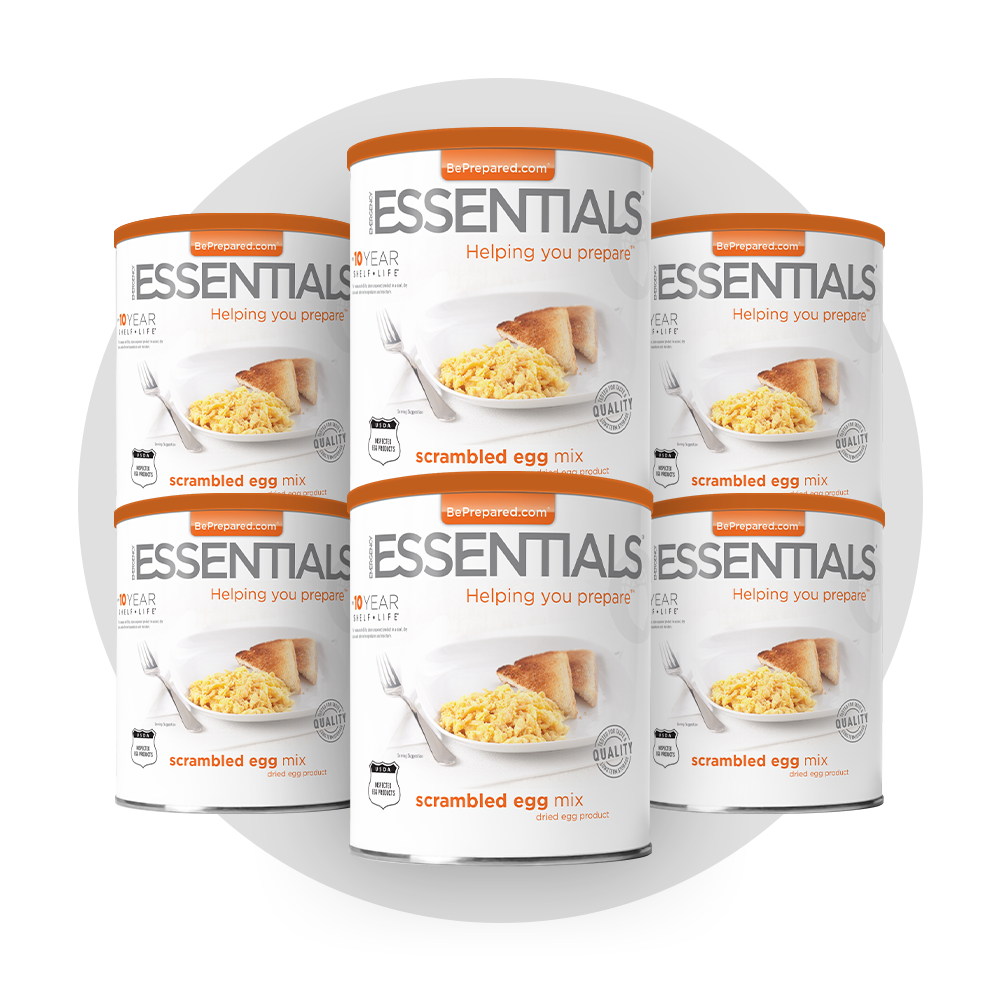
UNDERSTANDING #10 CANS
Build your food supply around meals your family knows. Learn what’s inside a #10 can, how to store it, and what to check before you make it part of your household plan.
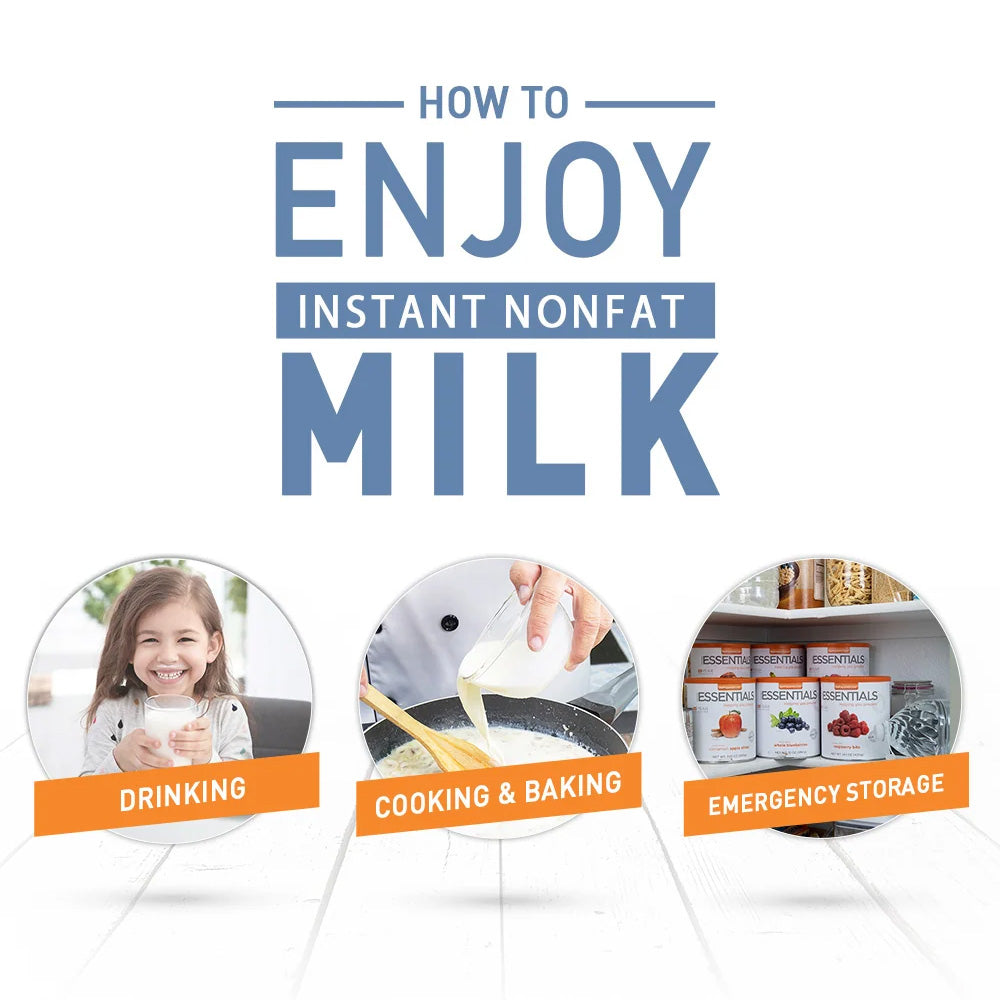
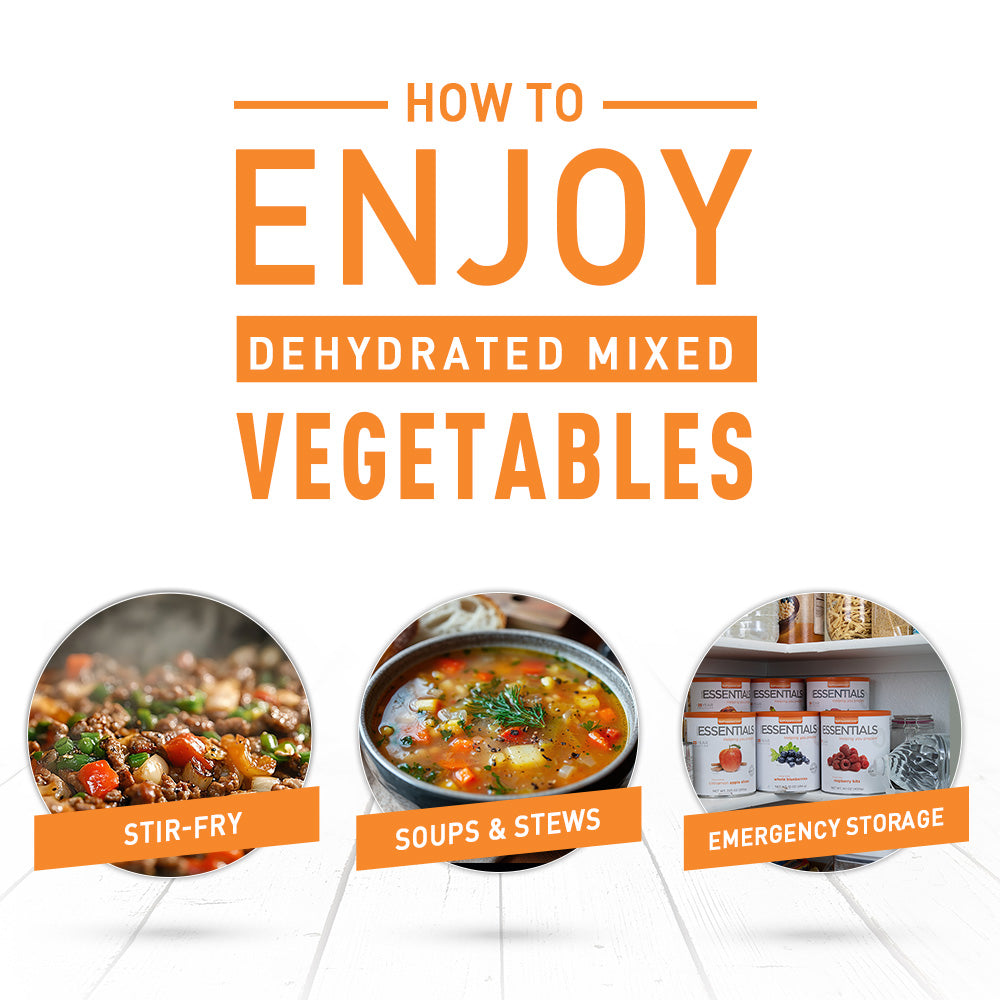
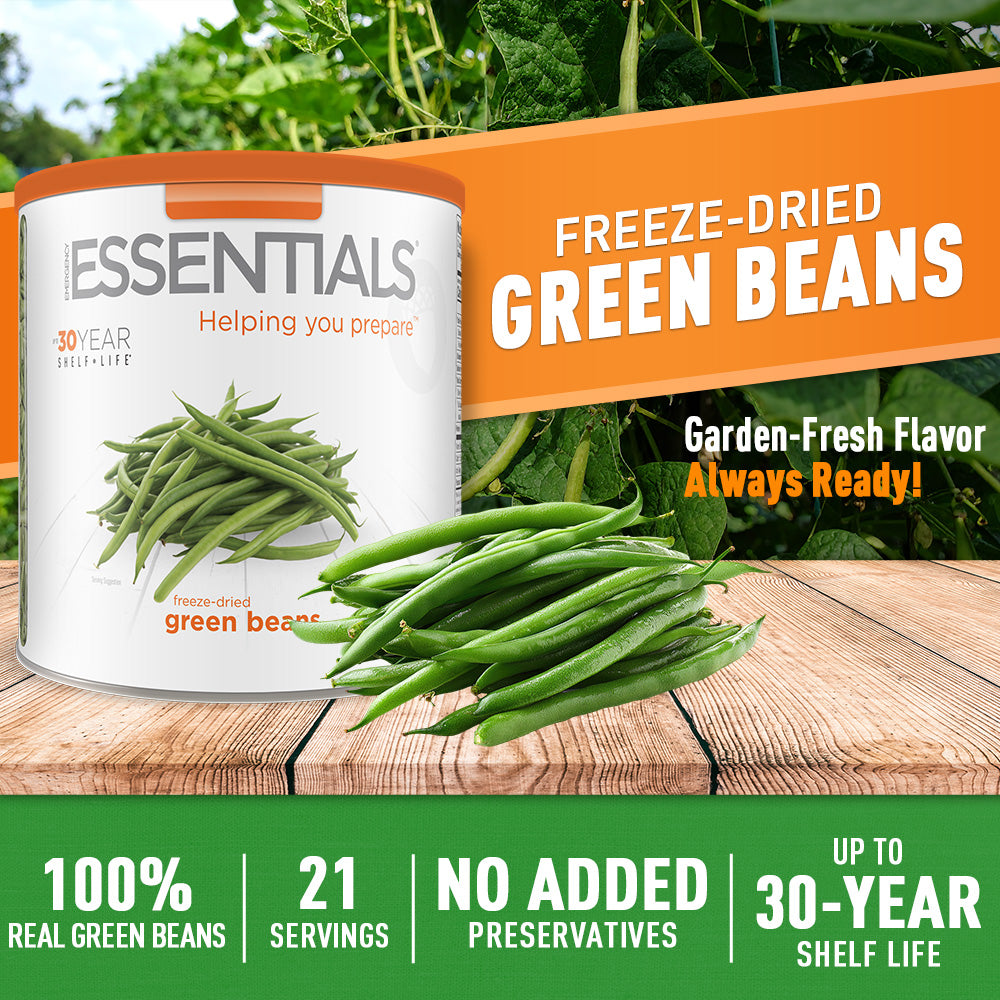
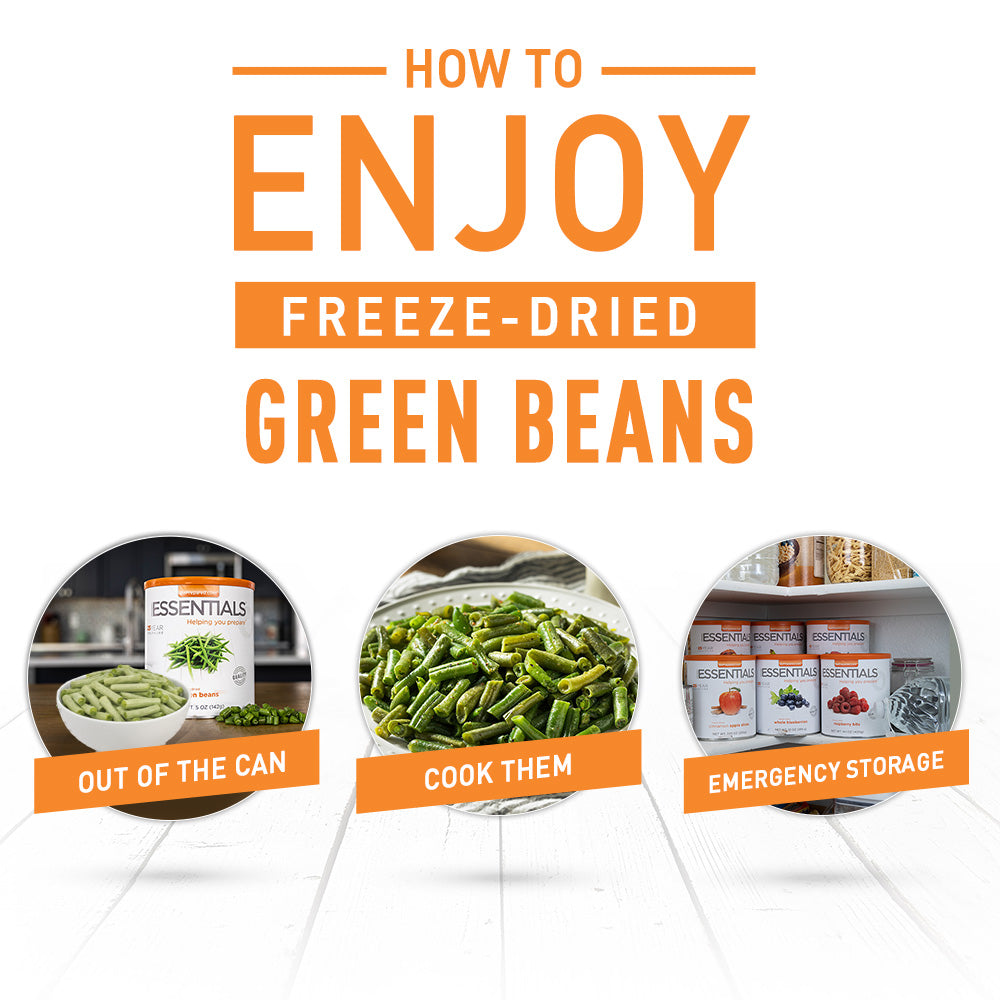
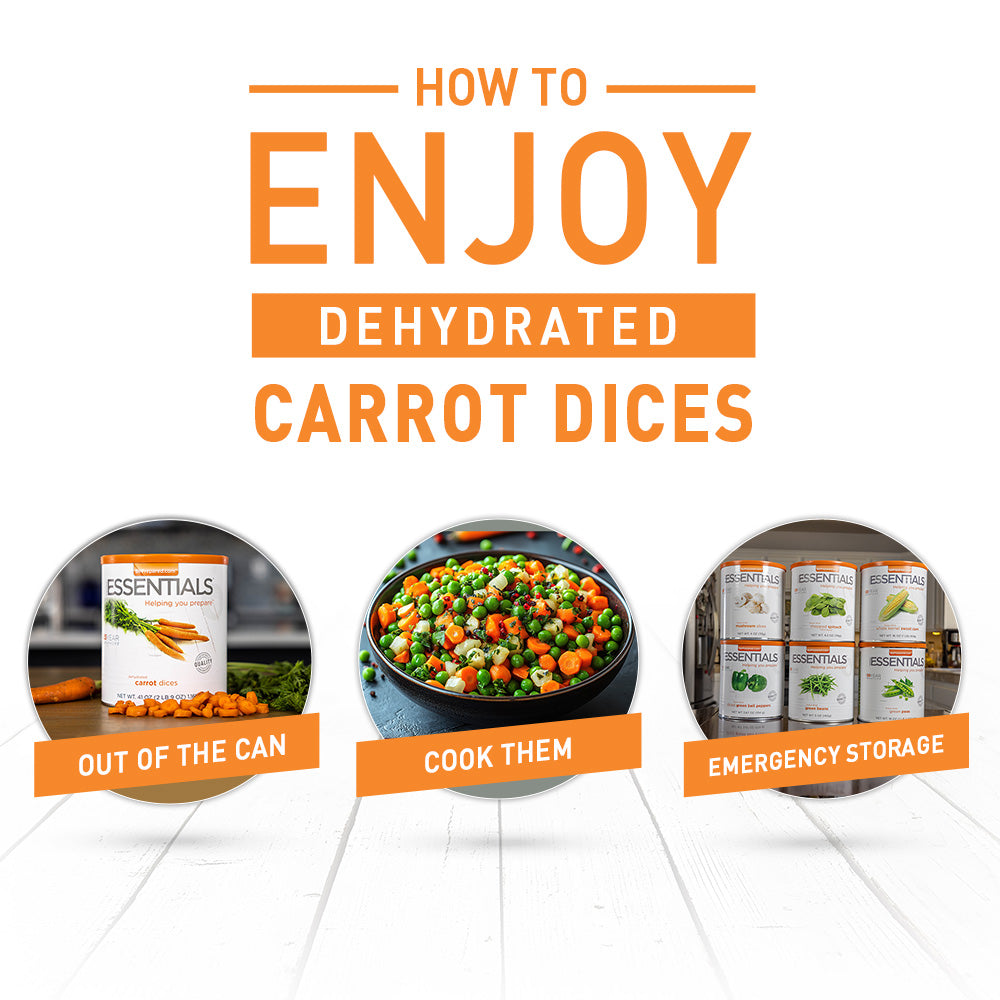
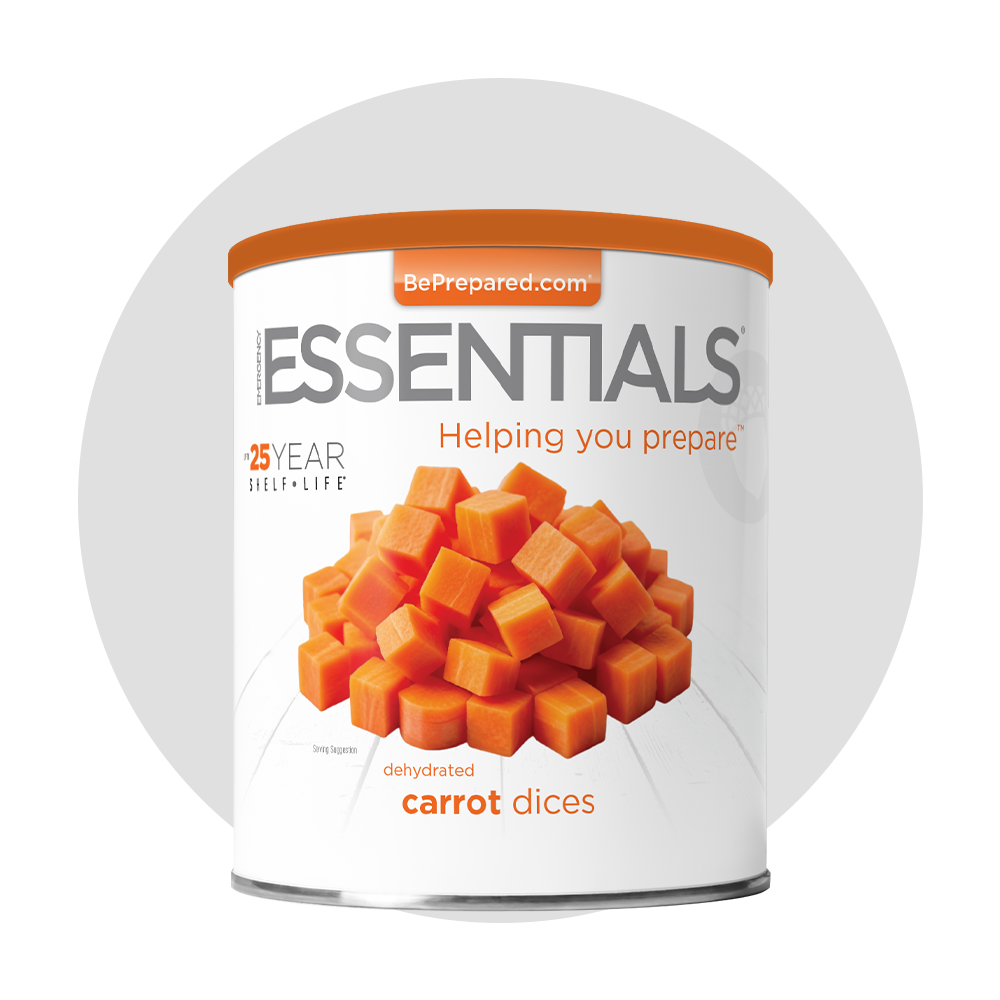
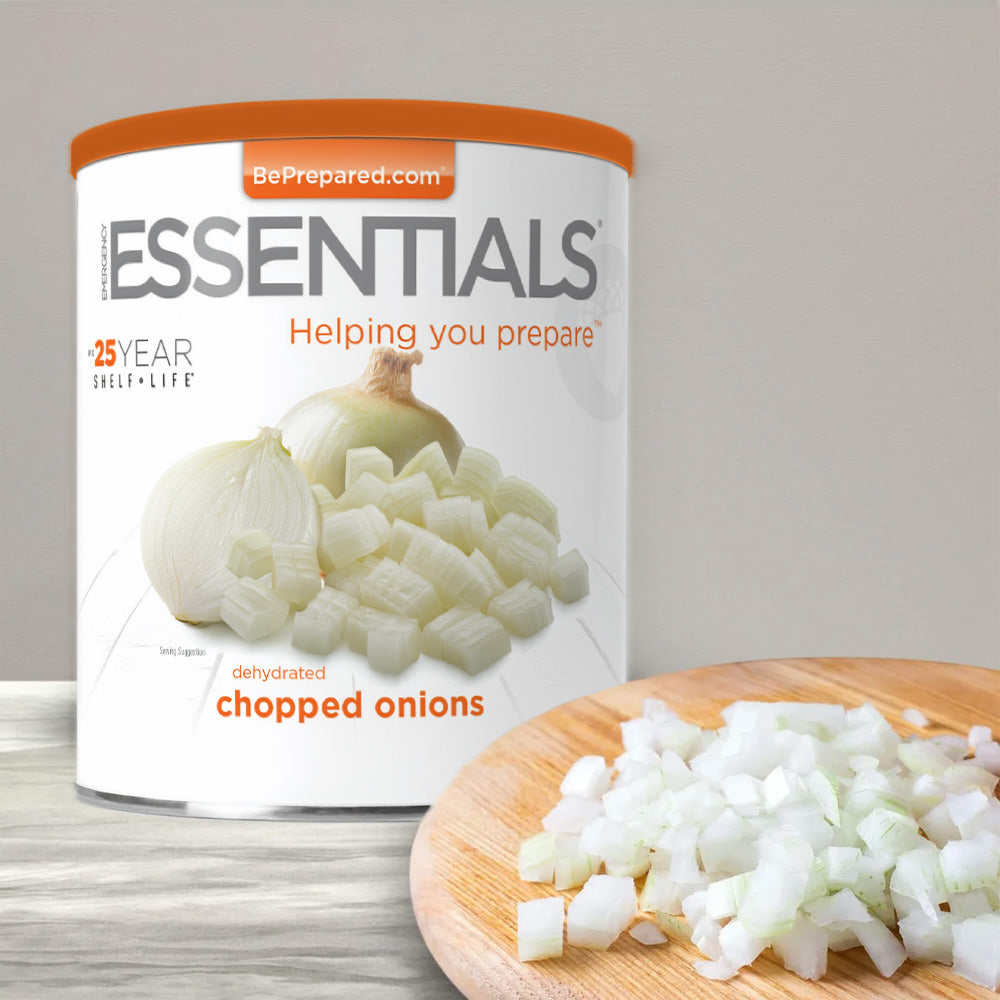
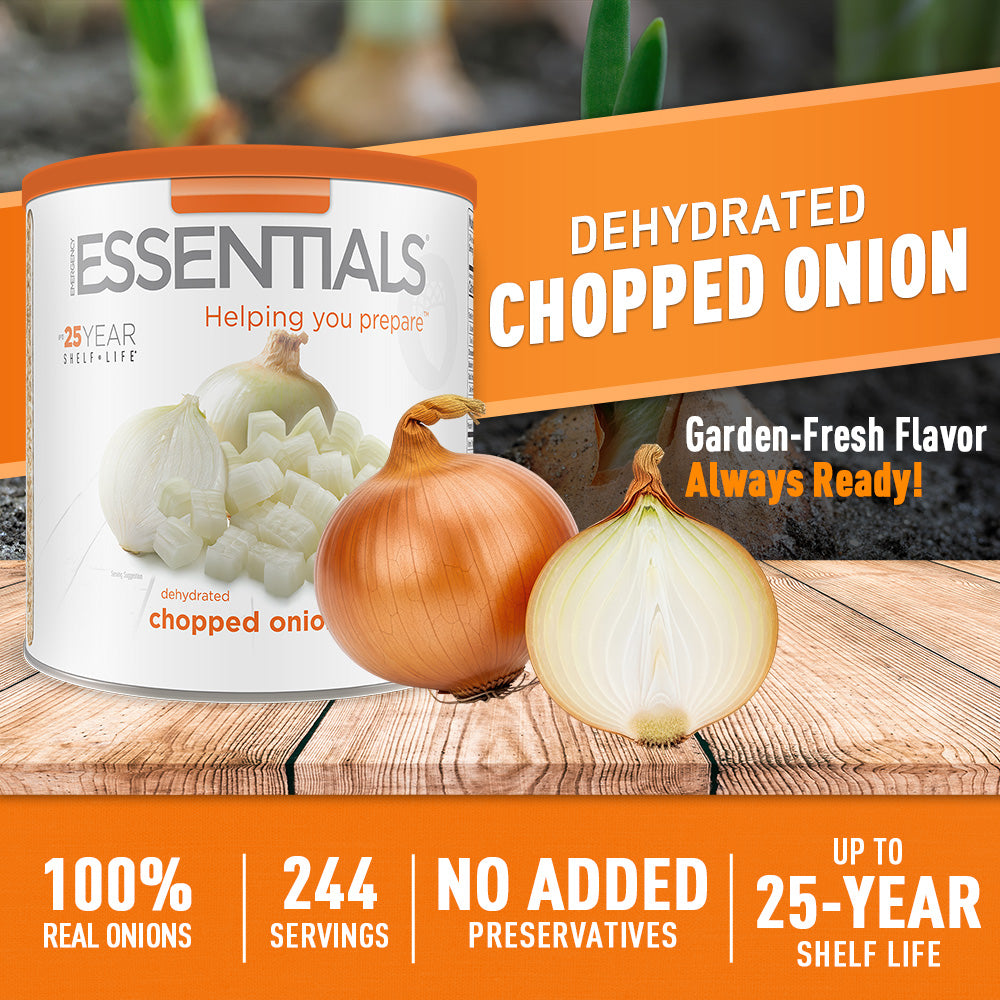
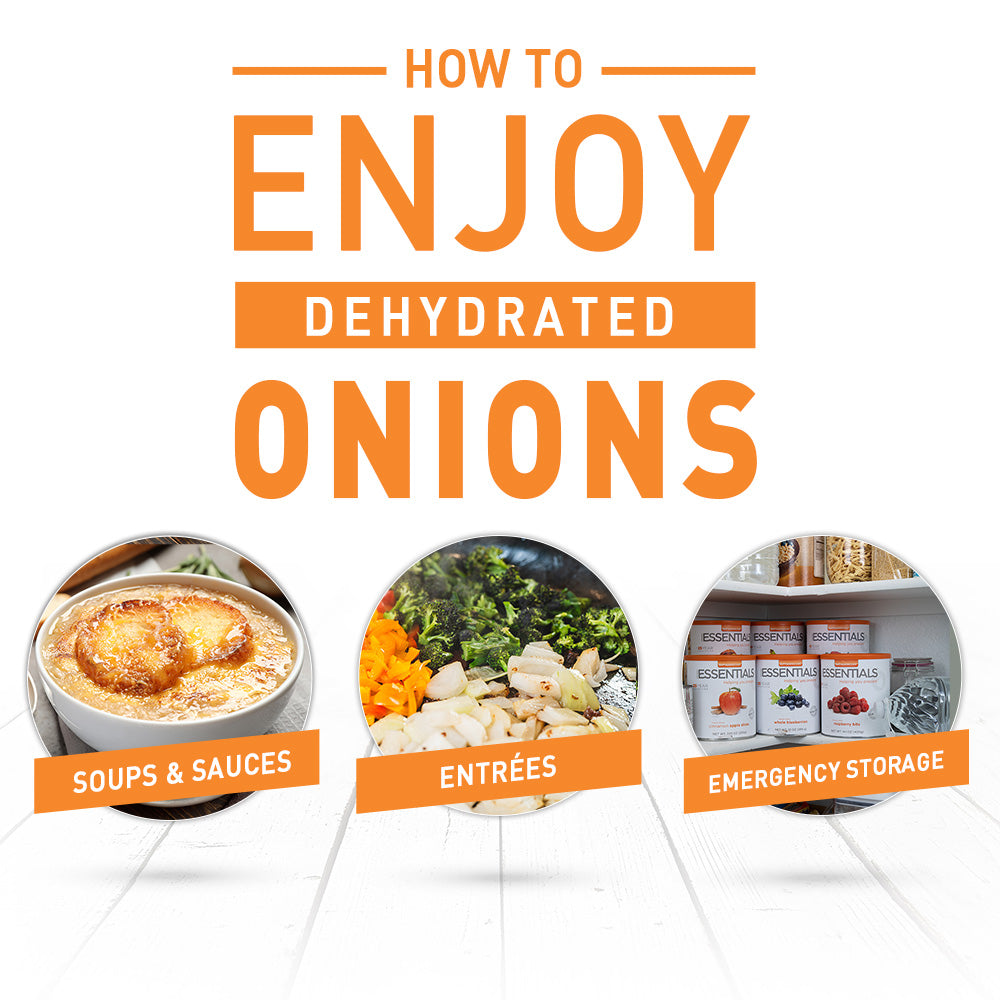
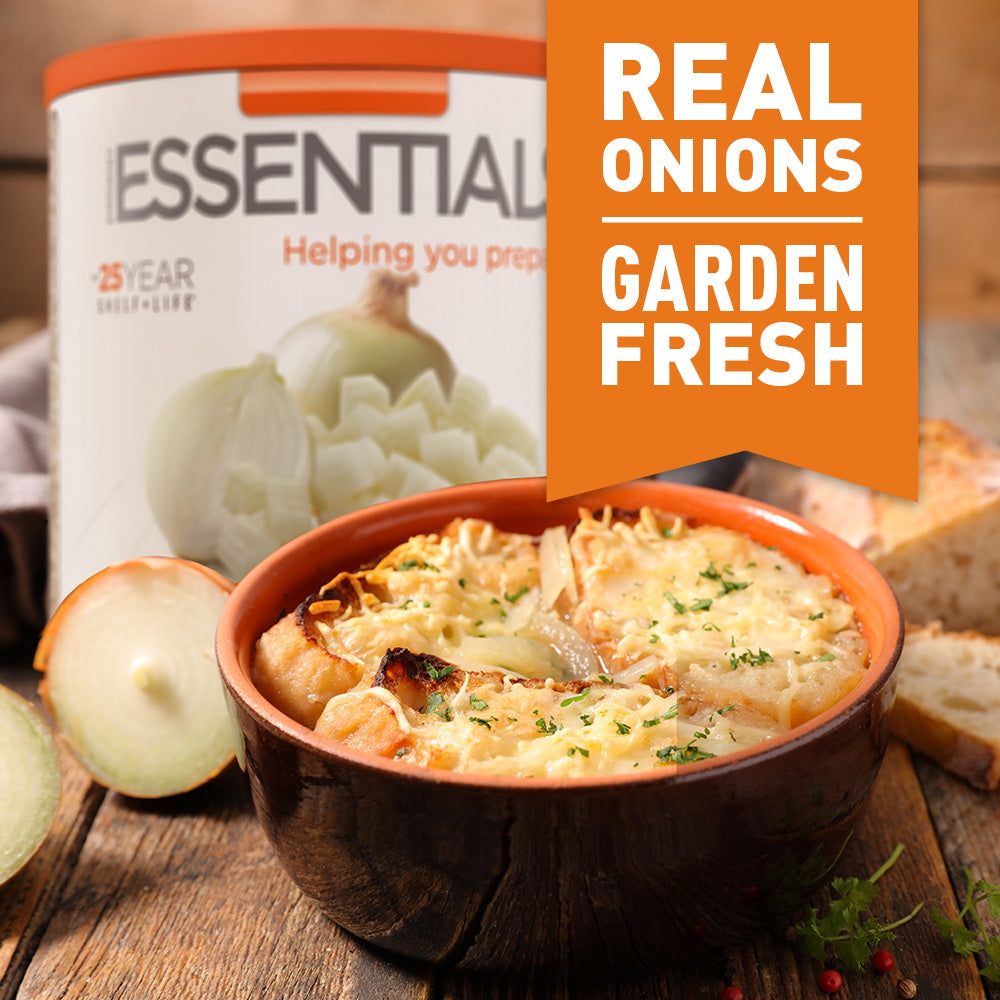
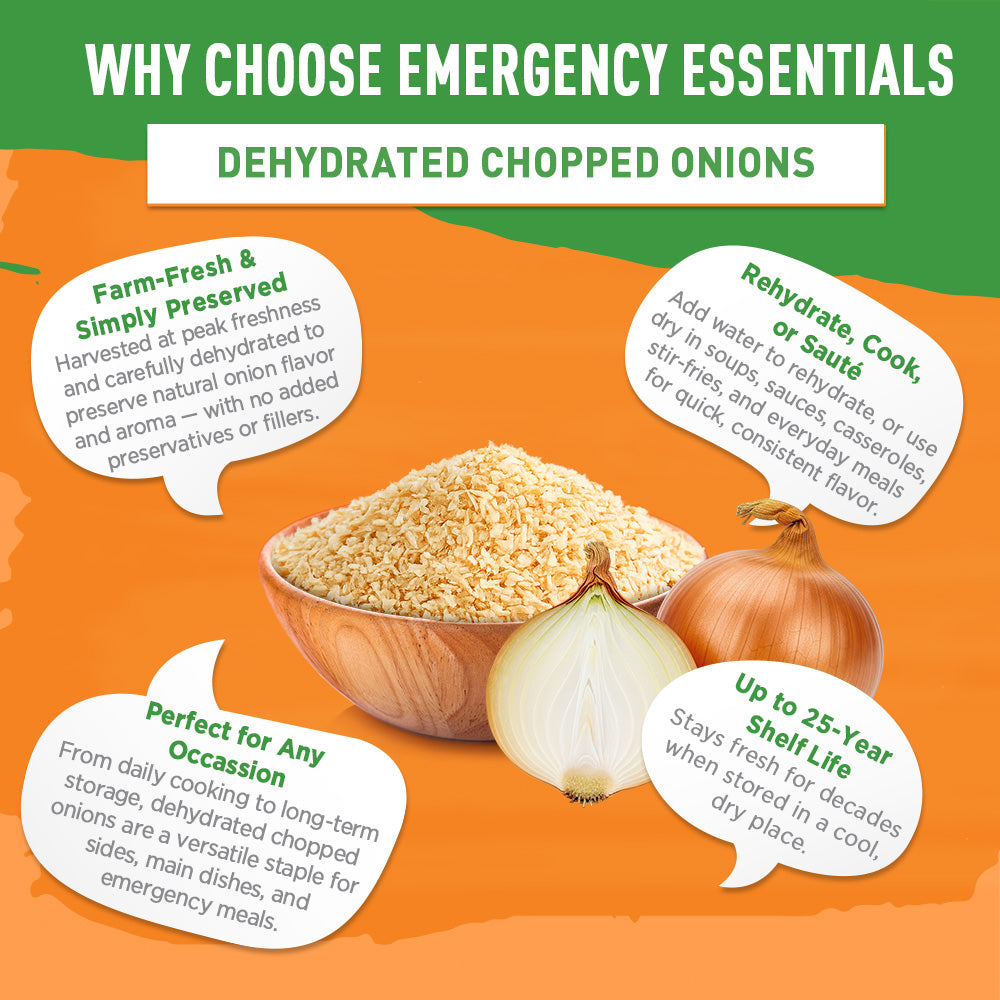
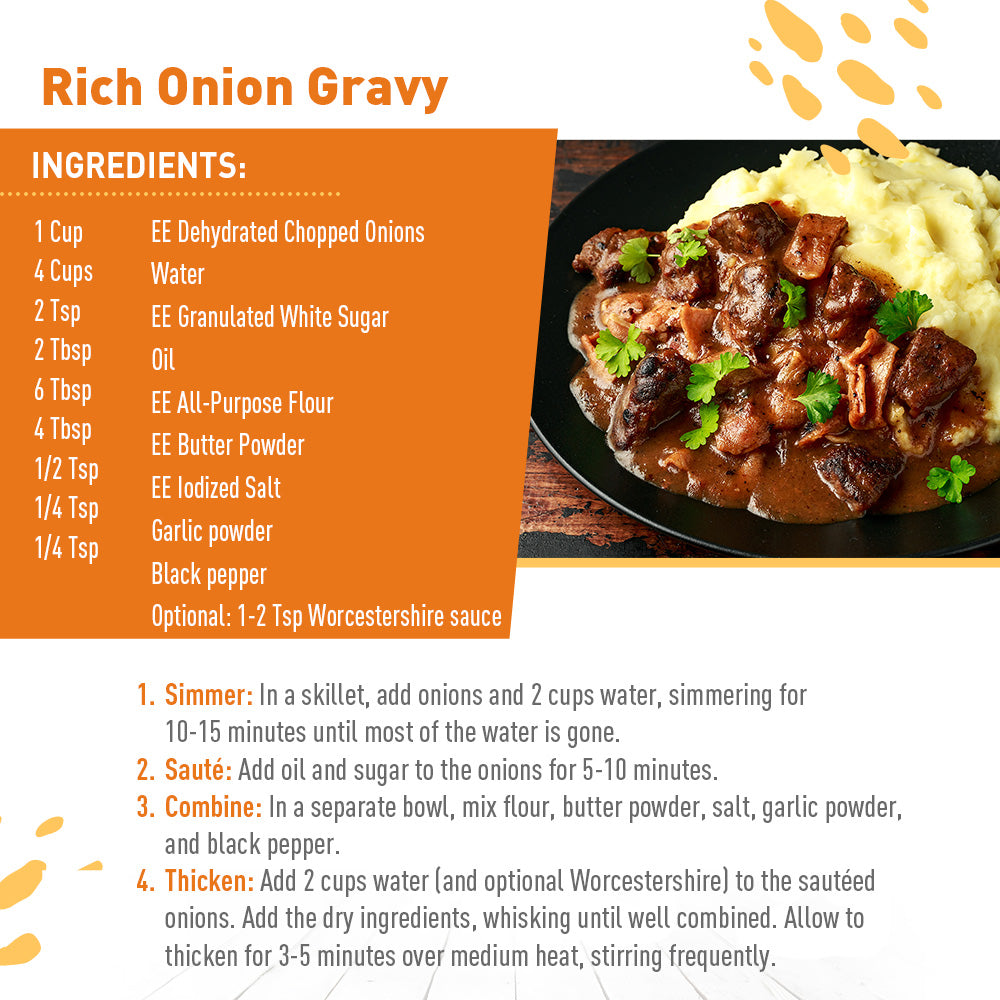
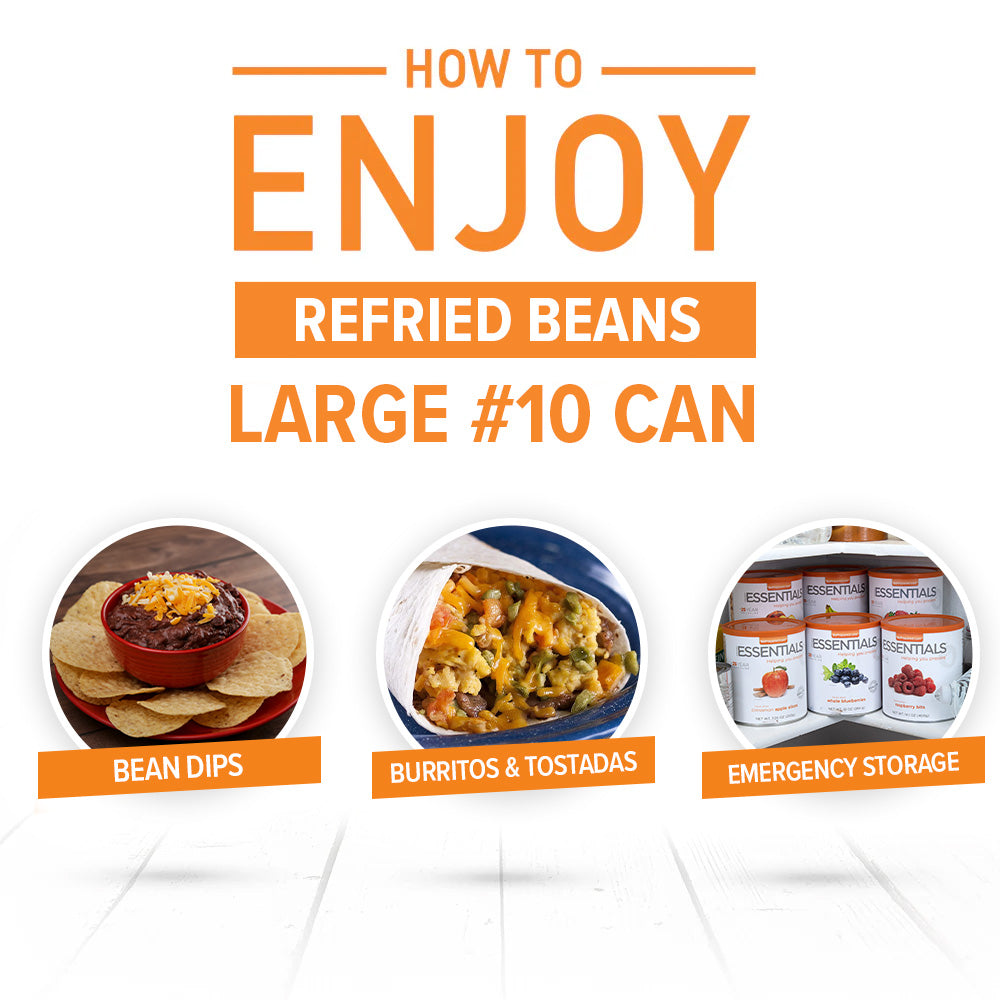
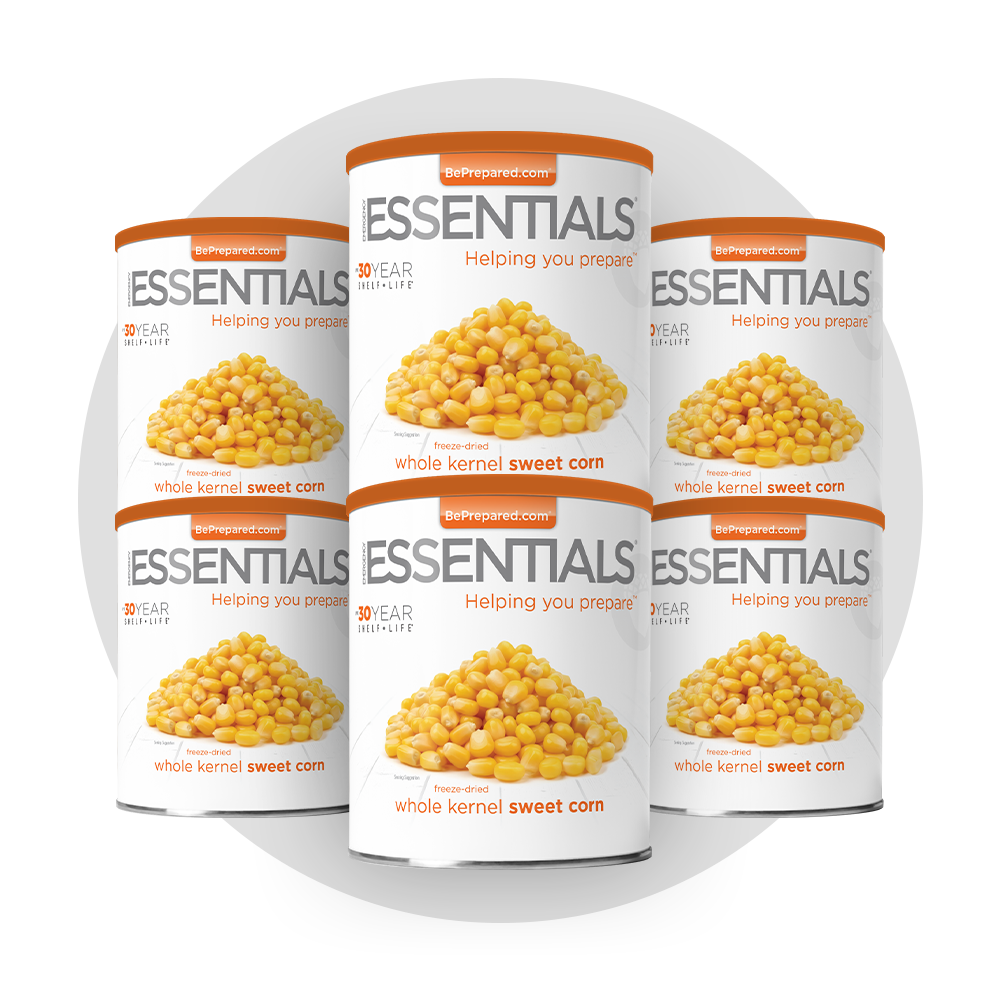
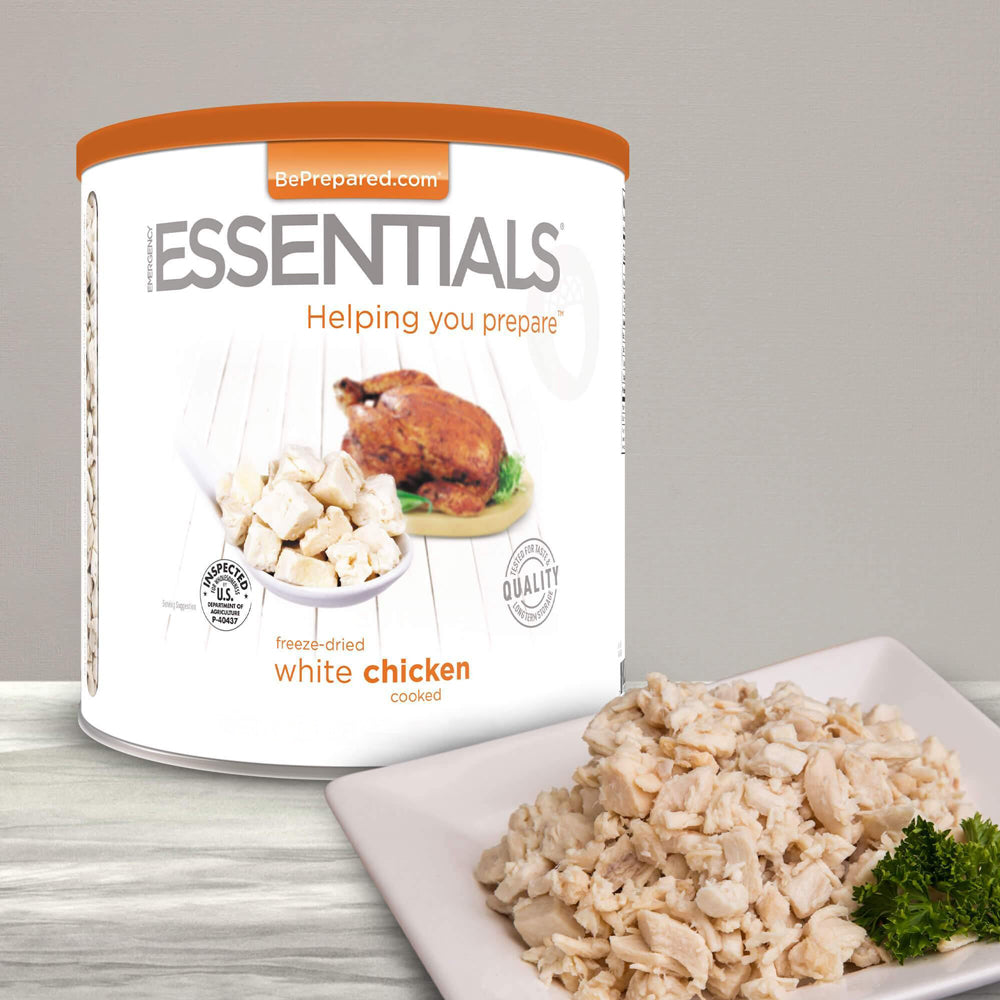
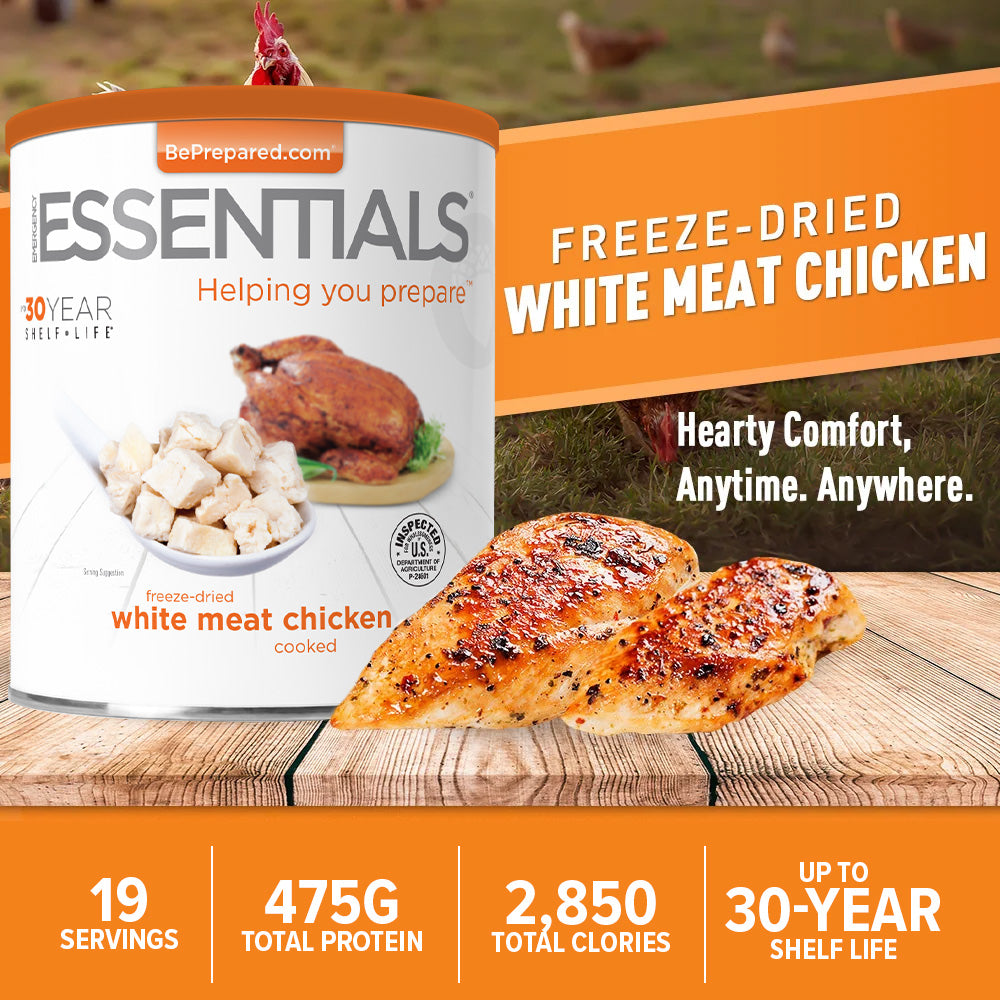
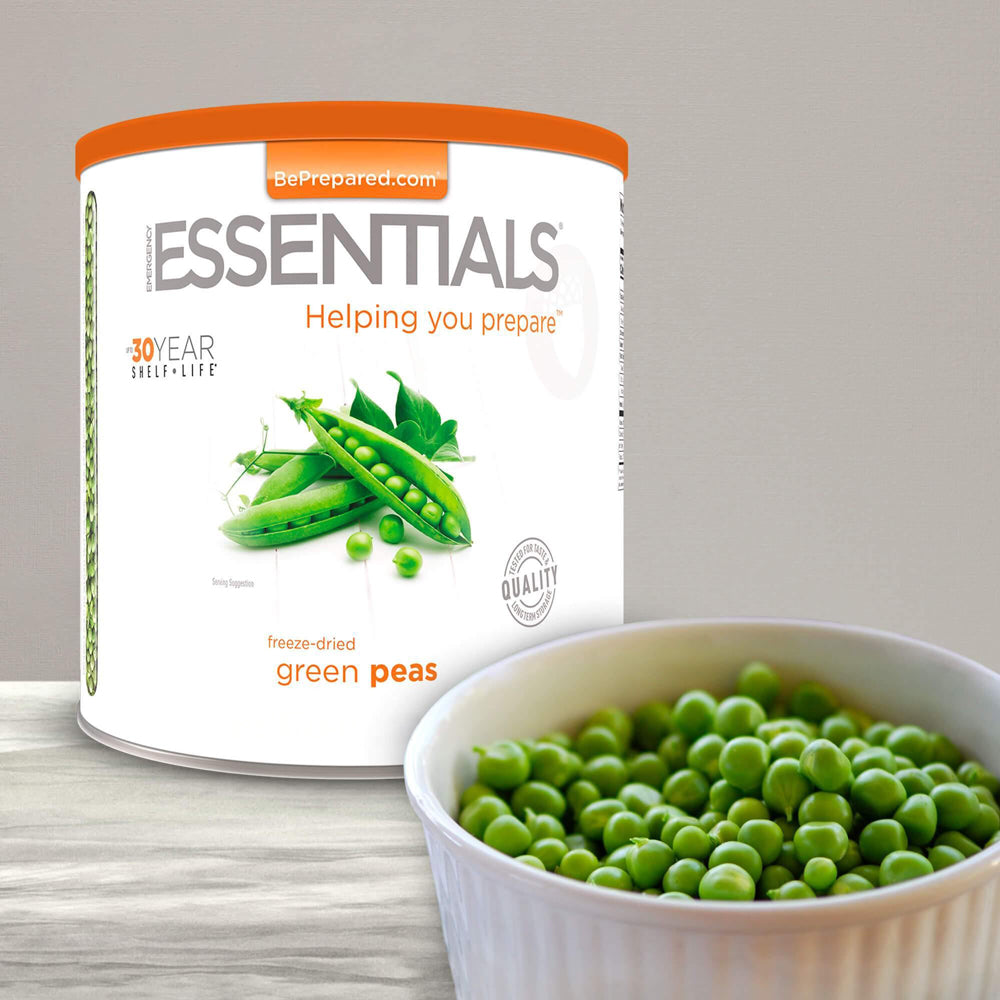
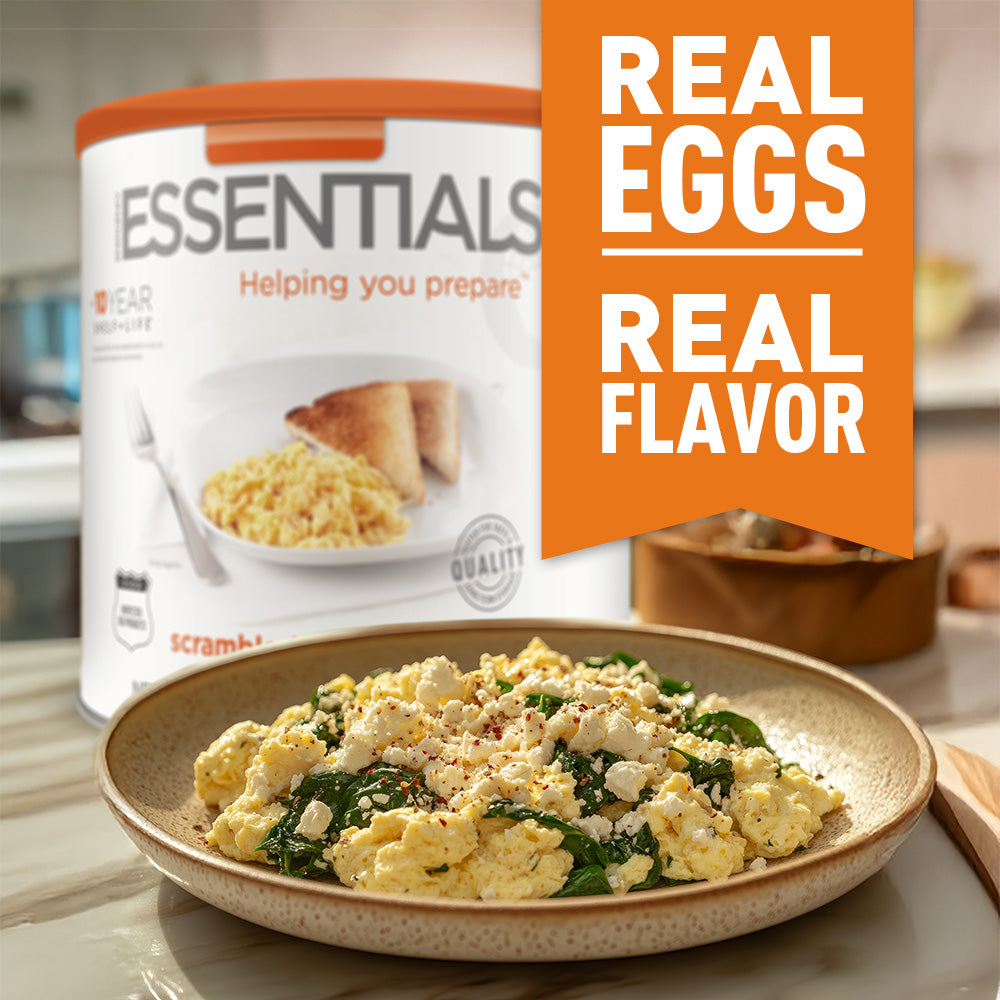
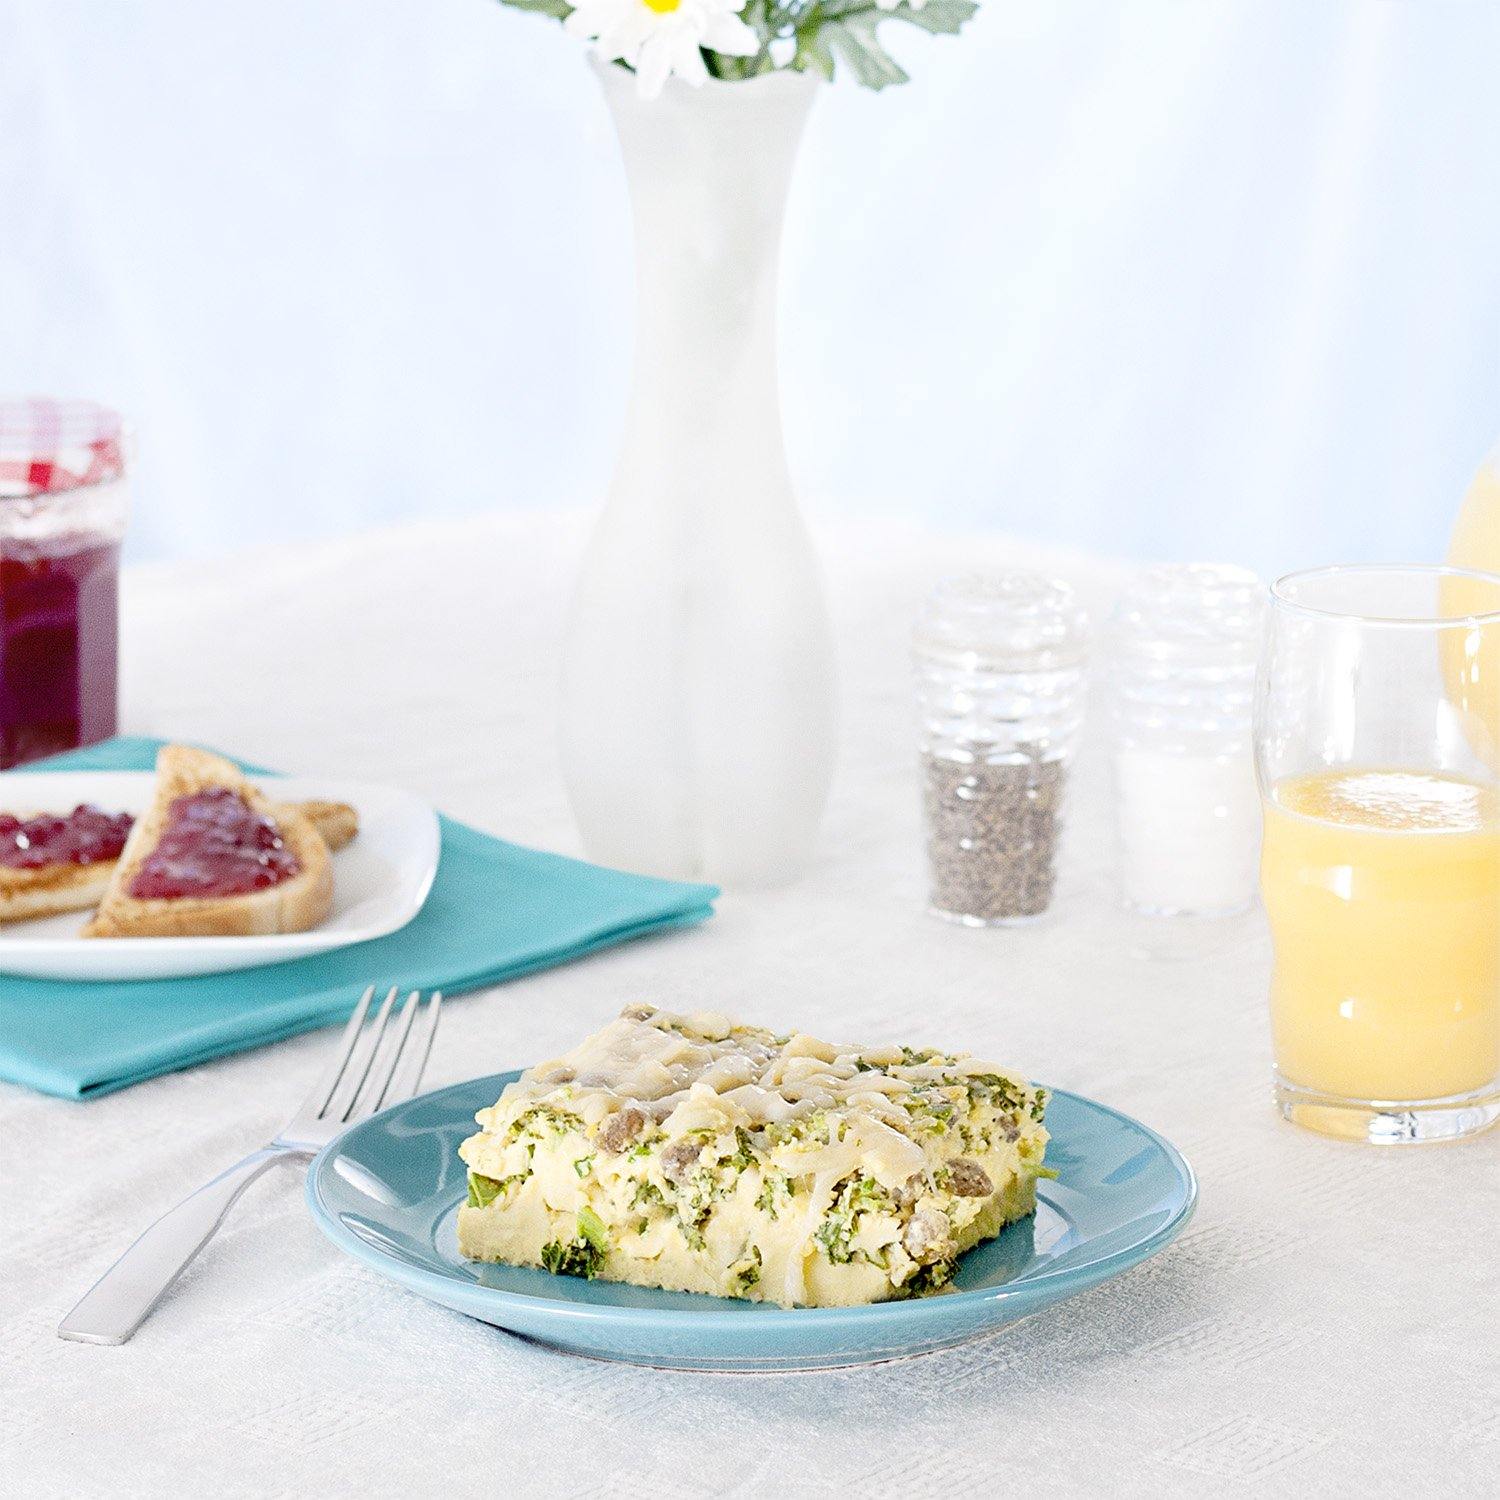
#10 CANS ARE GREAT FOR:


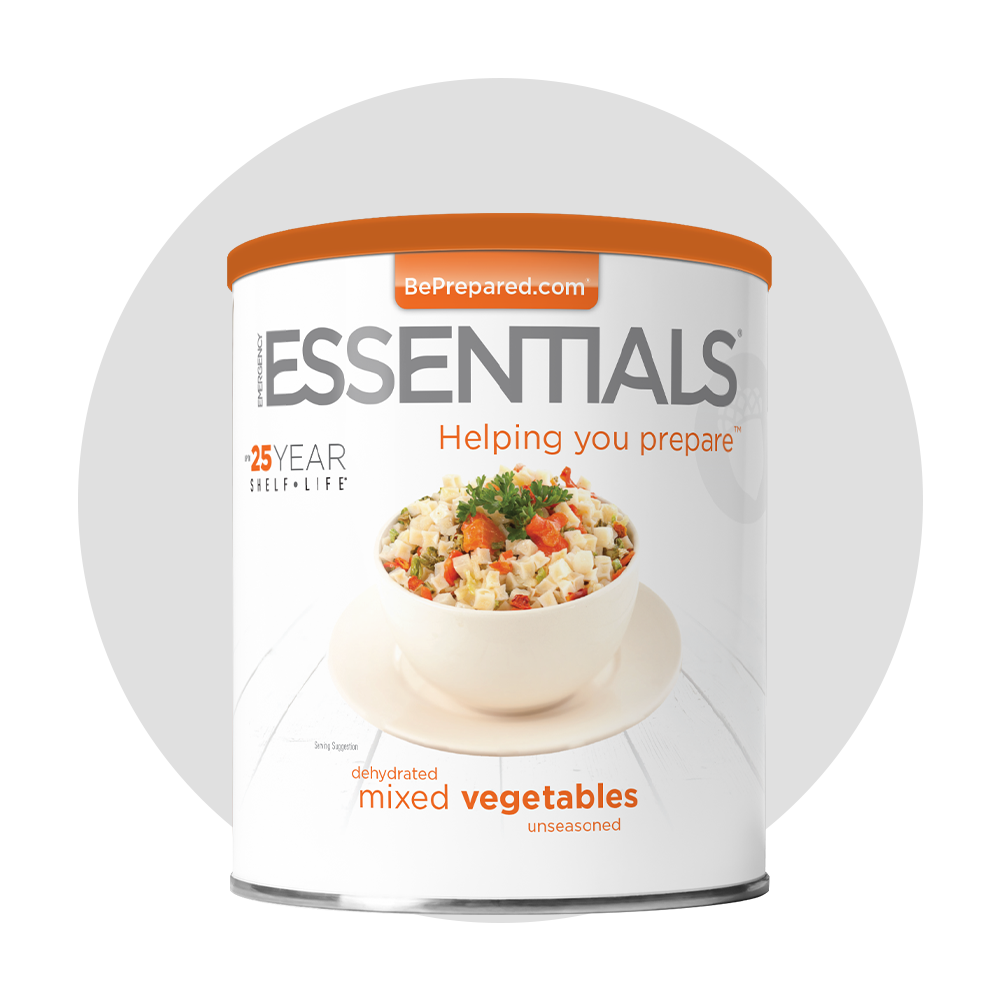
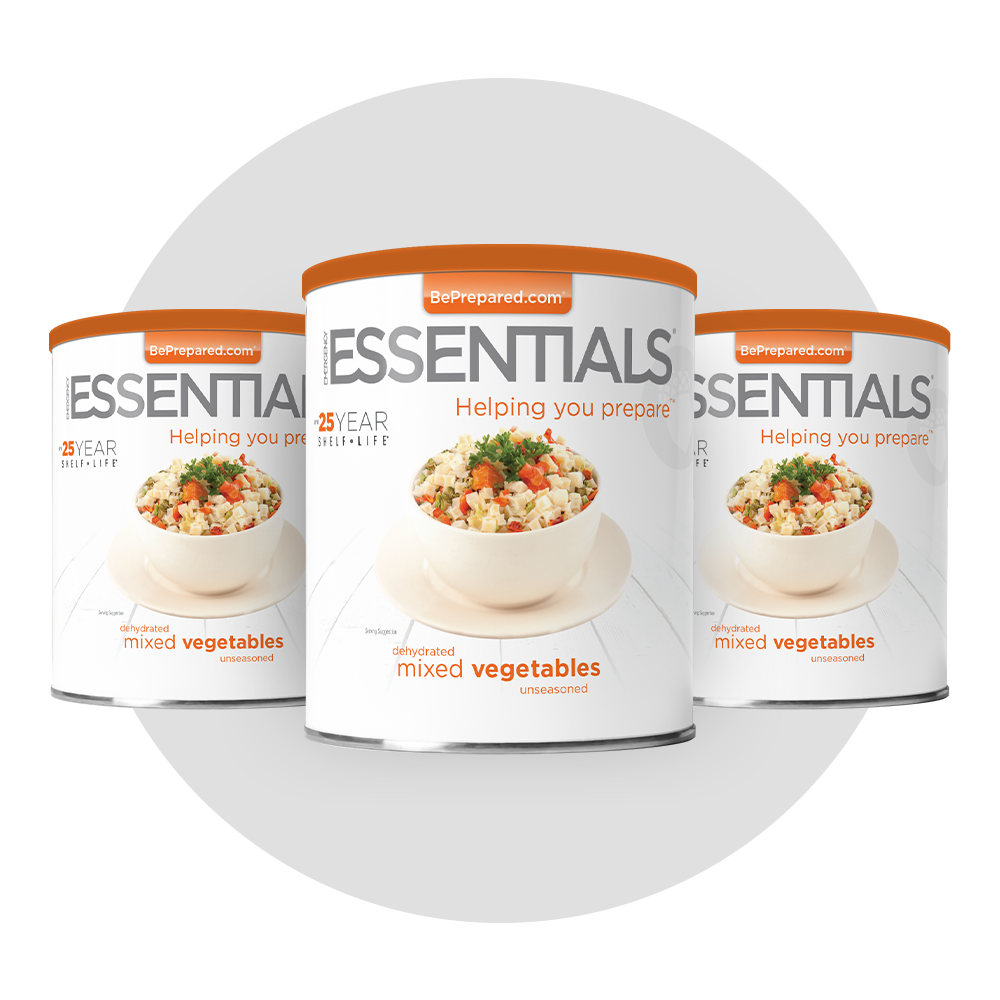
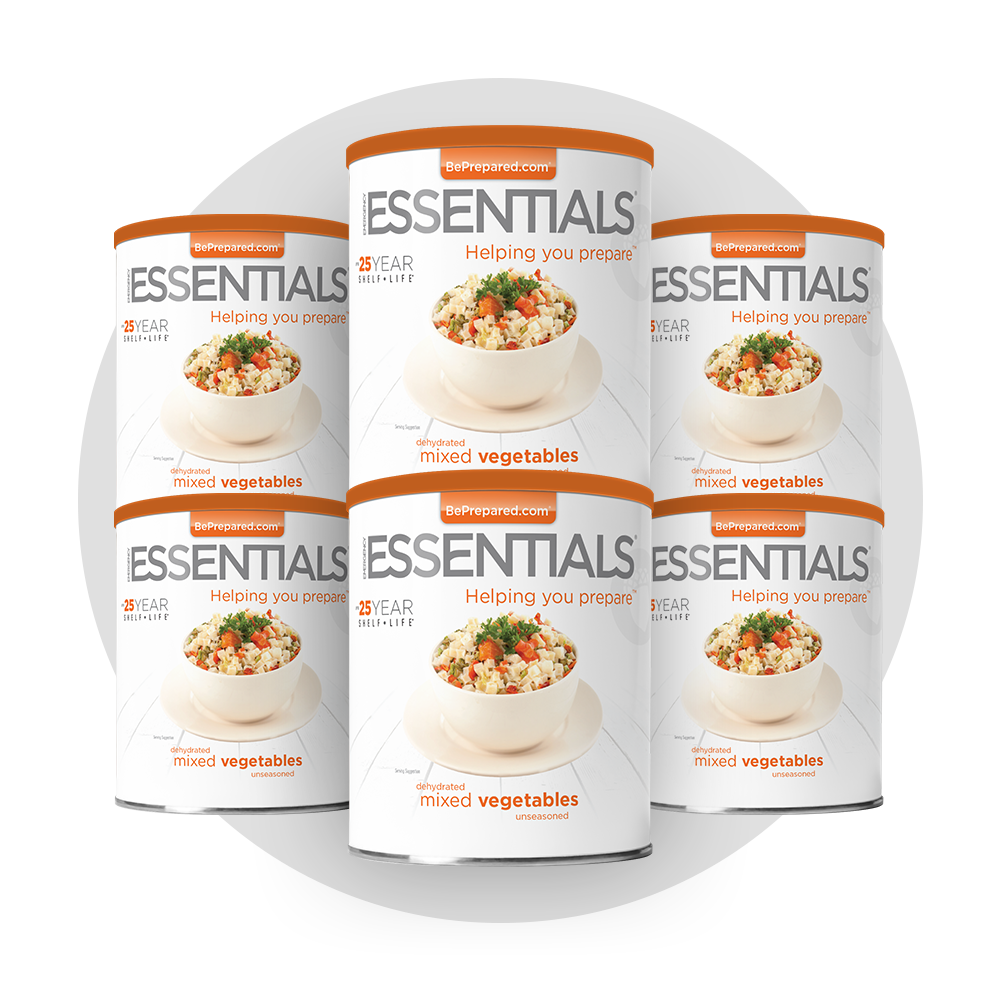
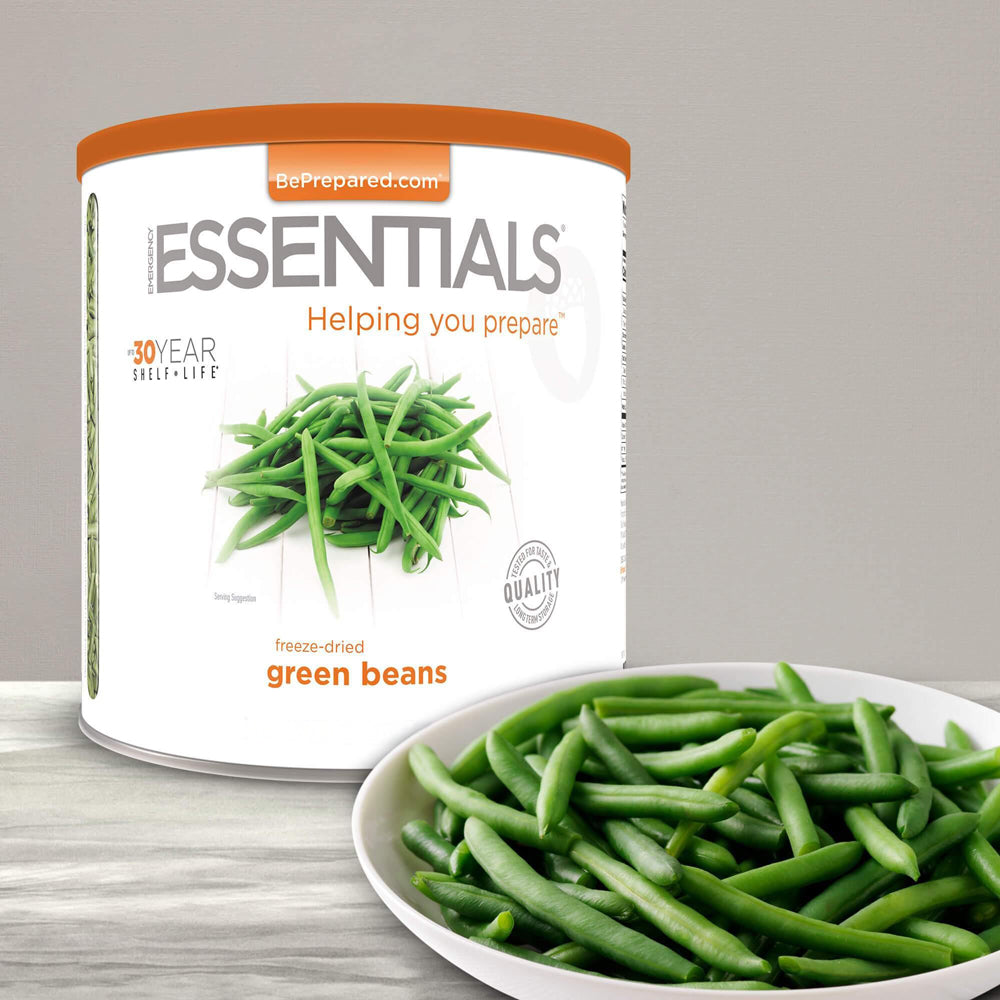
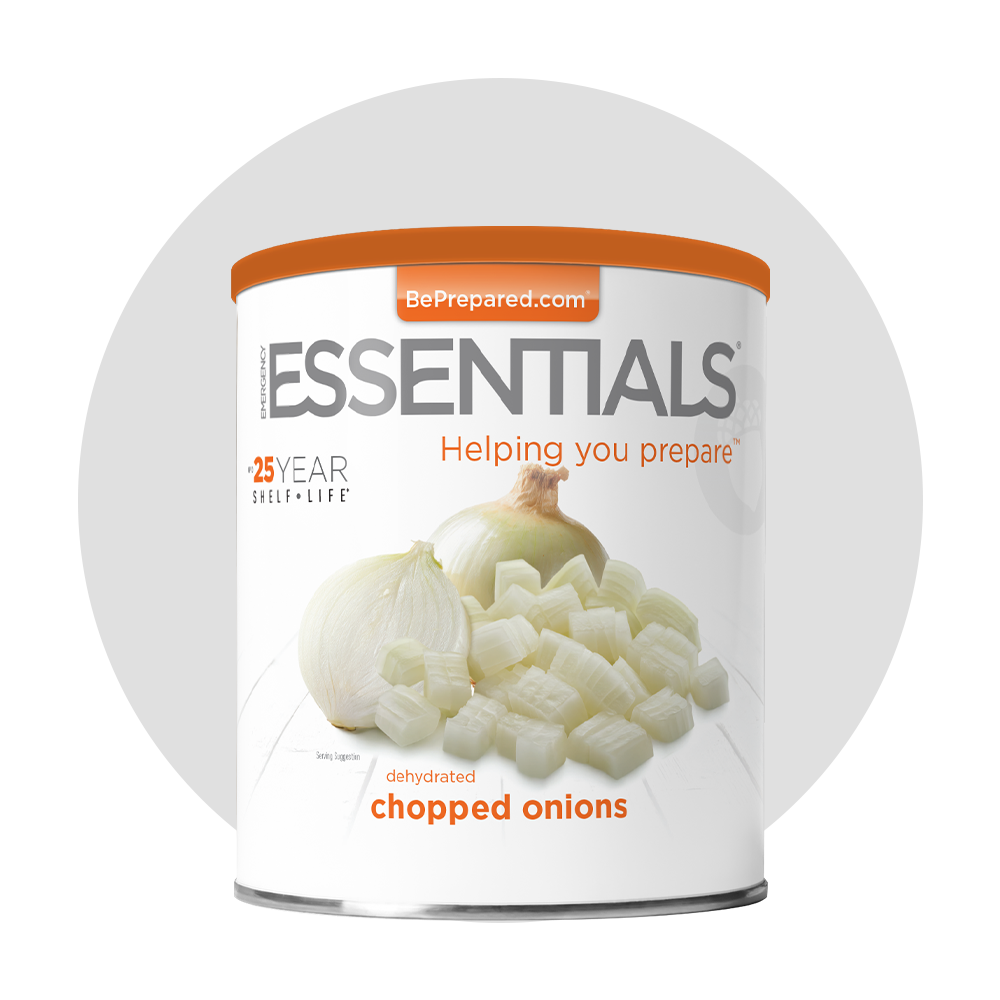
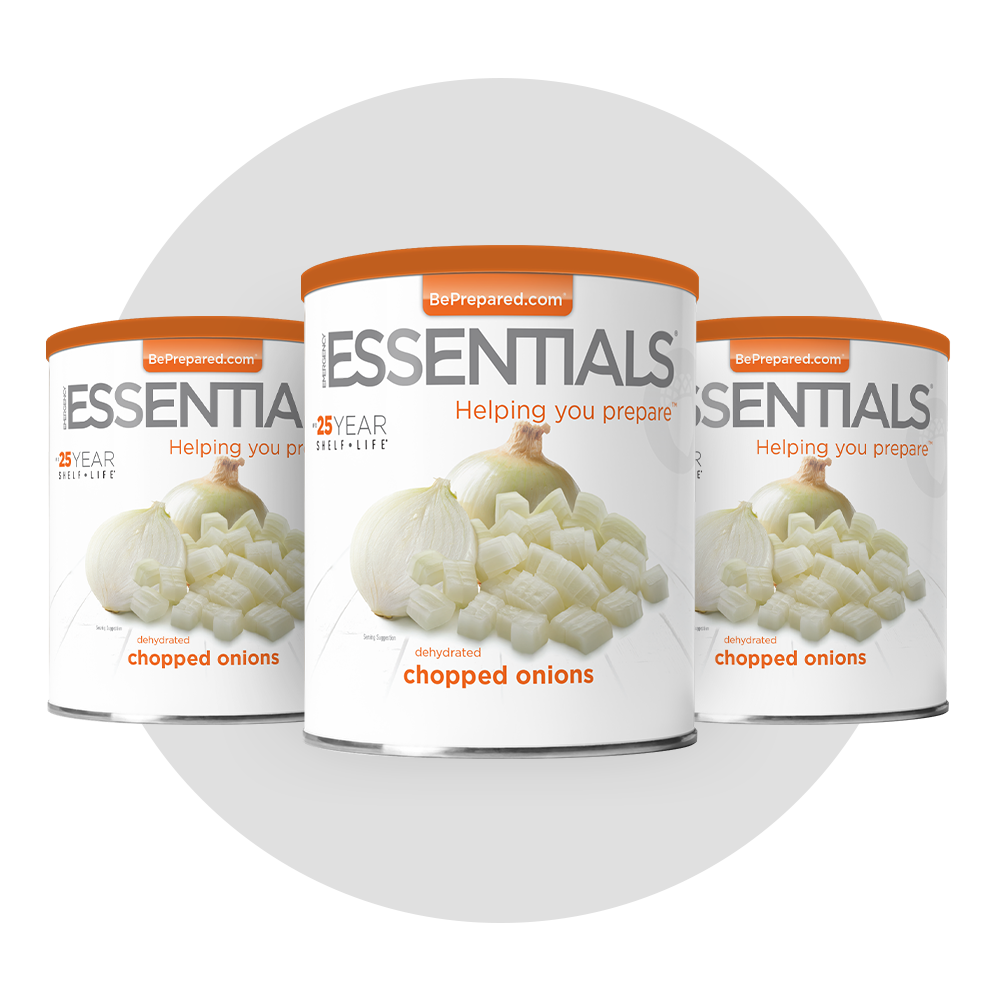
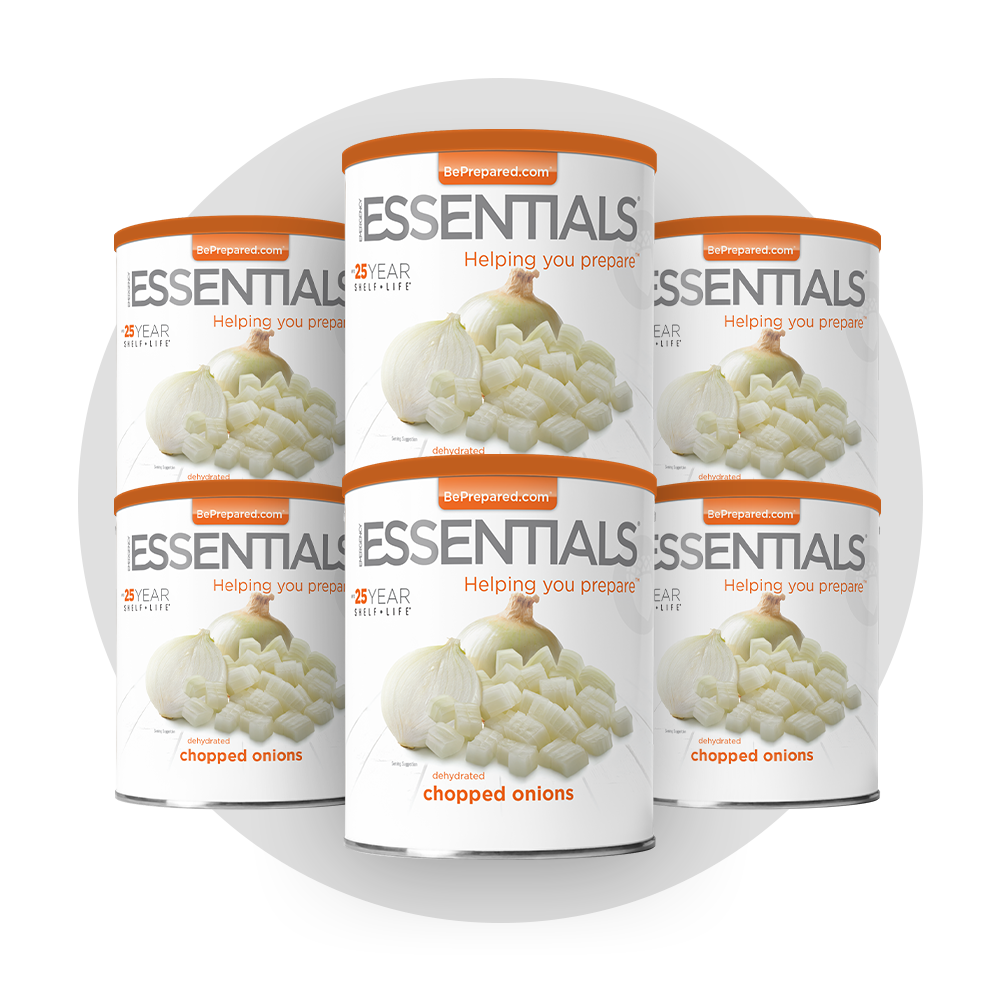
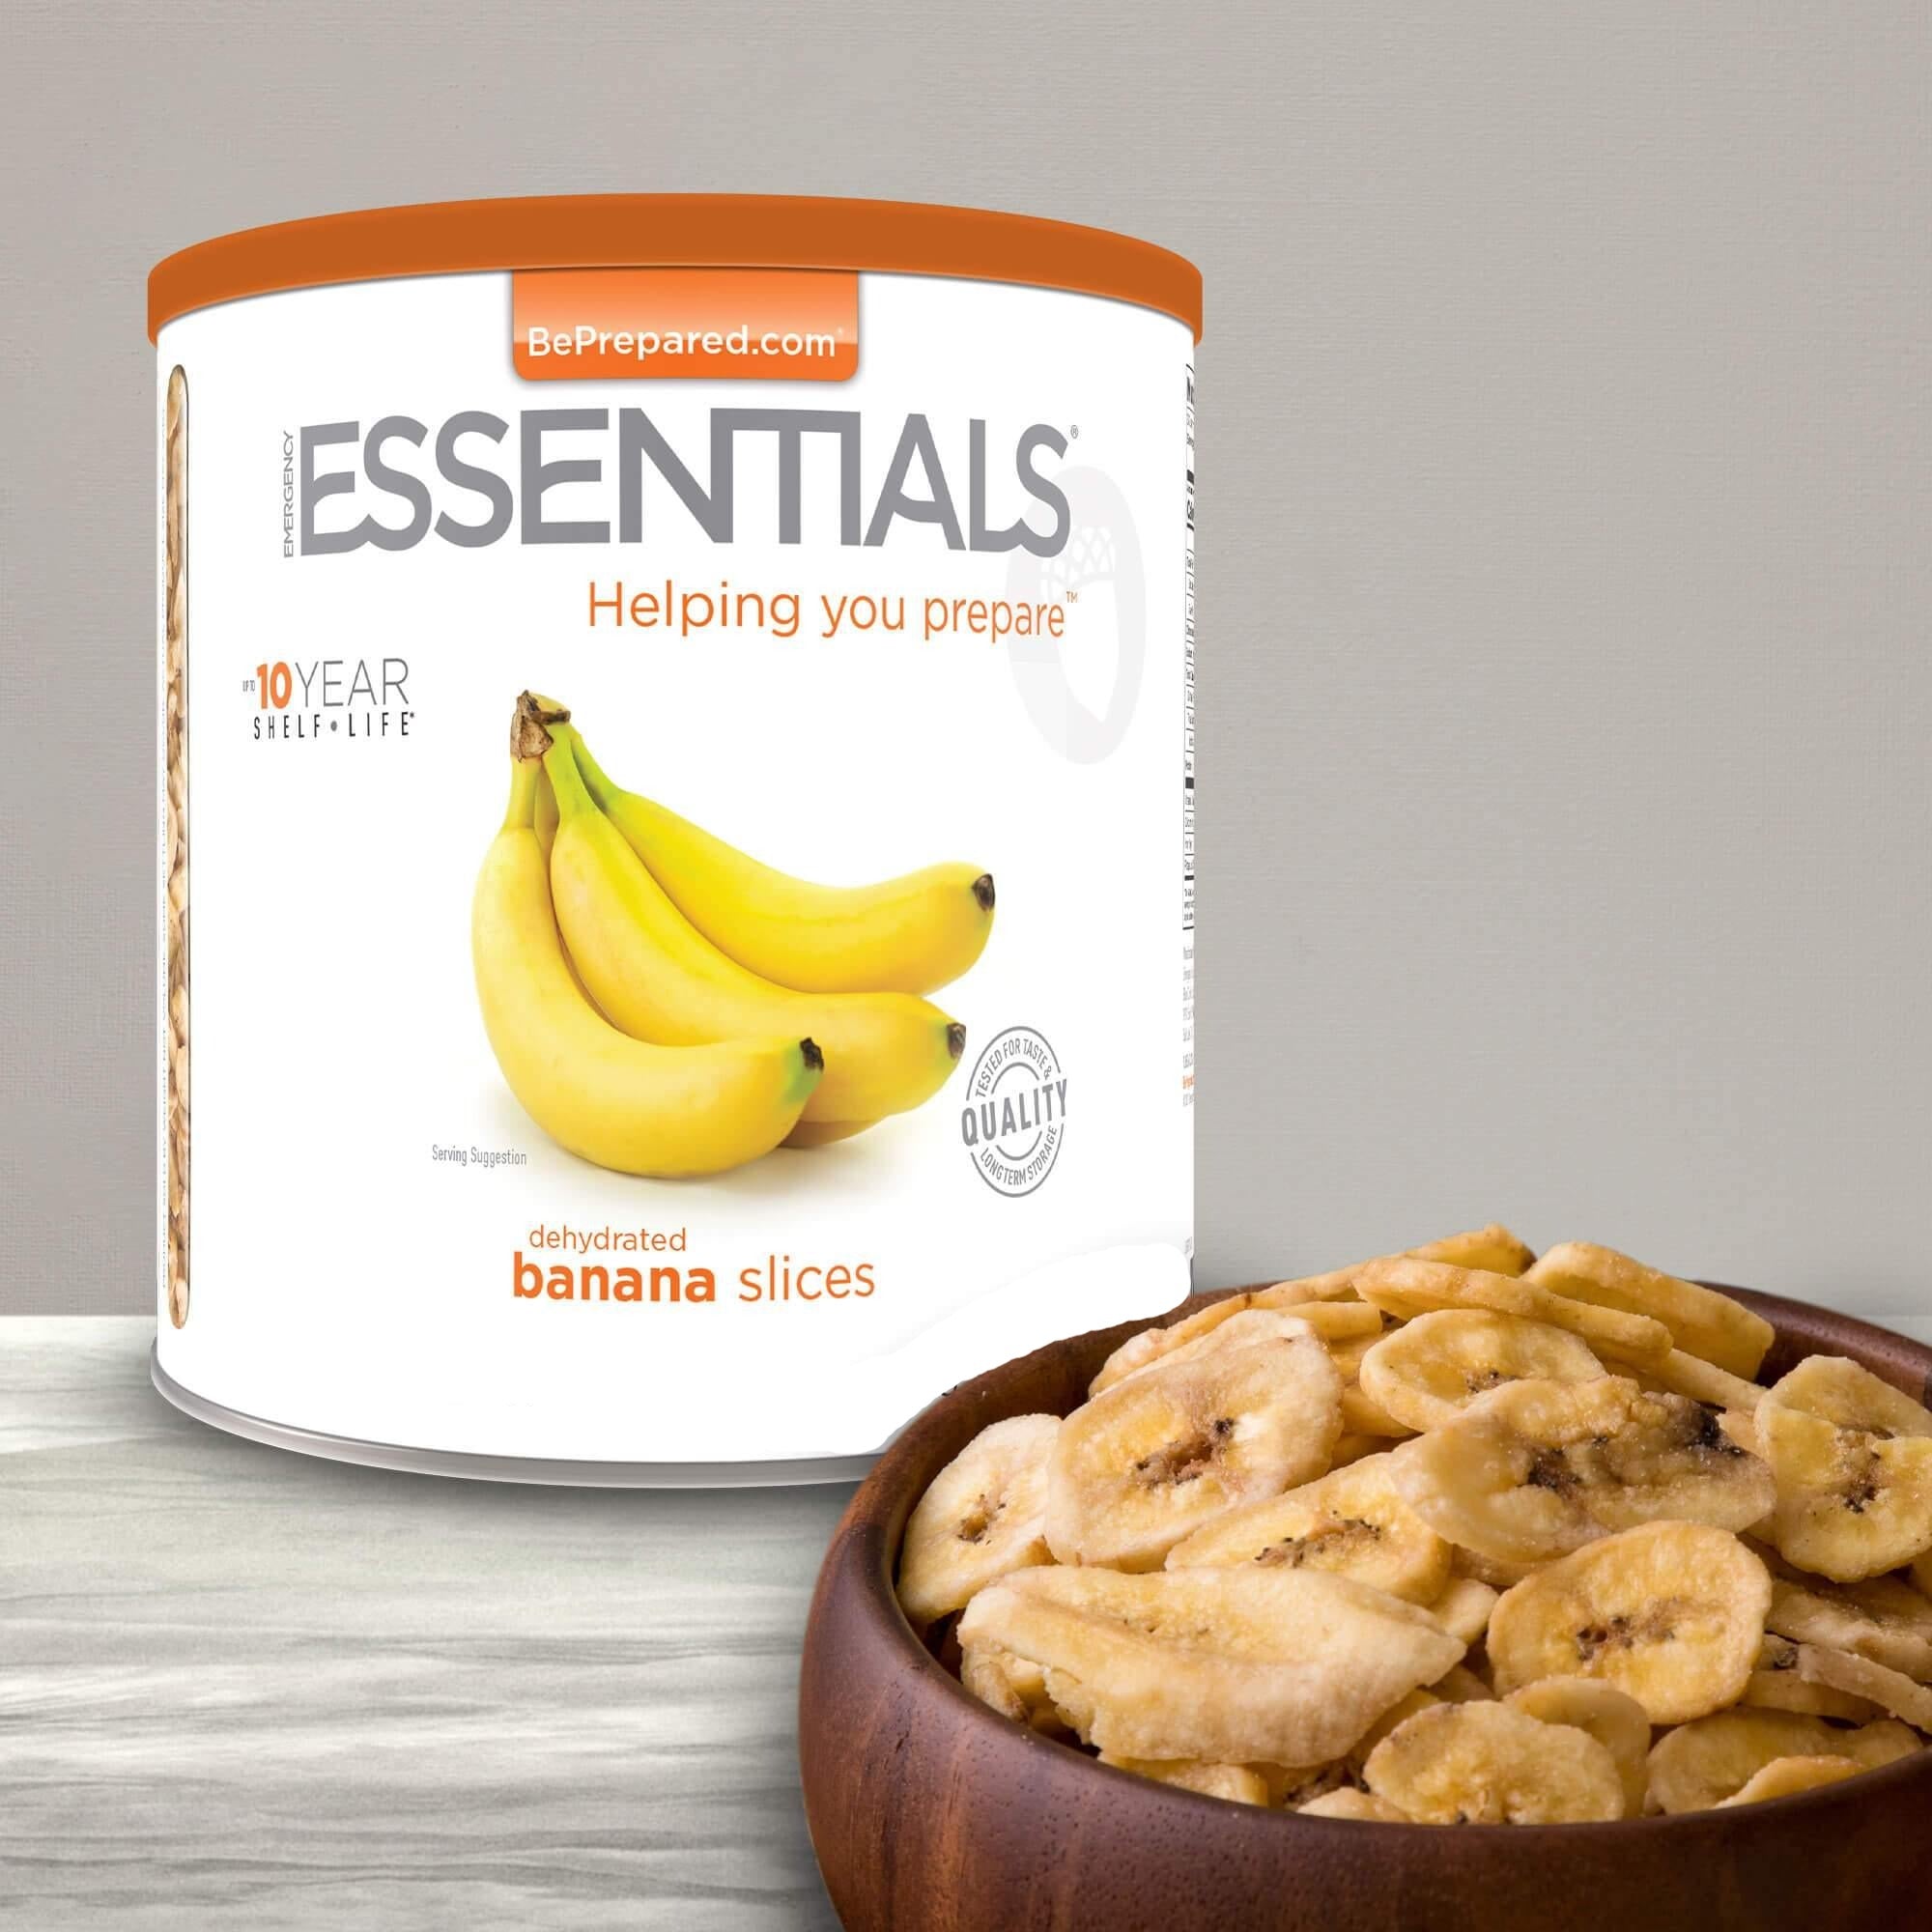
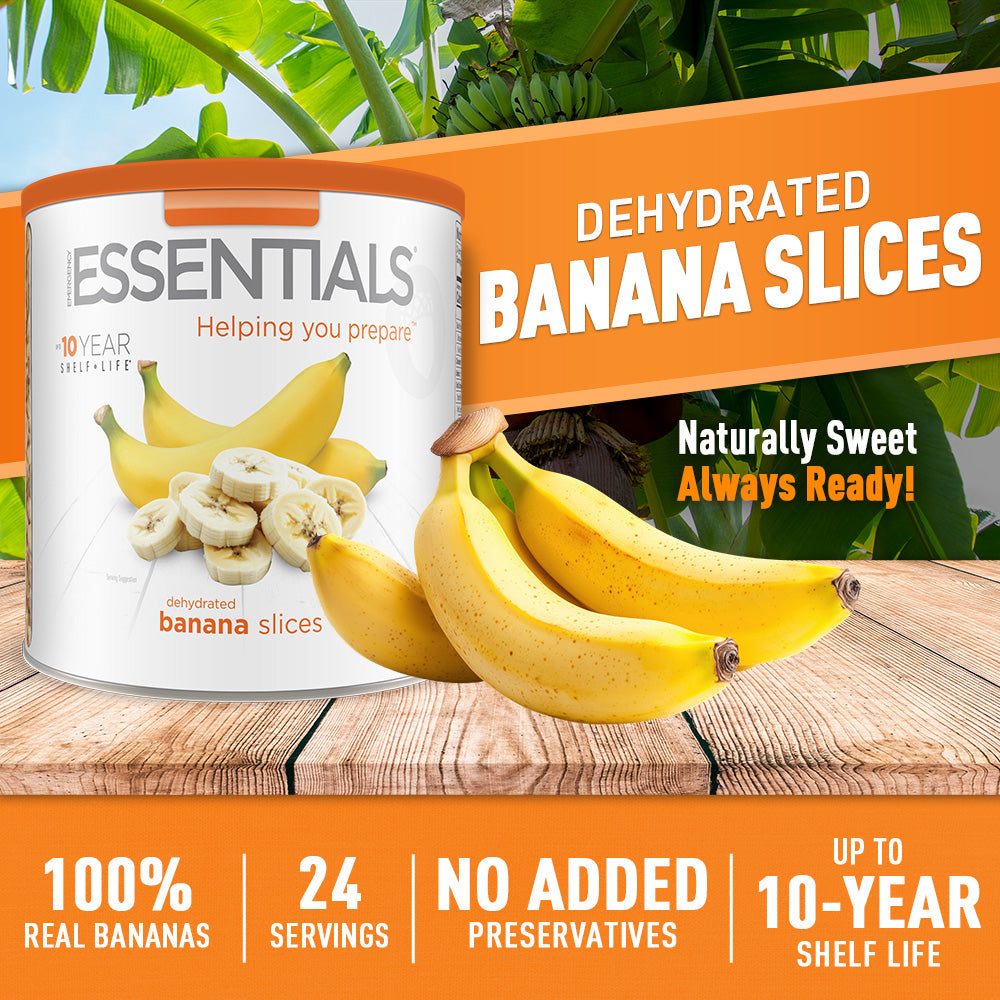
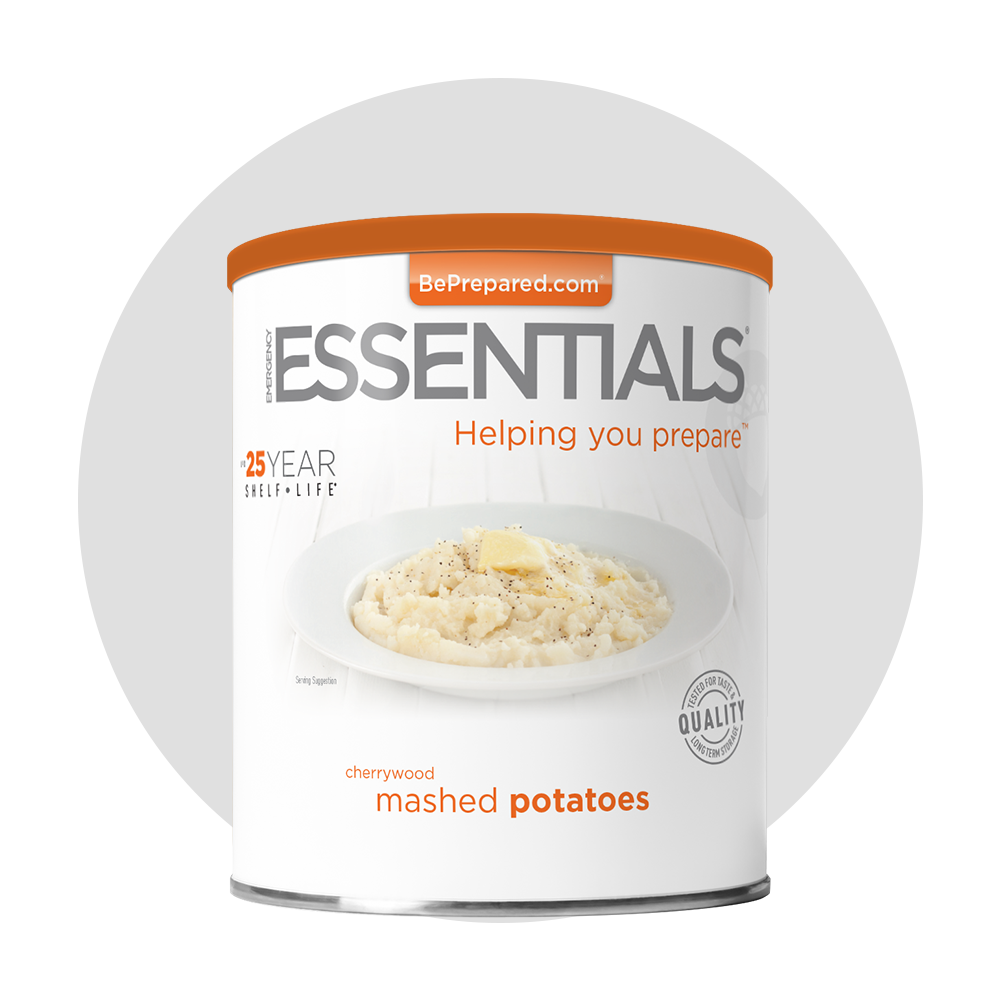
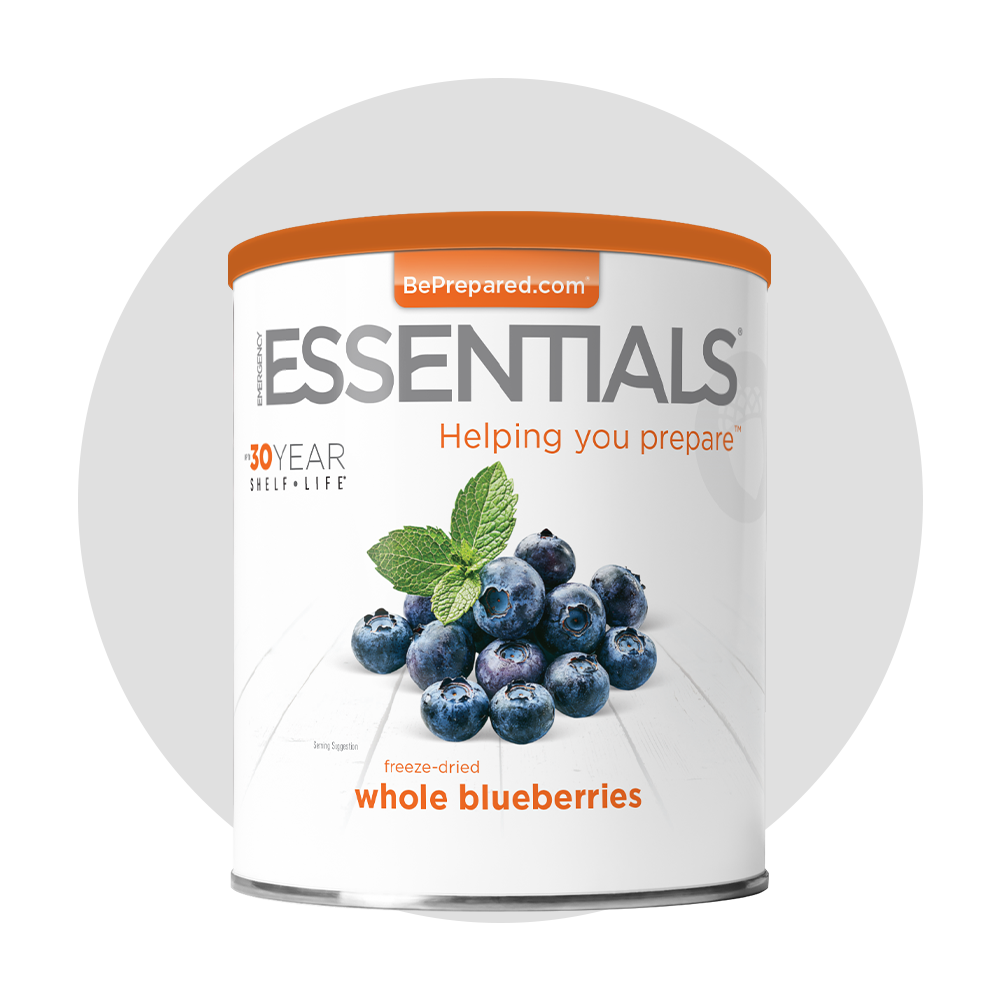
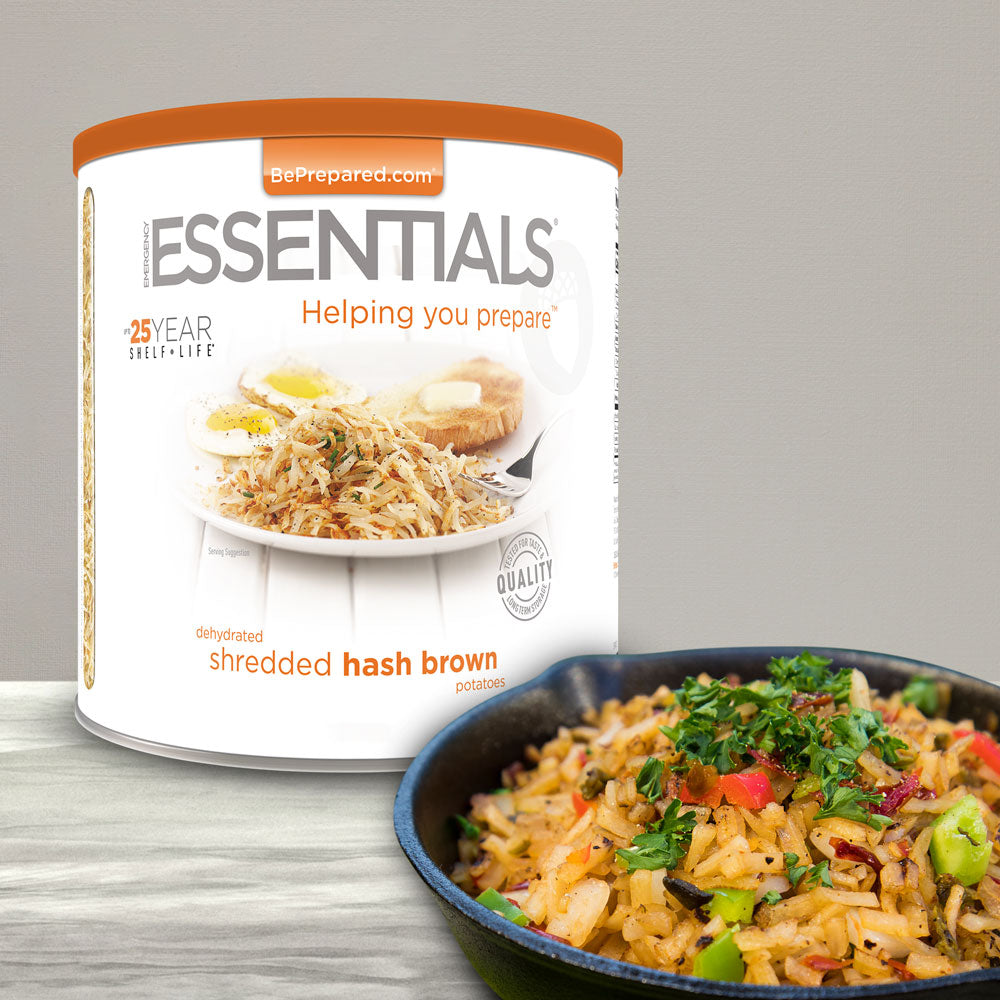
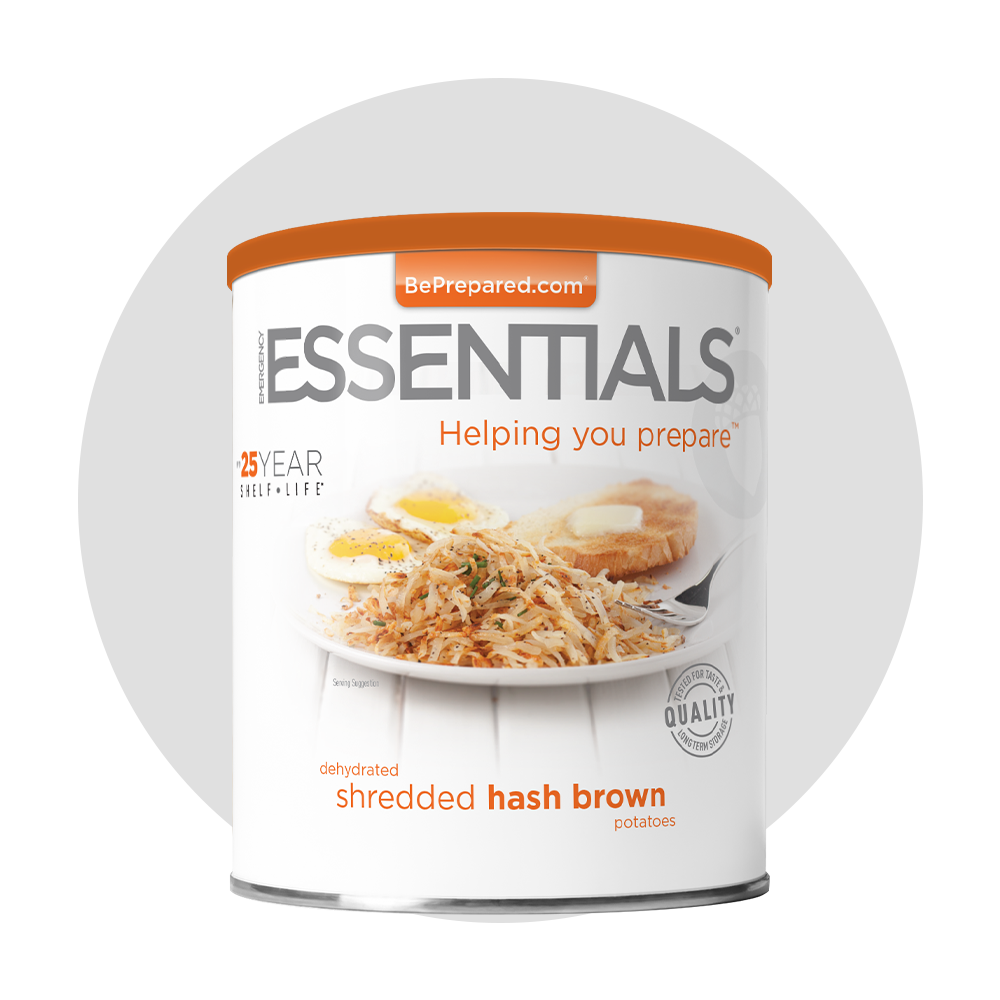
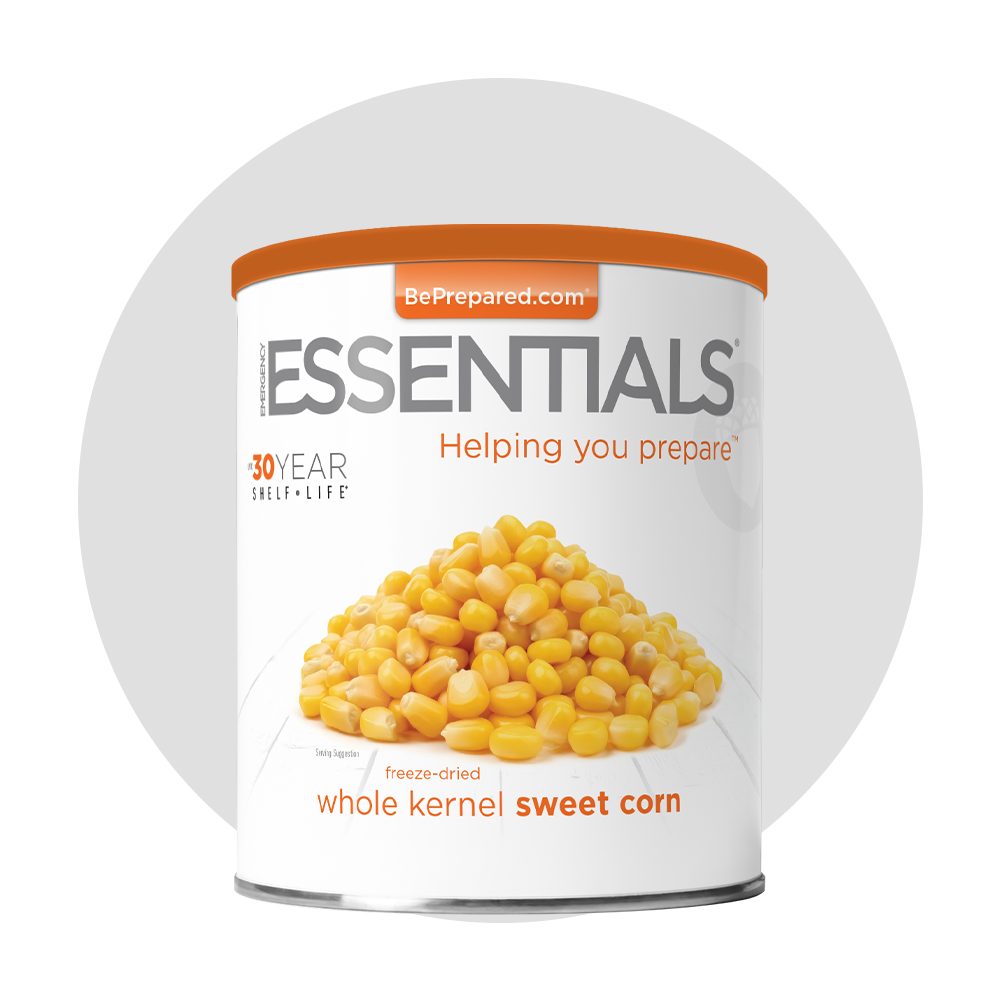
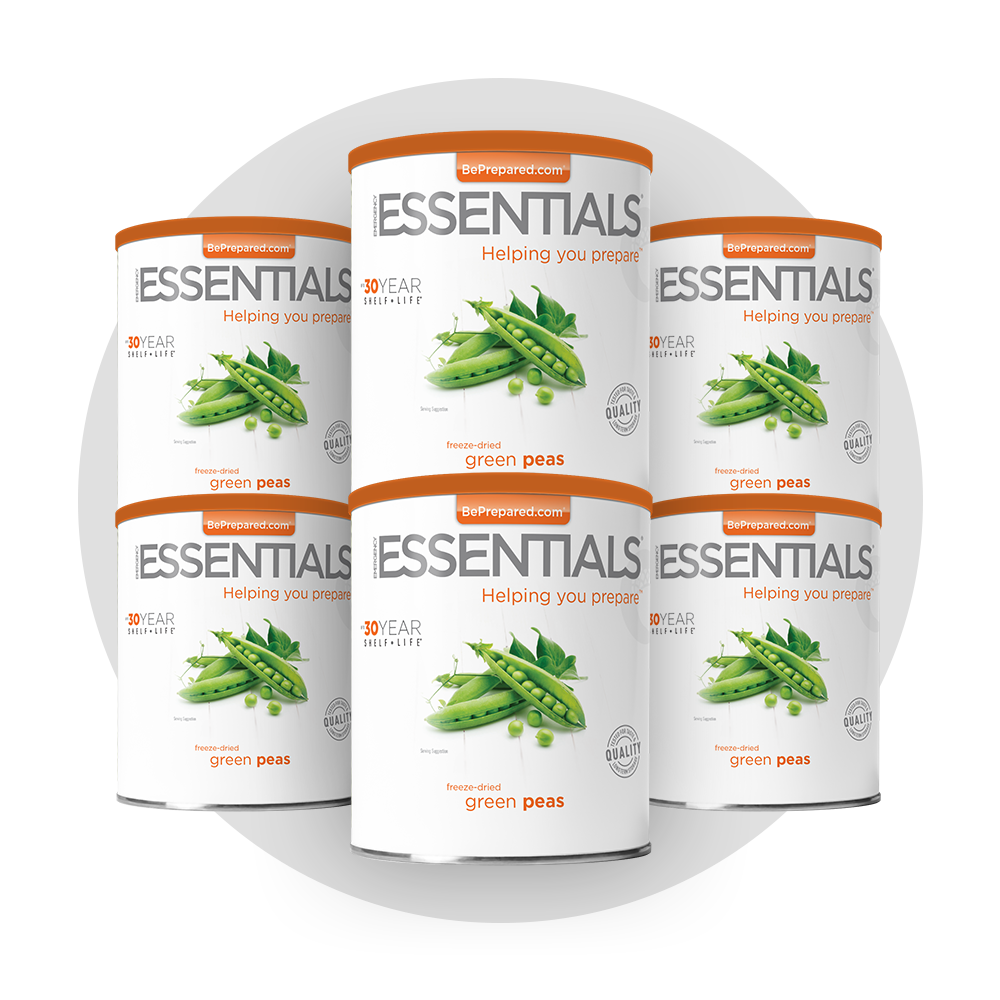
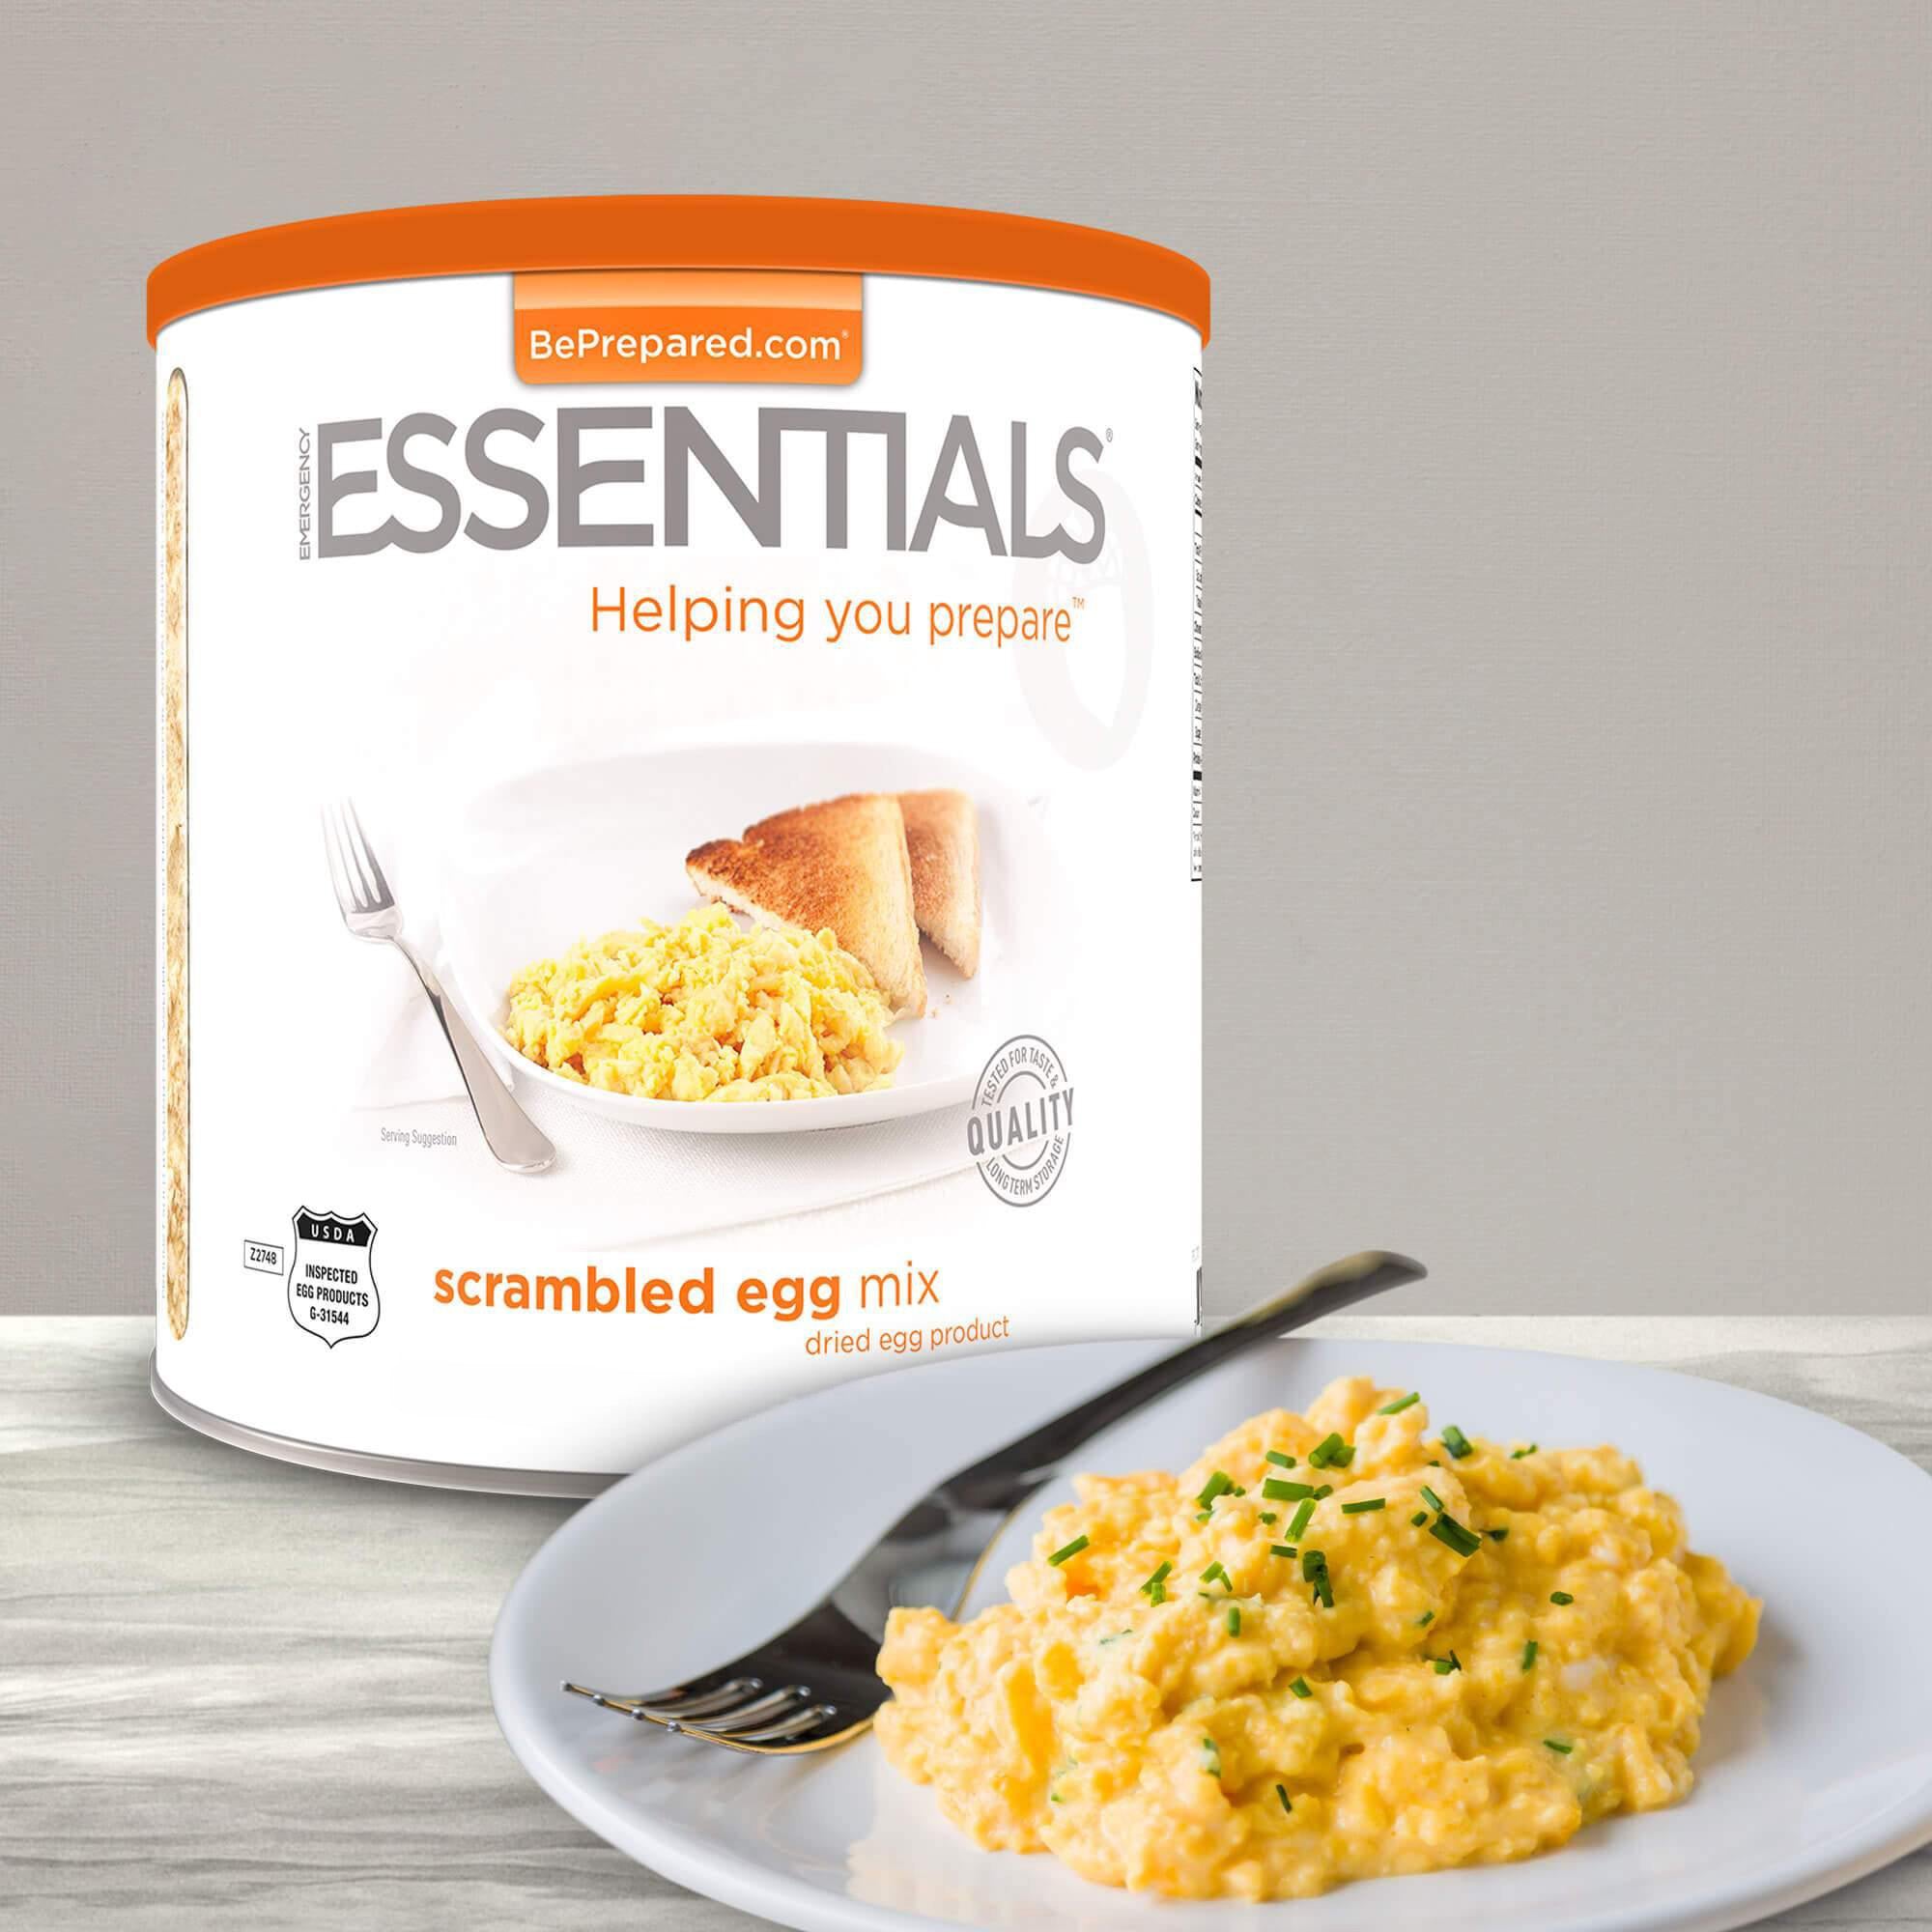
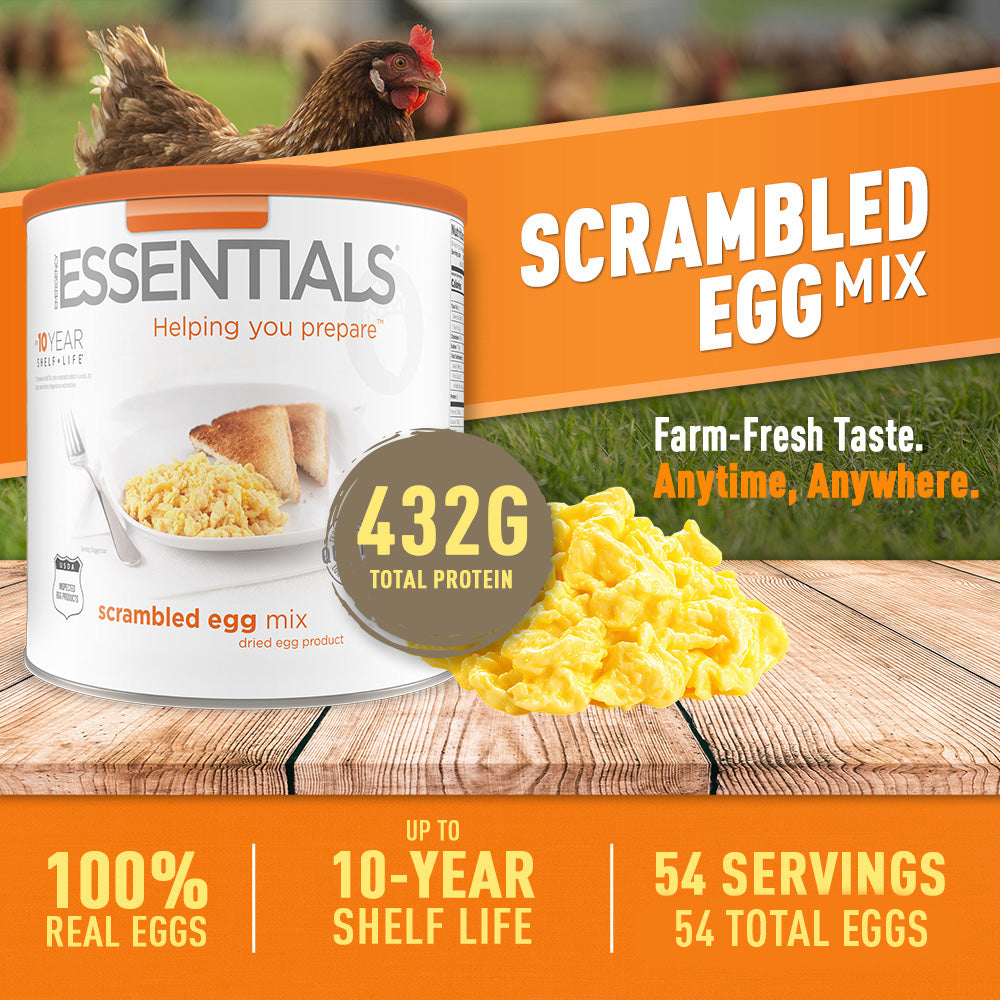
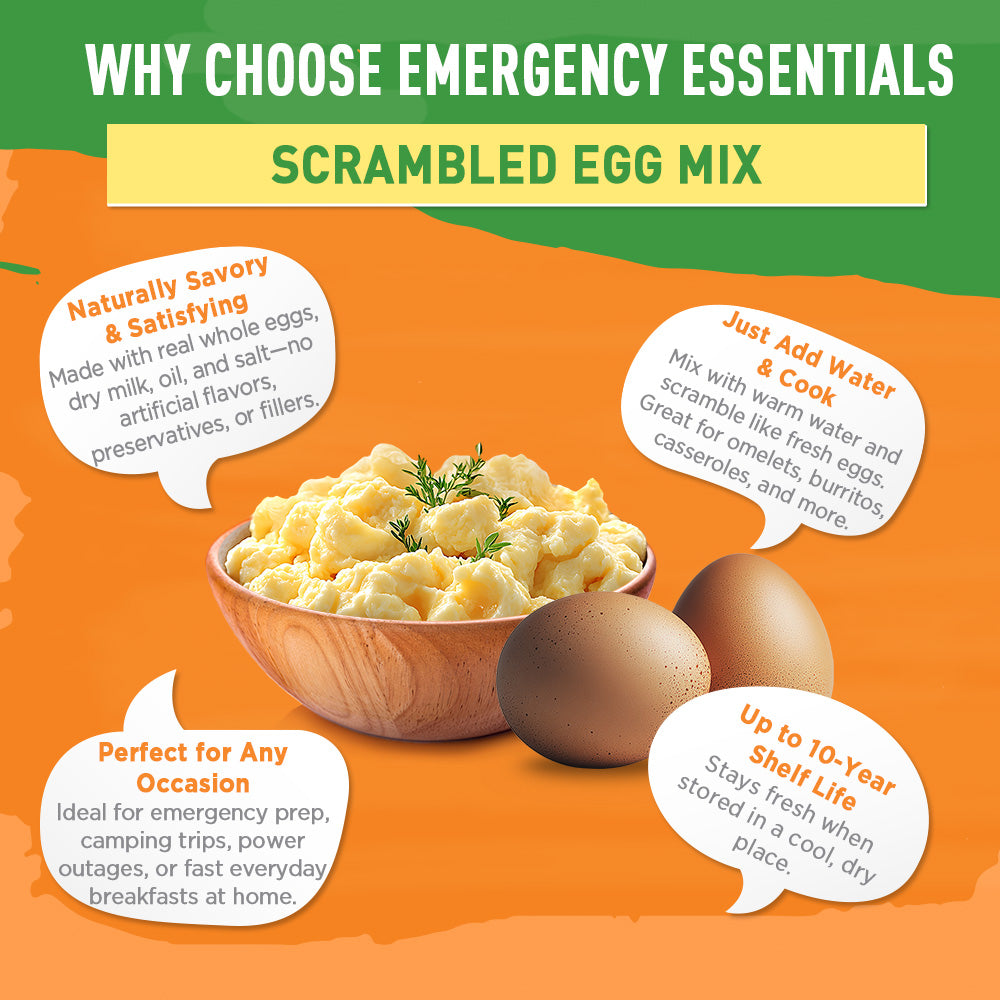
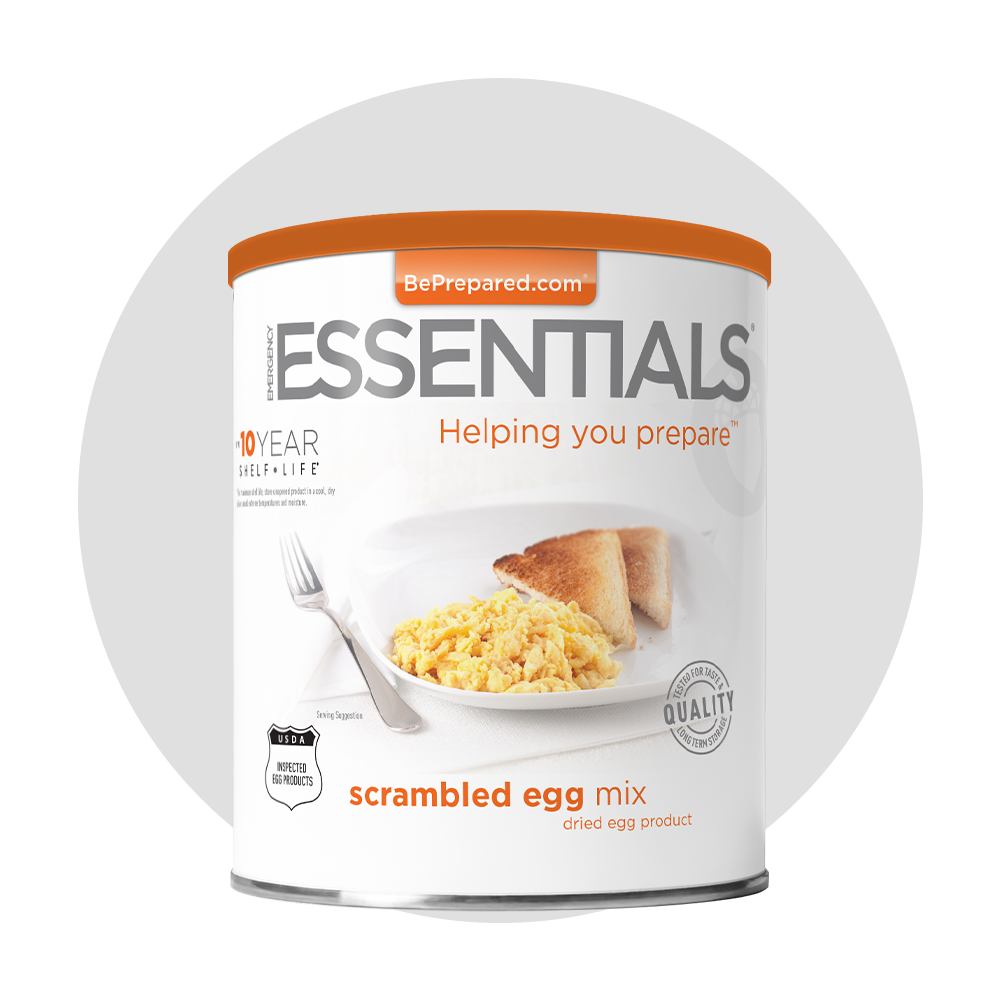
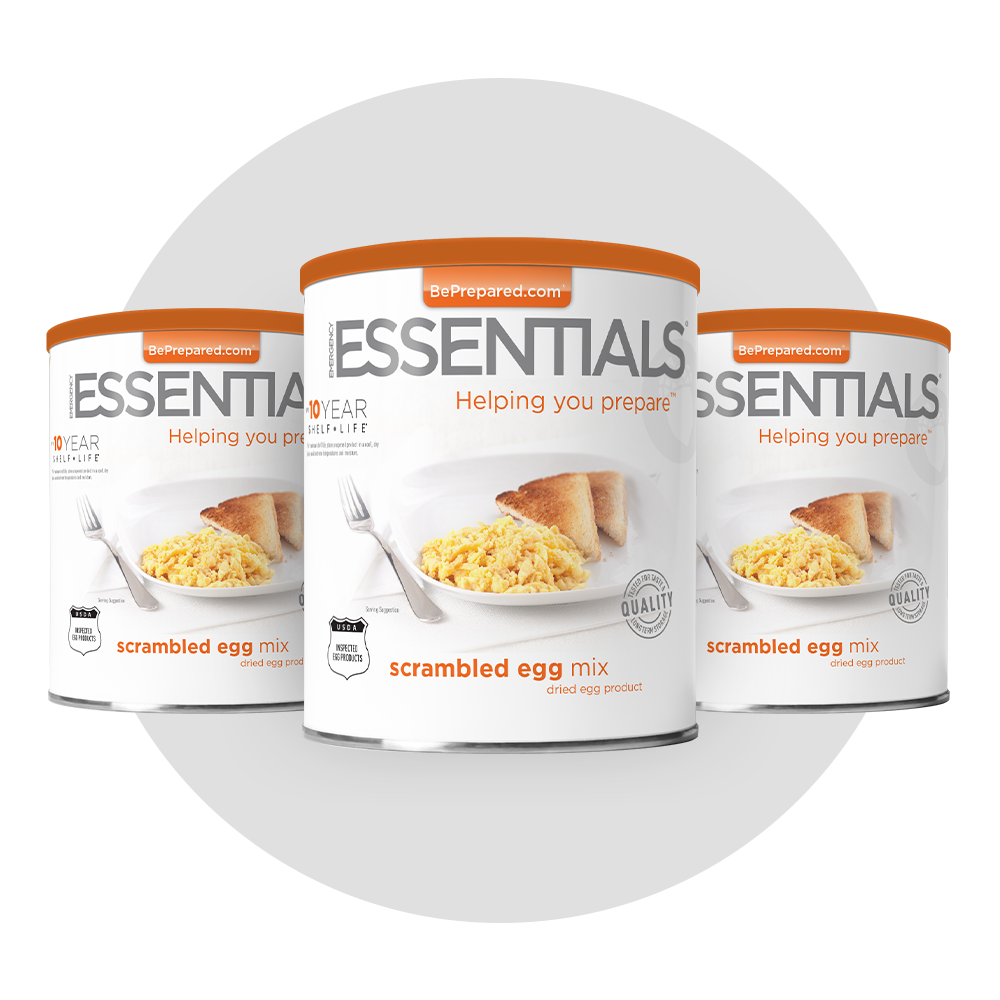
WHAT IS A #10 CAN?
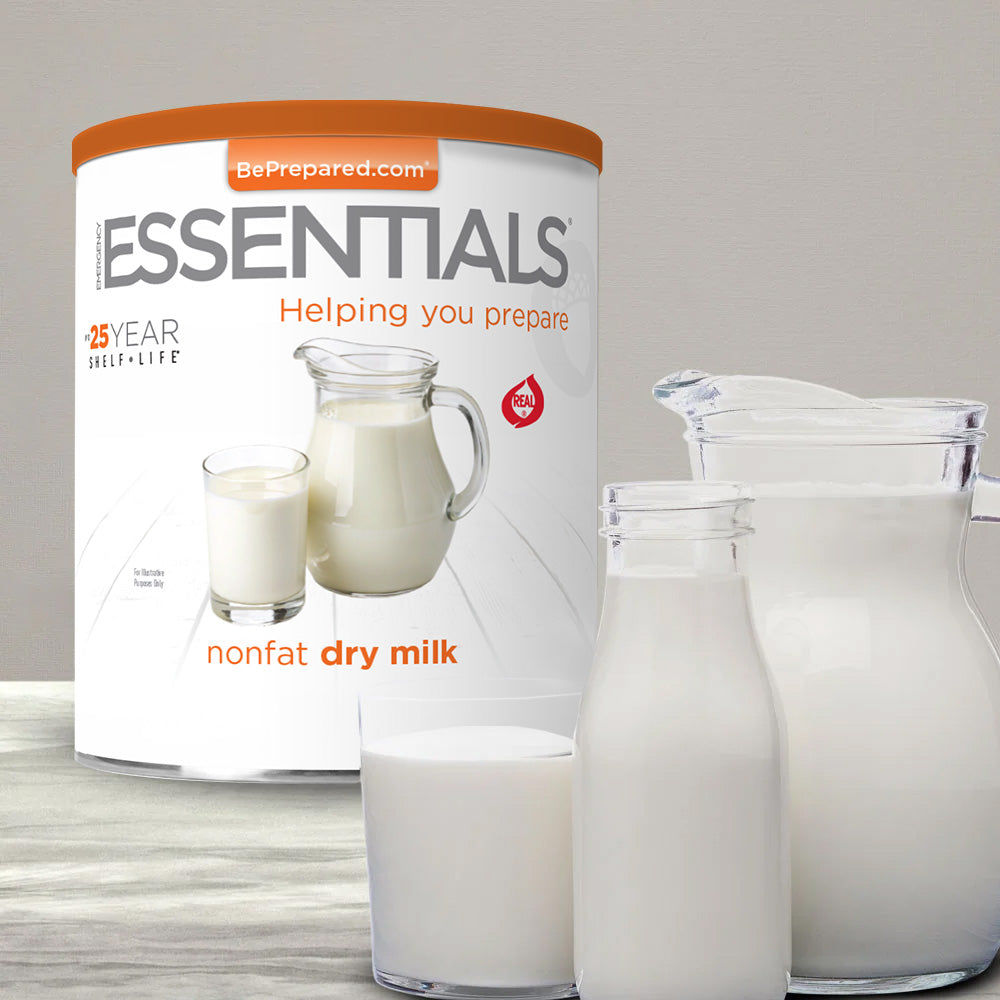
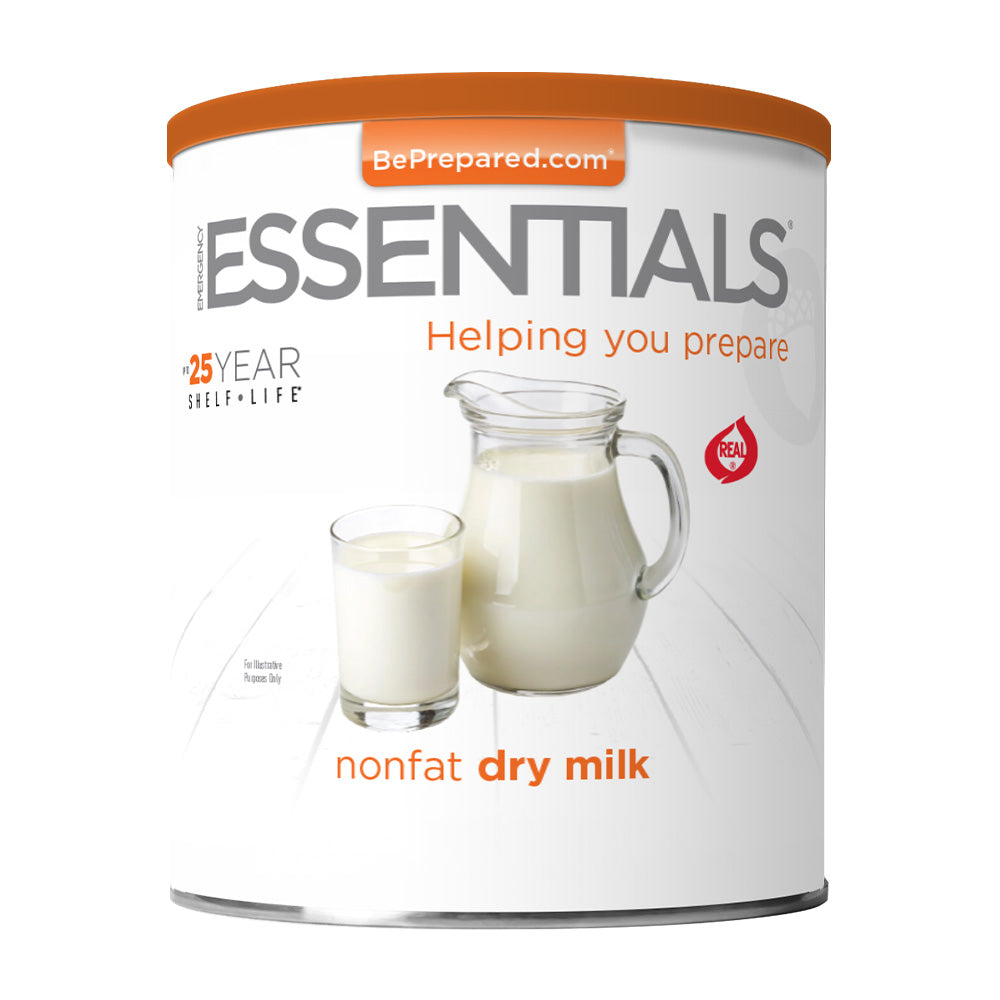
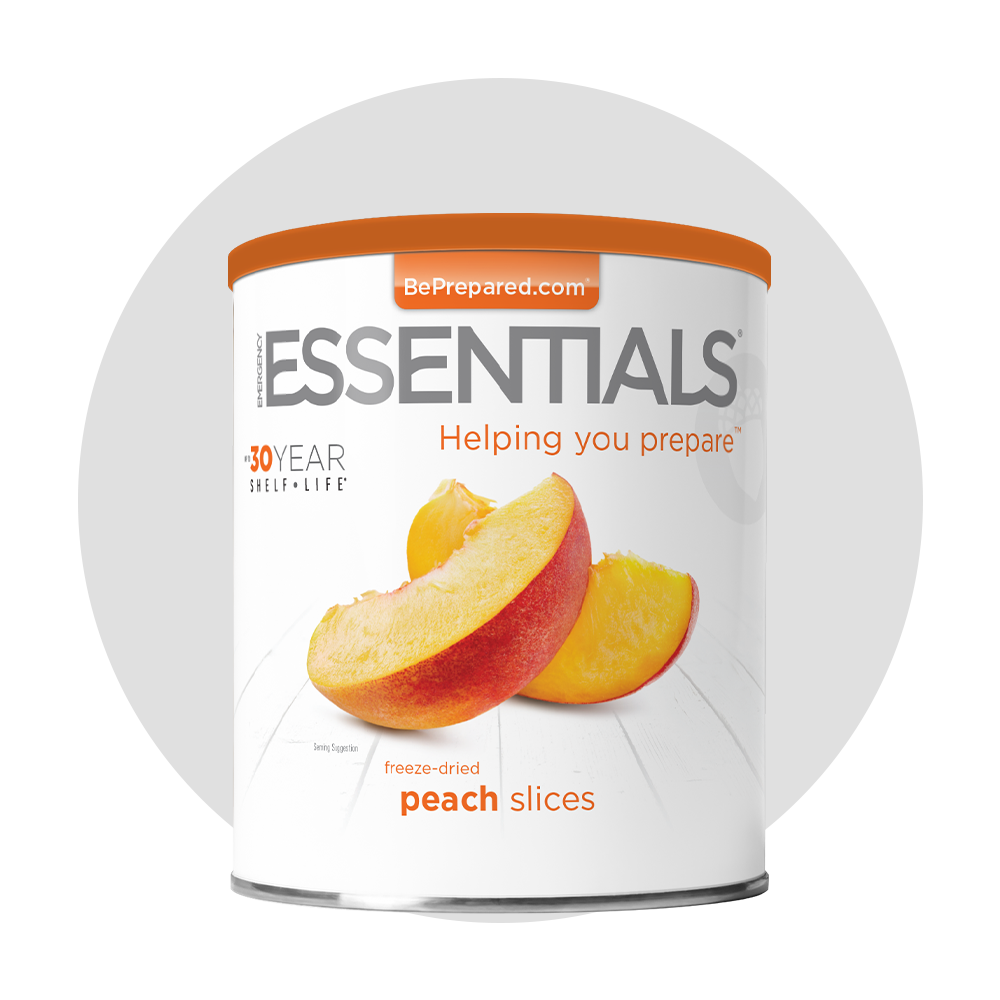
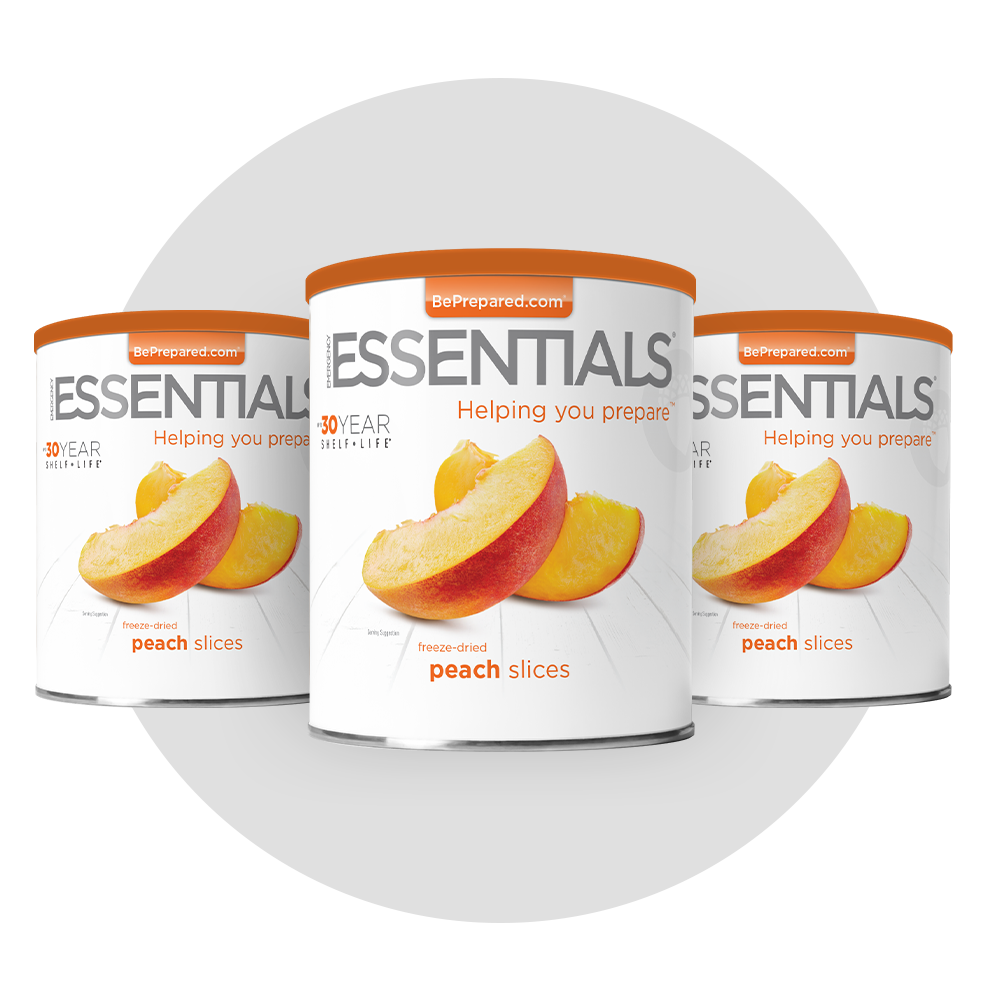
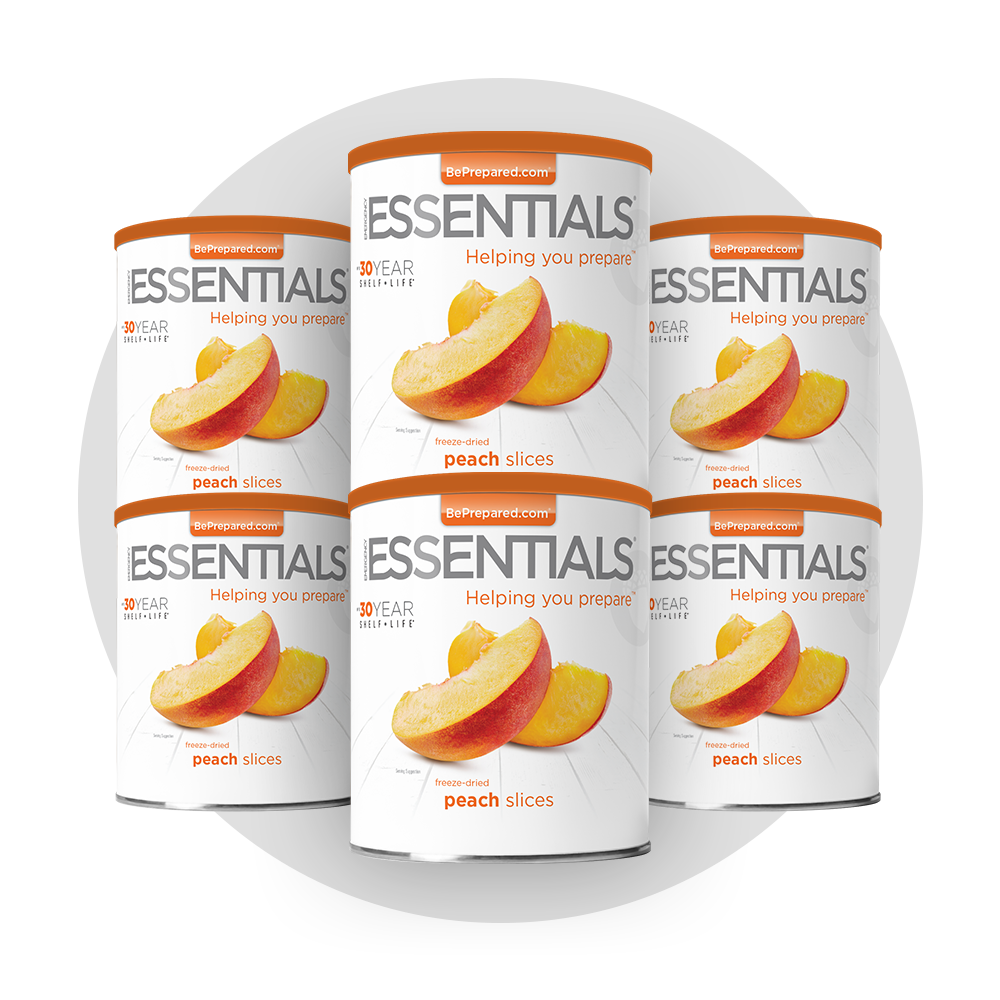
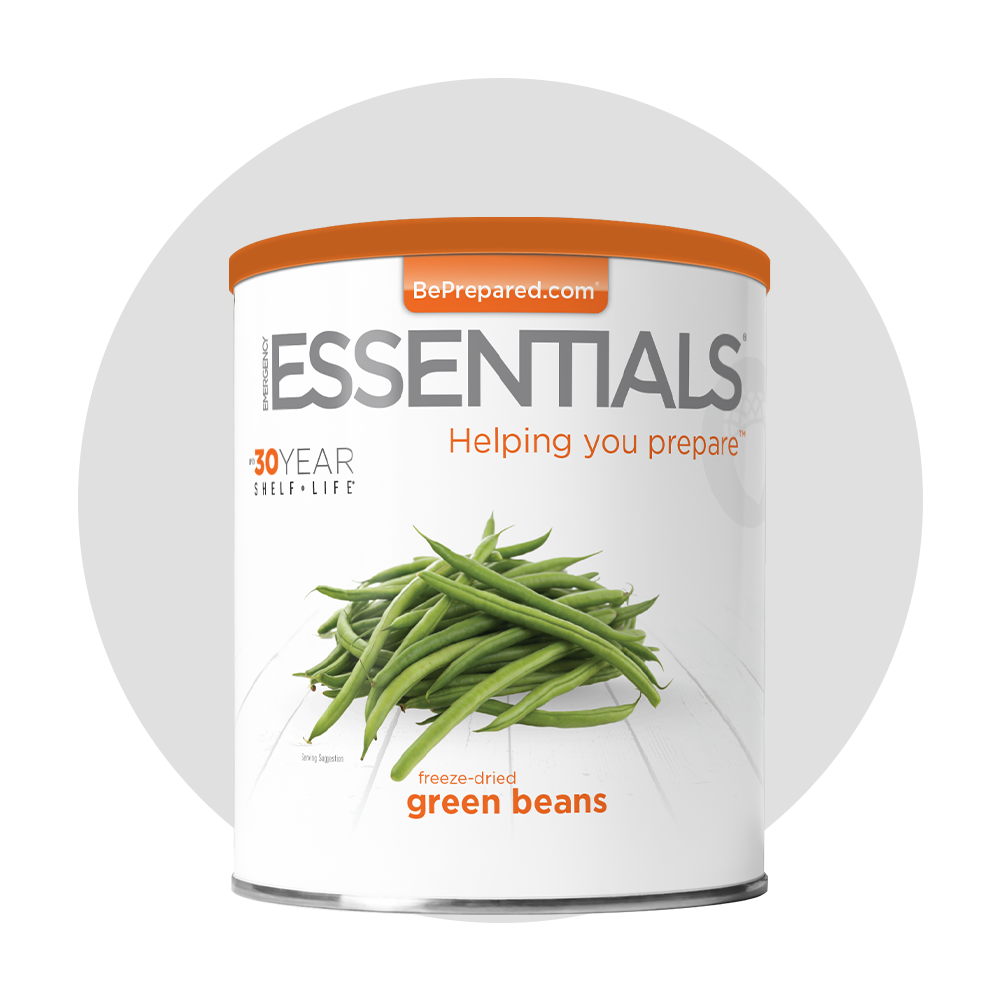
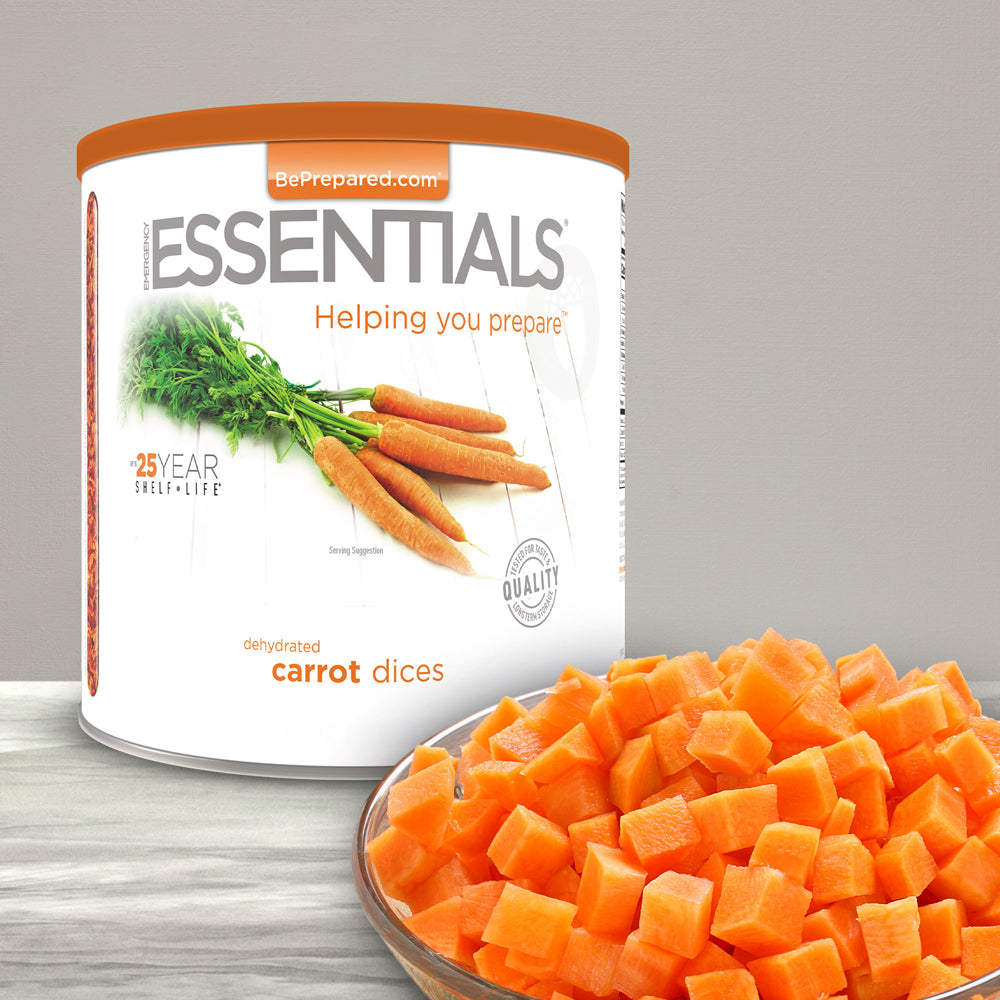
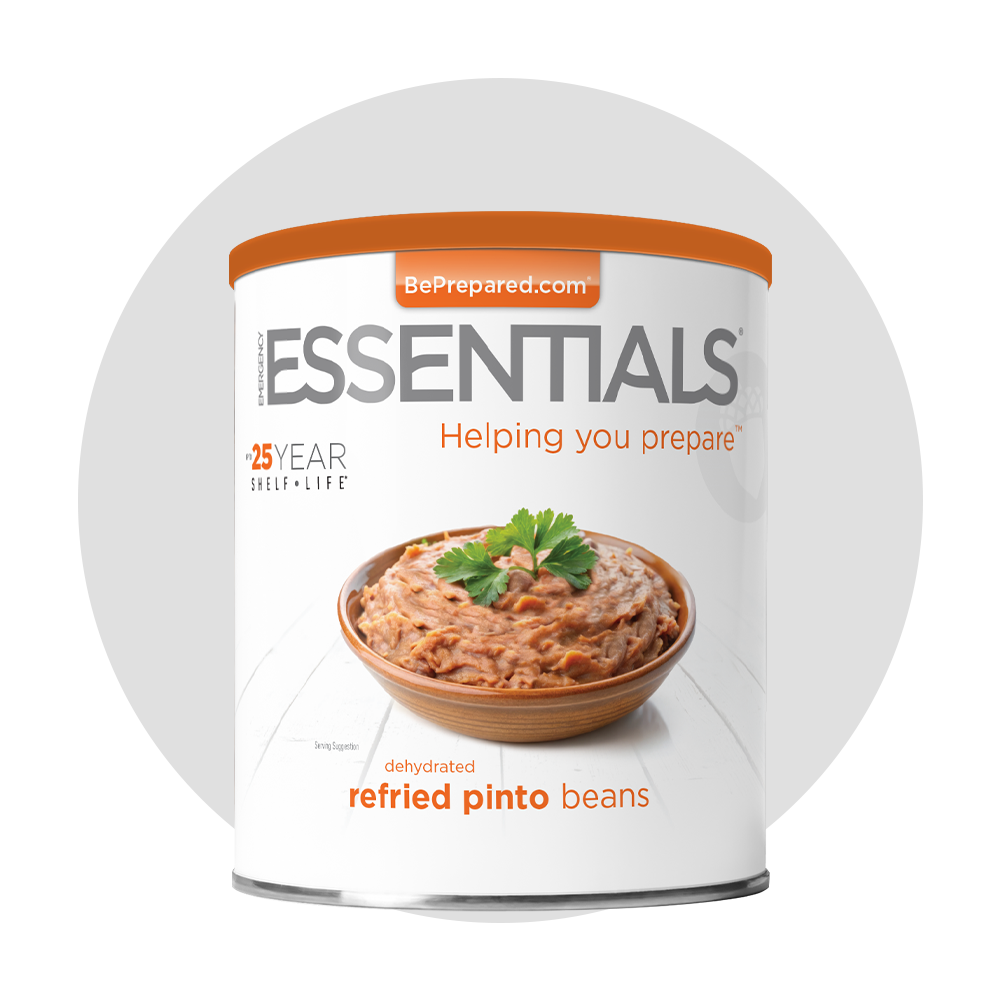
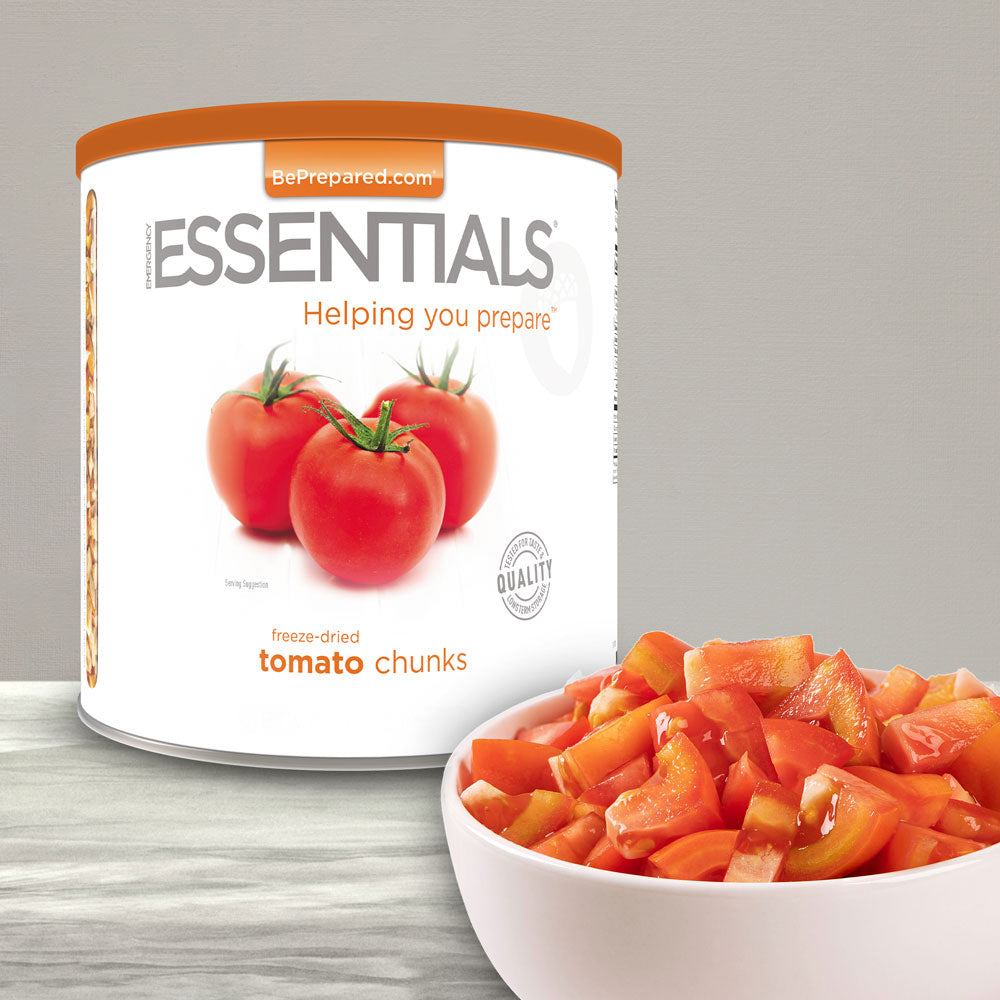
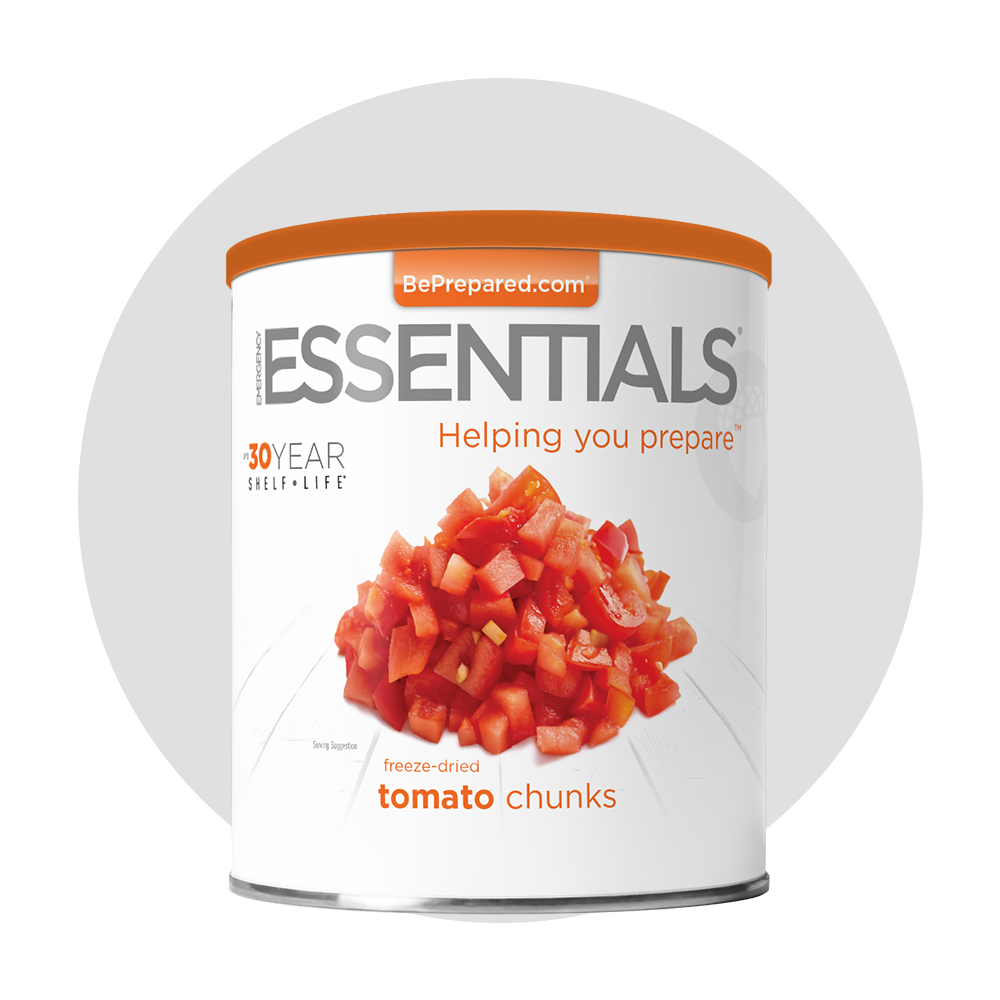
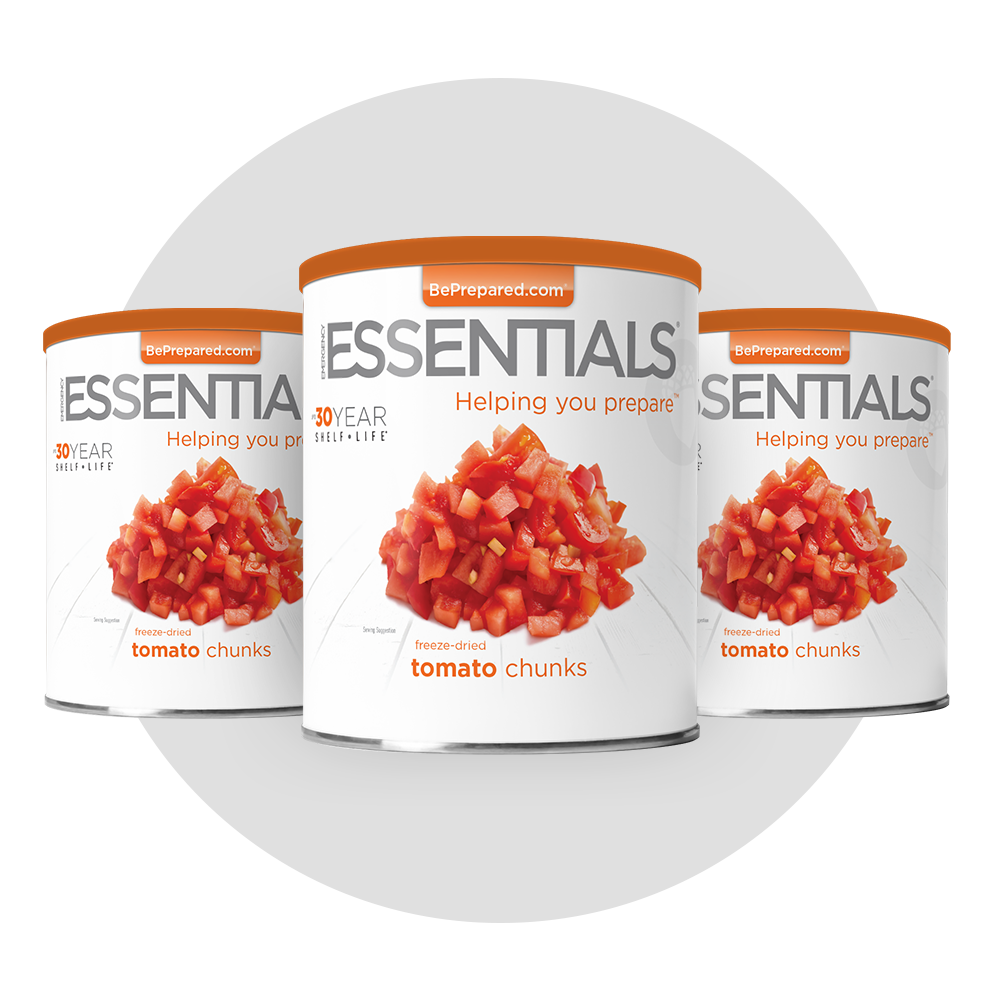
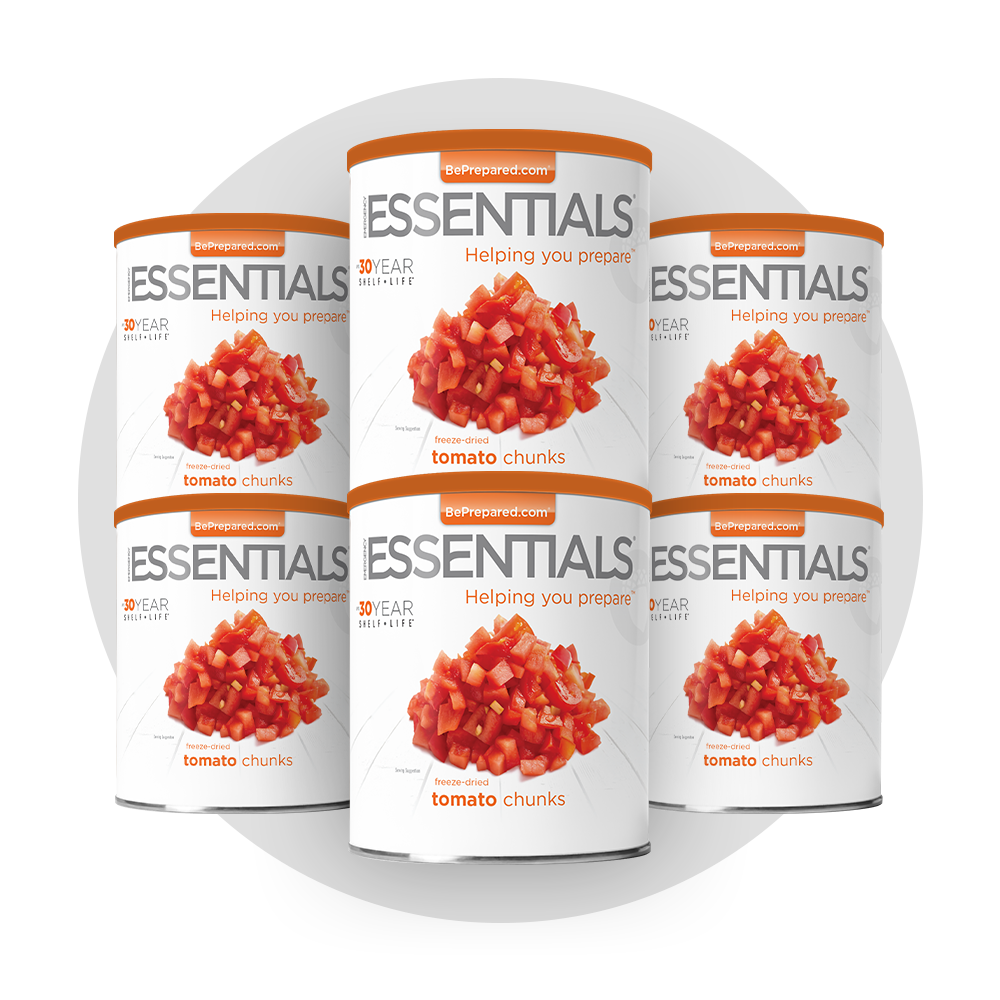
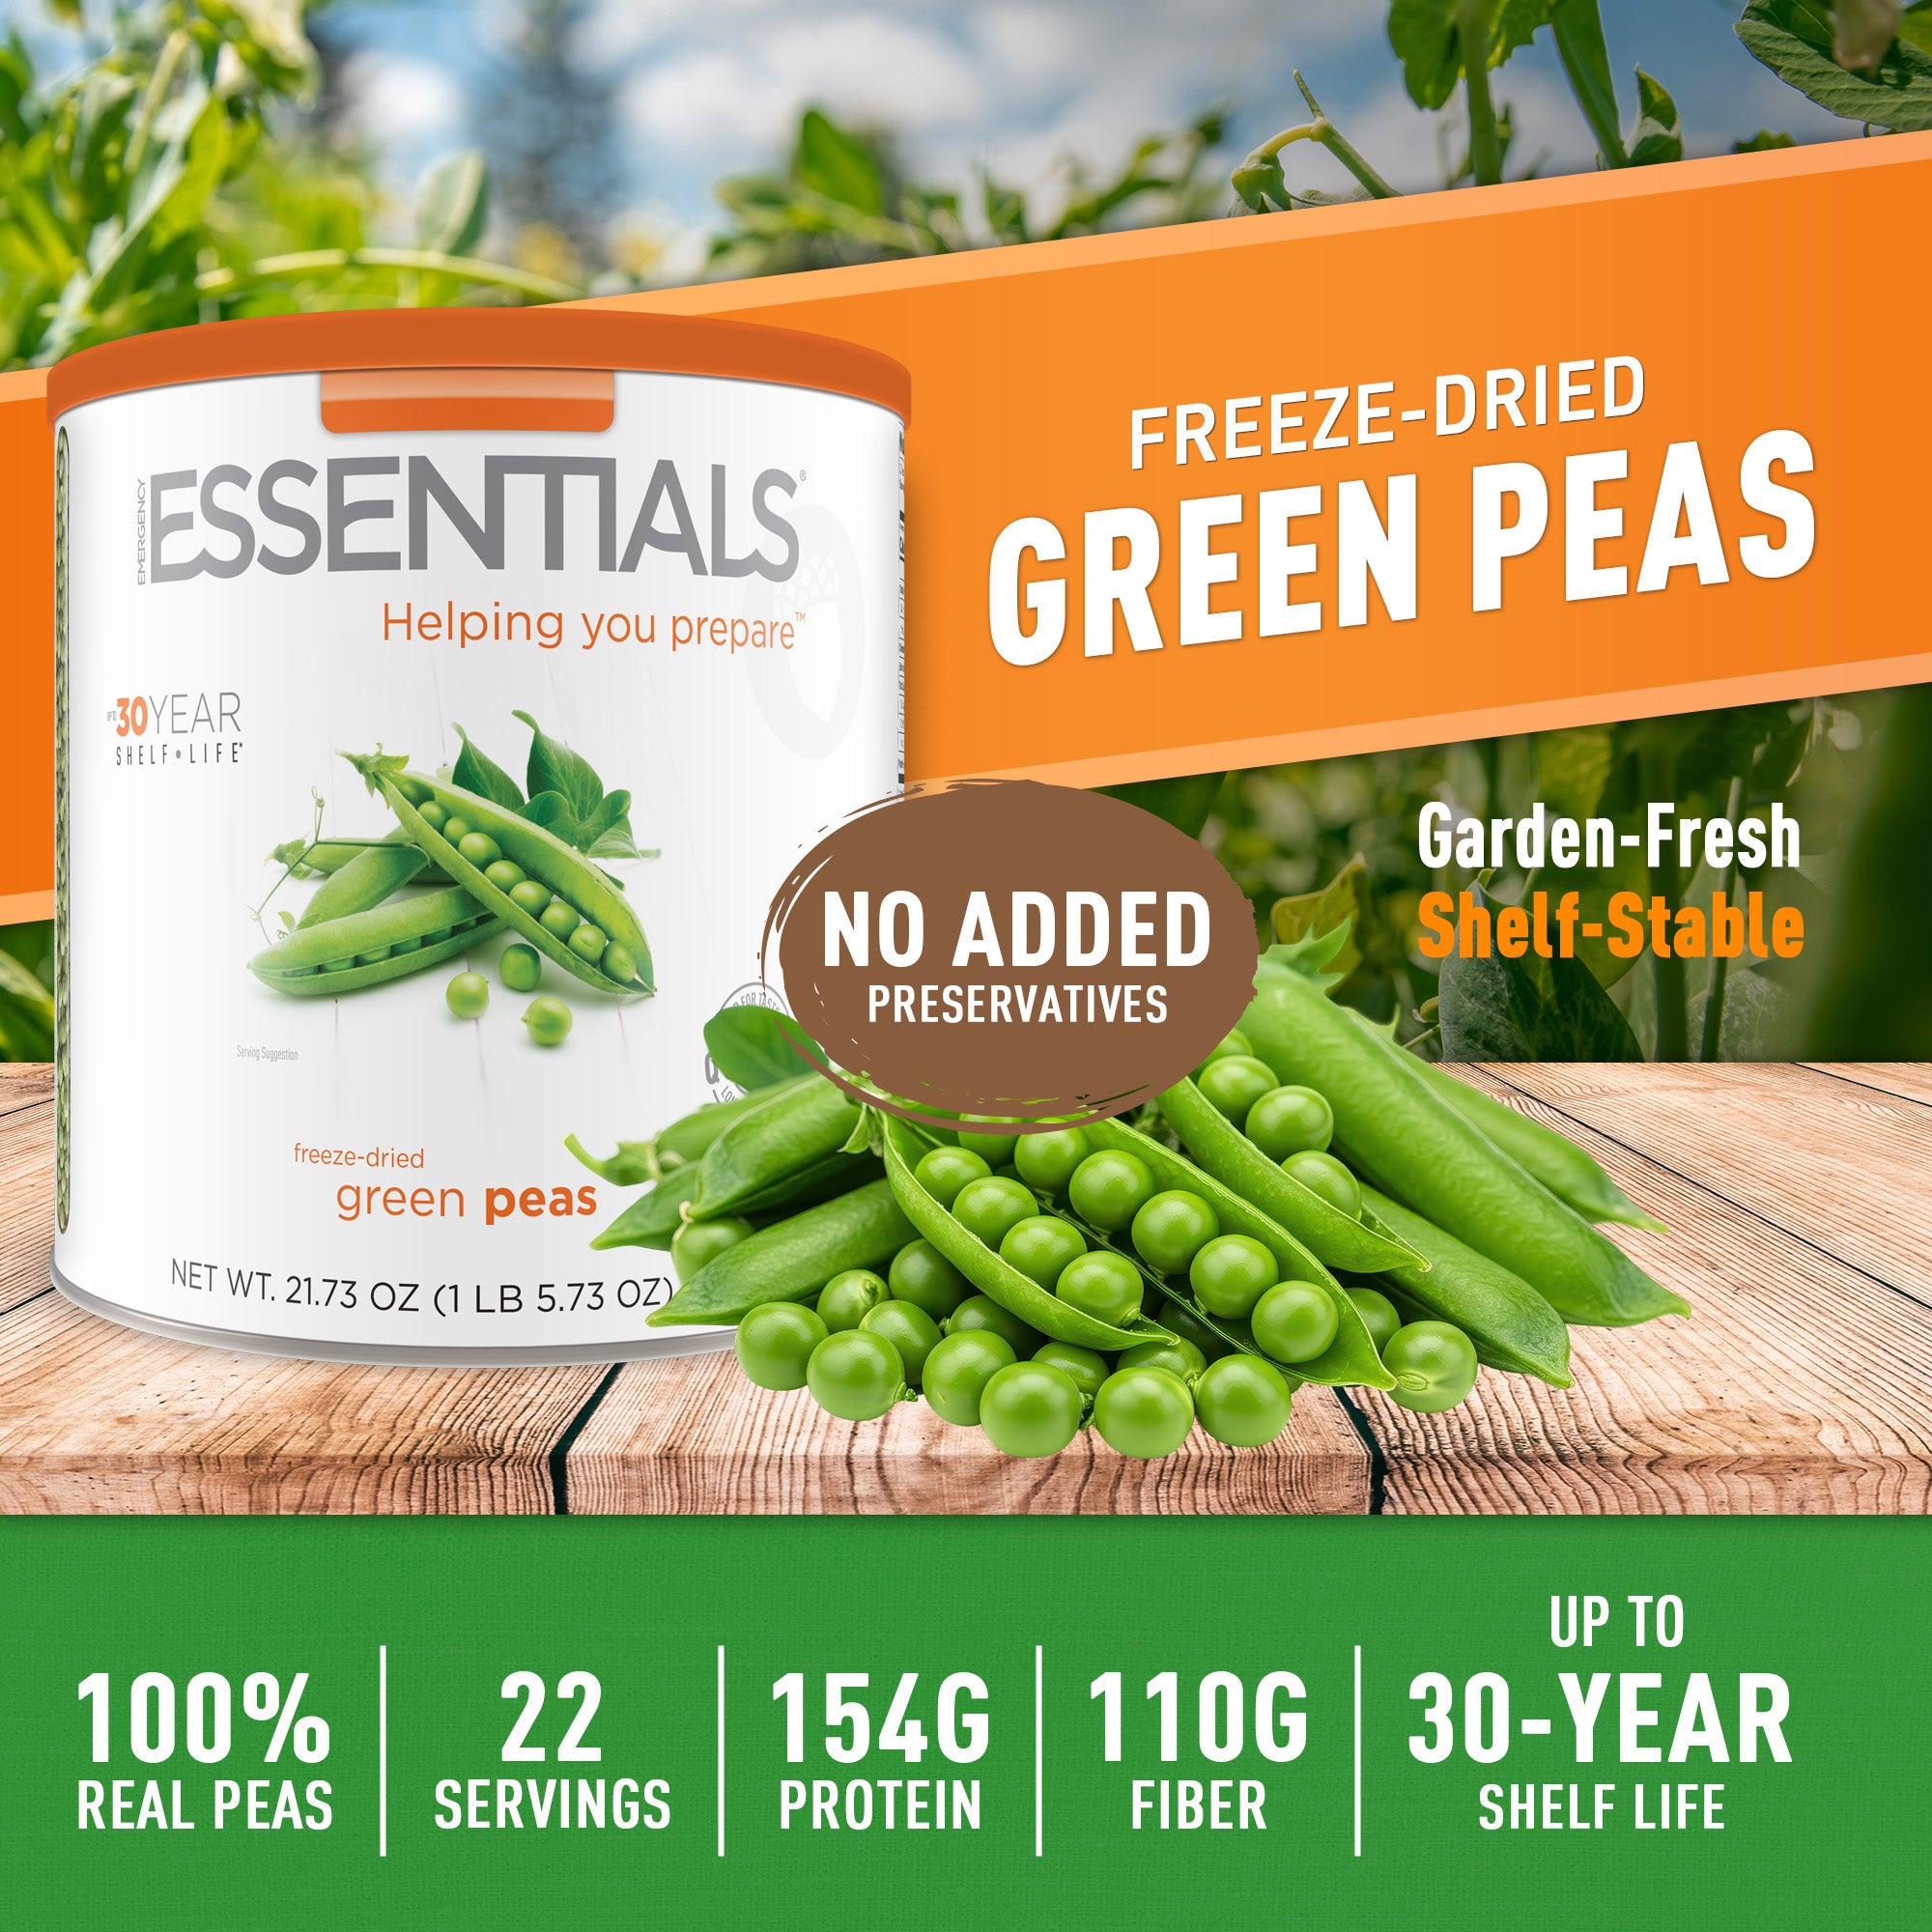
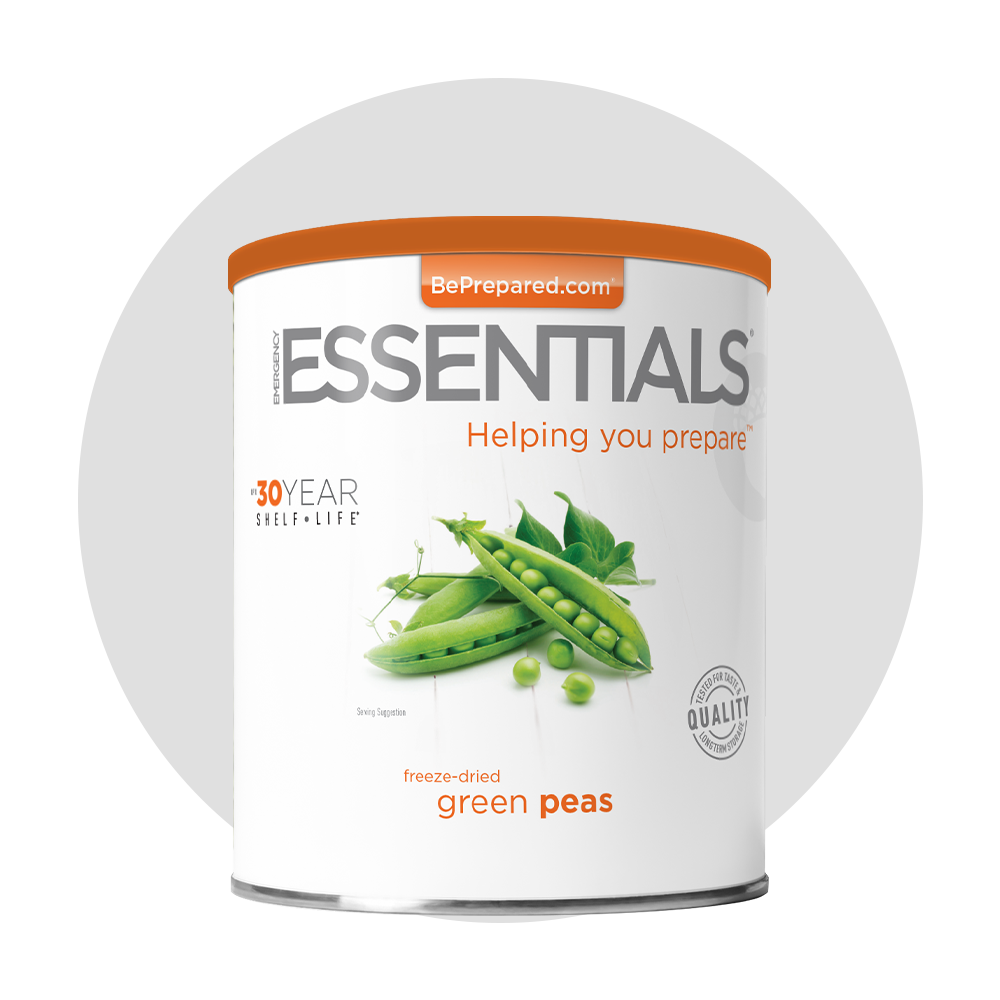
“#10” describes the container size, rather than the weight or number of servings inside. The type of food dictates how much it weighs and how many portions it provides.
WHY IS THERE EMPTY SPACE INSIDE MY CAN?
Emergency Essentials foods are sold by net weight, not volume. Settling during transit is normal. Always gauge your supply by listed net weight rather than headspace beneath the lid.

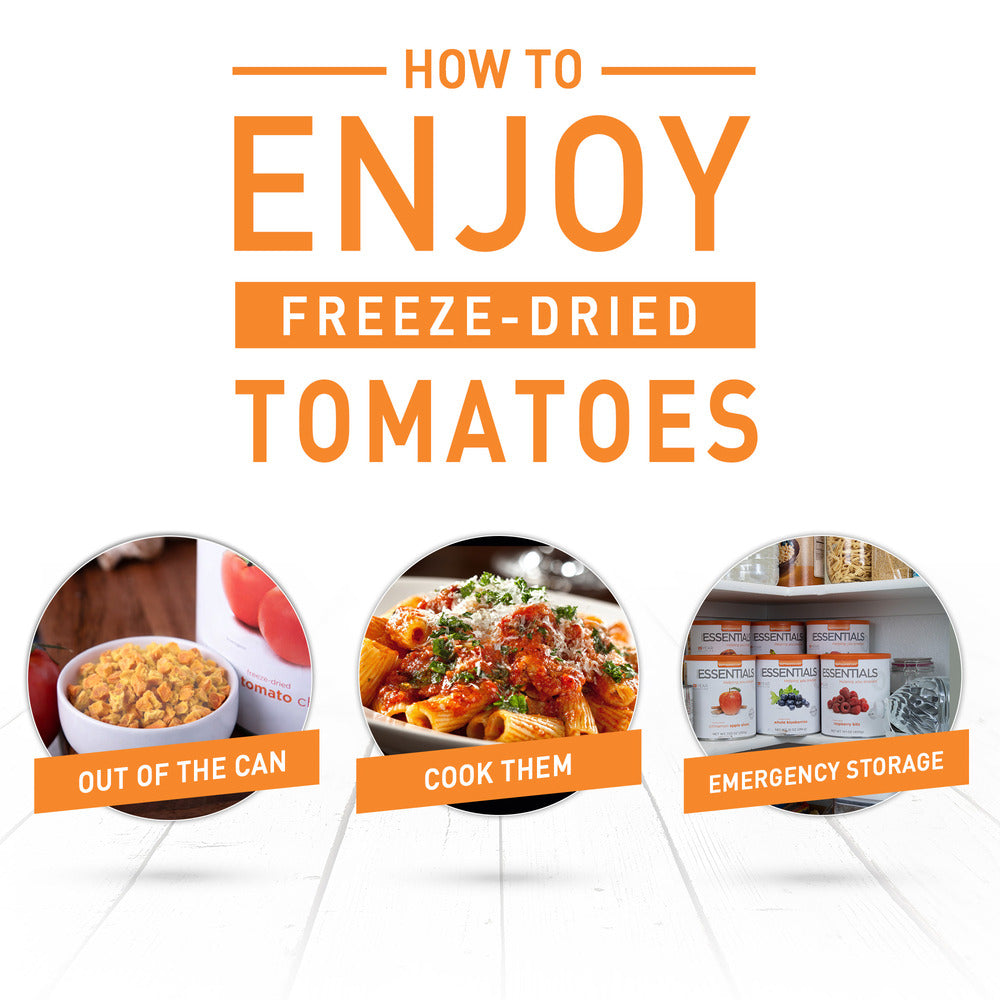
STORAGE, HANDLING, & SAFETY
Storing food correctly keeps its shelf life intact.

Inspection & What’s Inside
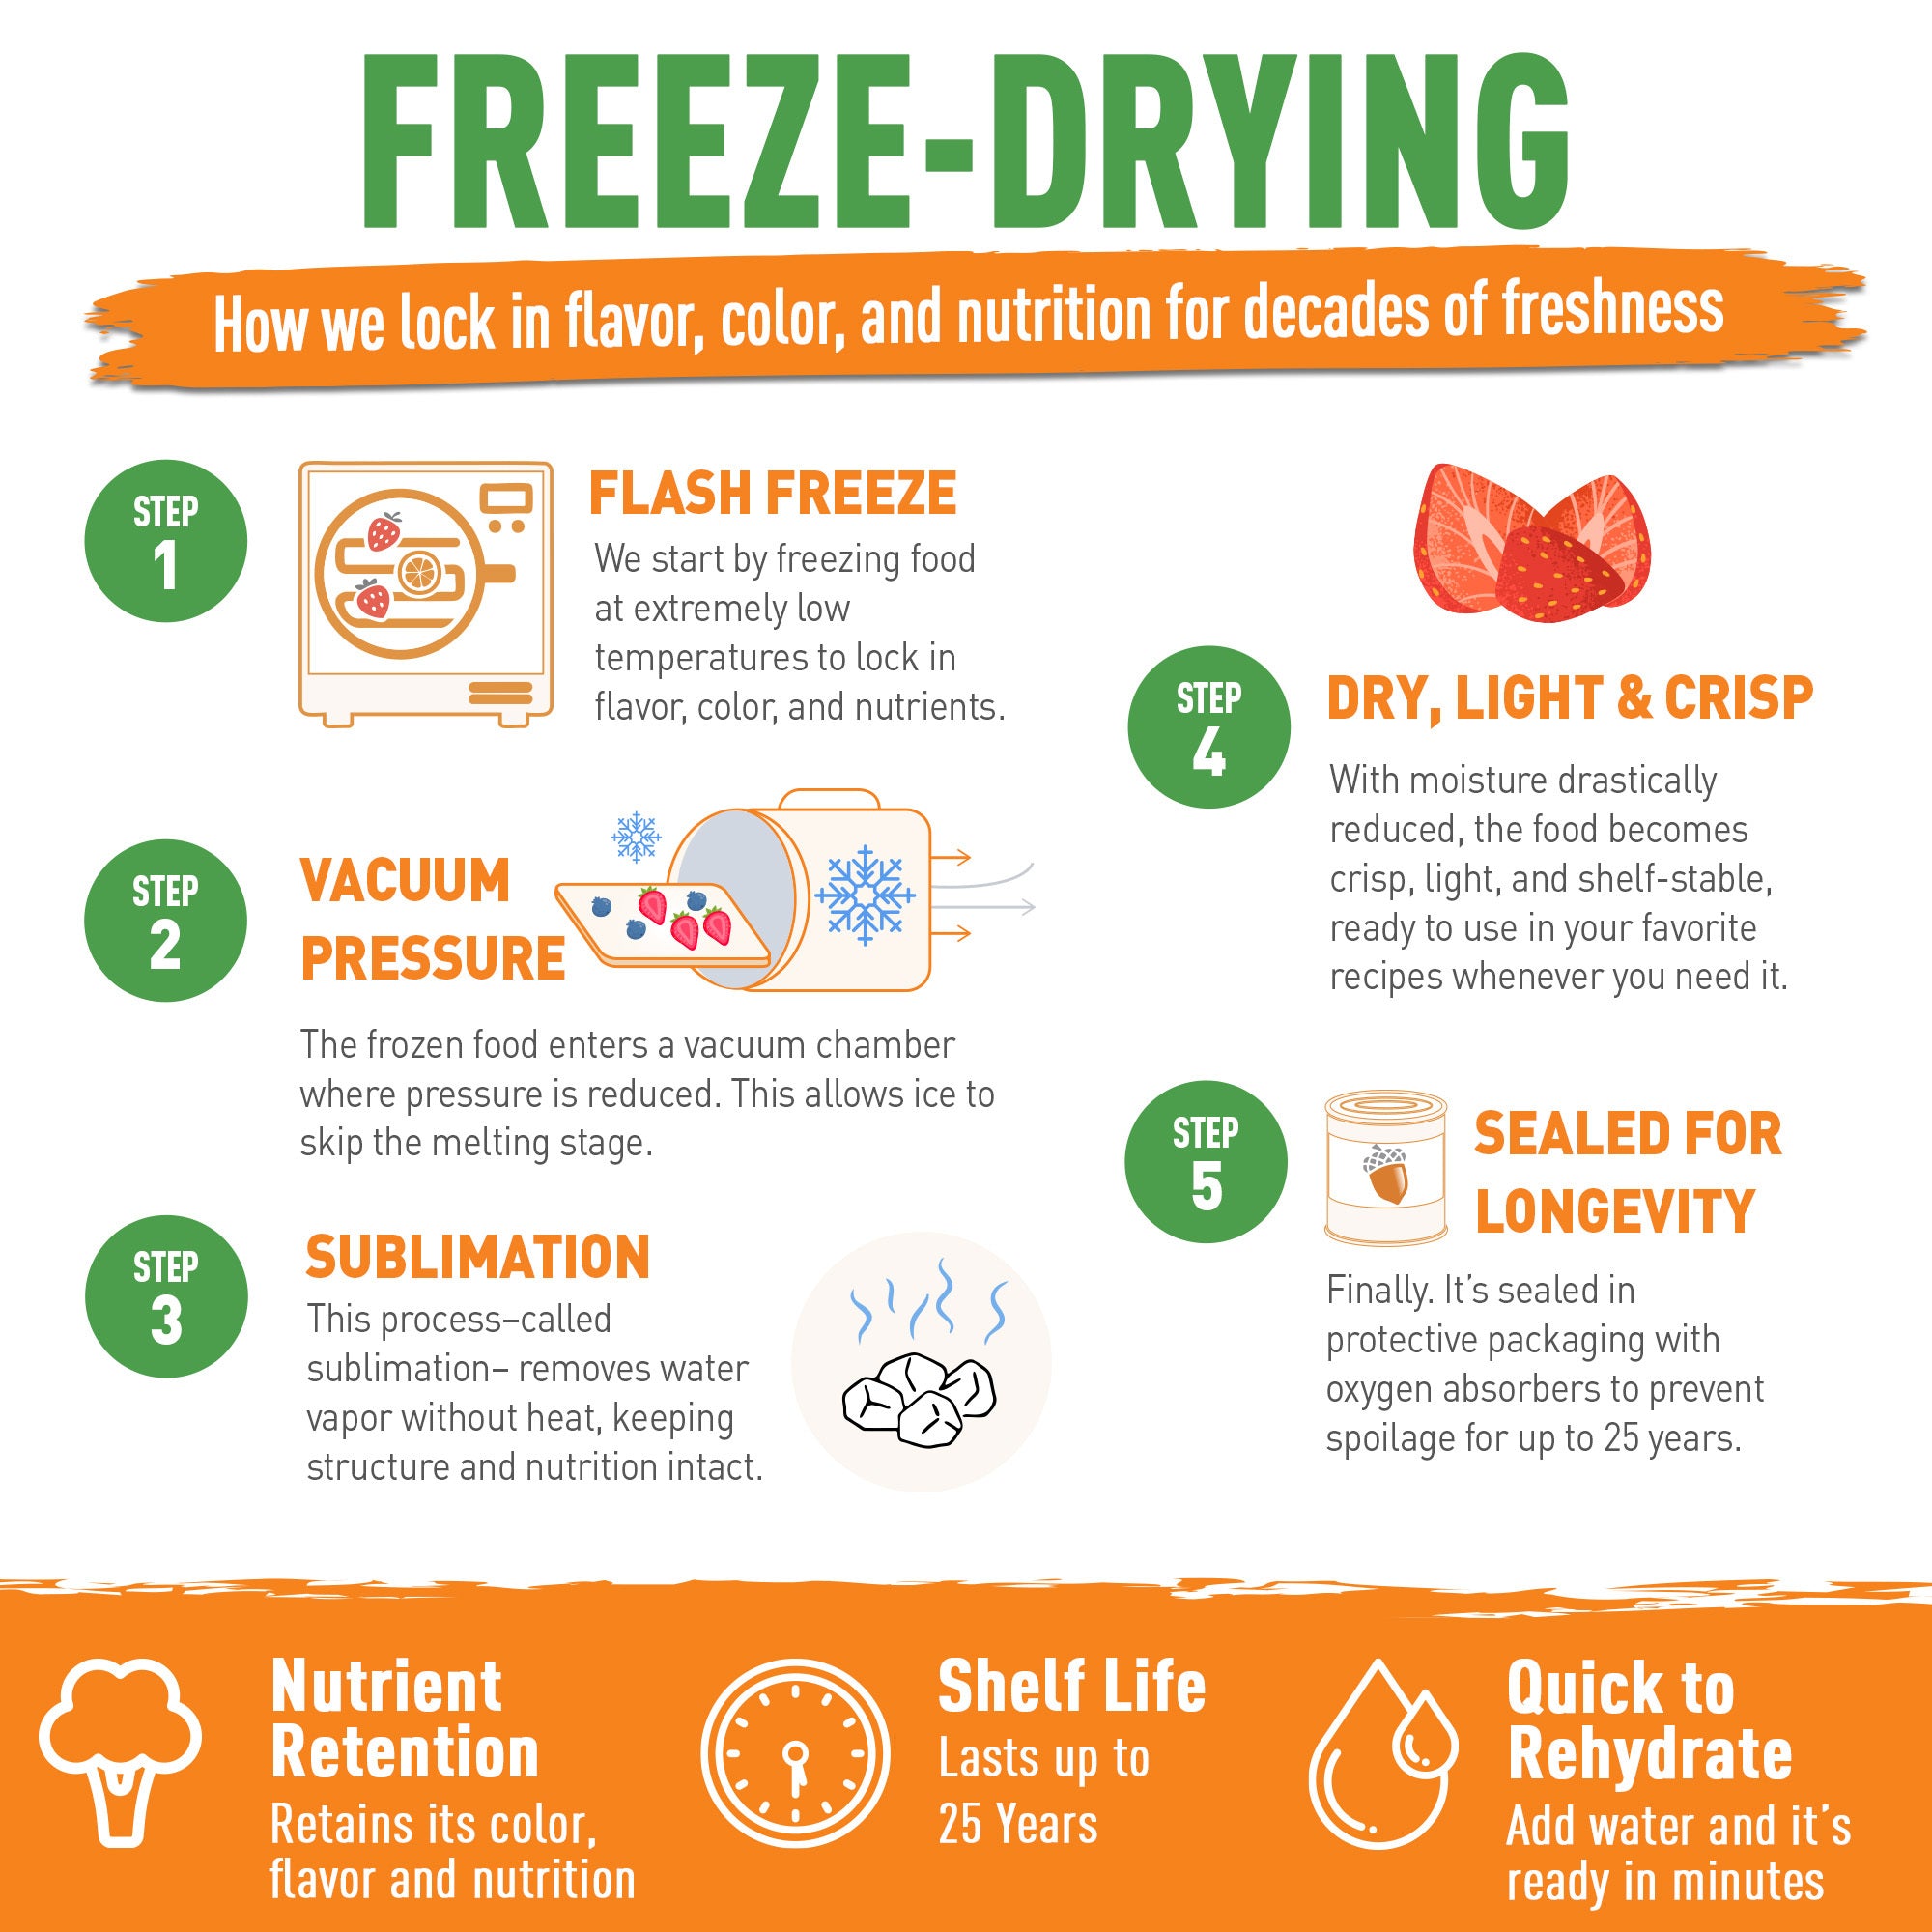
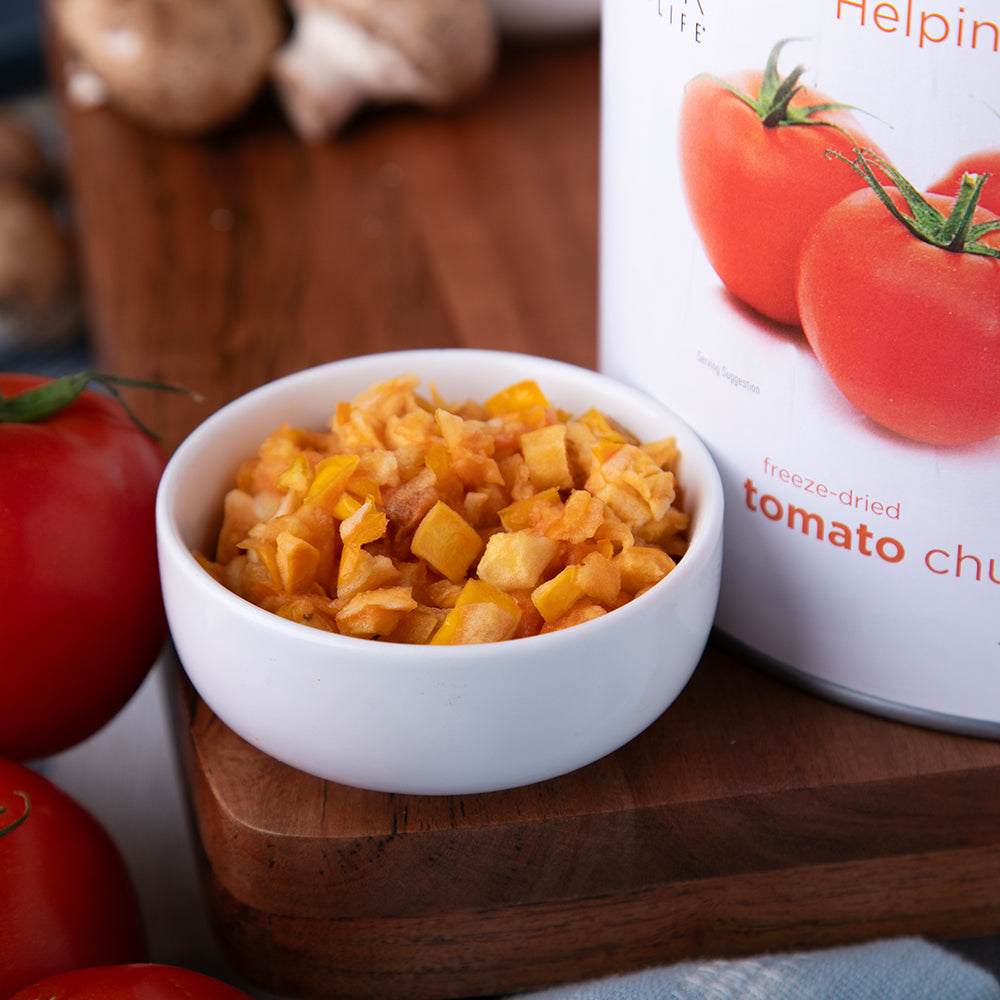
The Oxygen Absorber: Found in every can to maintain freshness. Discard upon opening—it is not edible.
Integrity Check: Inspect every can upon arrival. Never consume food from bulging, leaking, or deeply dented cans, and never taste questionable food to check safety.
CHECK SHELF LIFE AND USE WHAT YOU OPEN
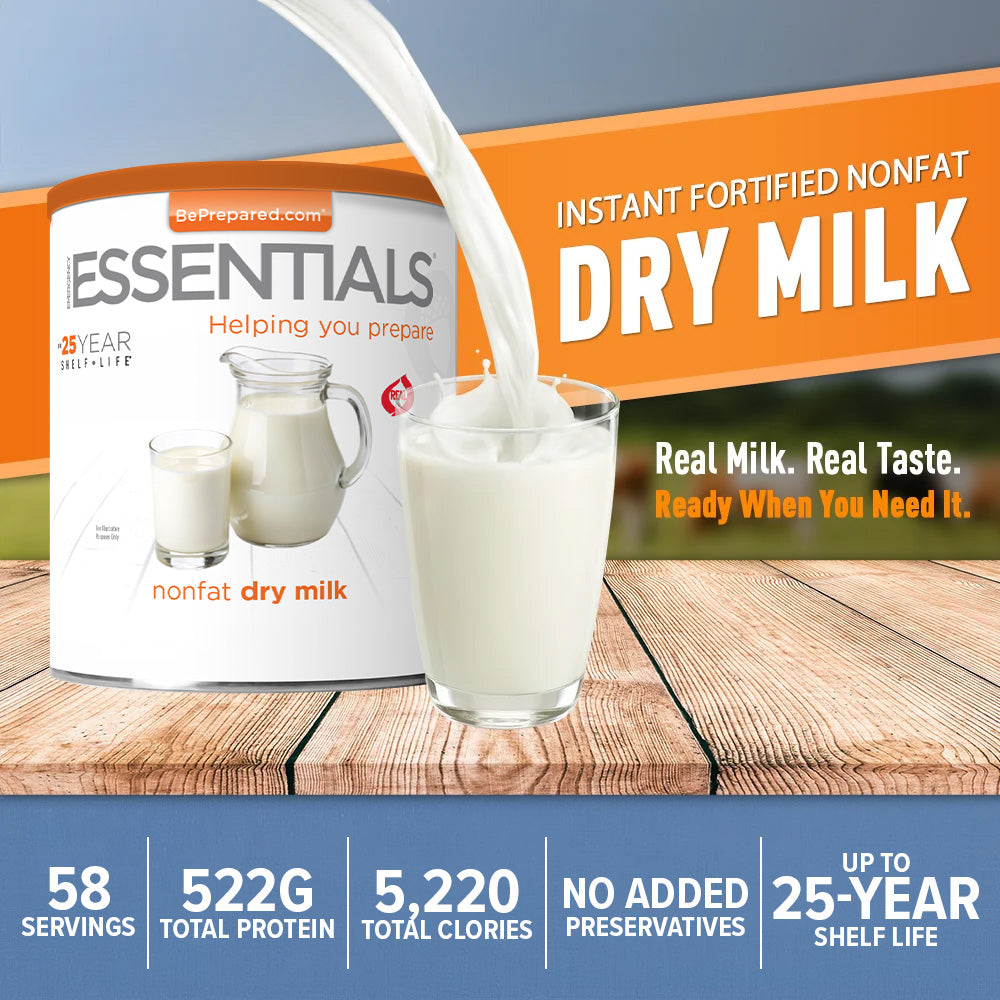
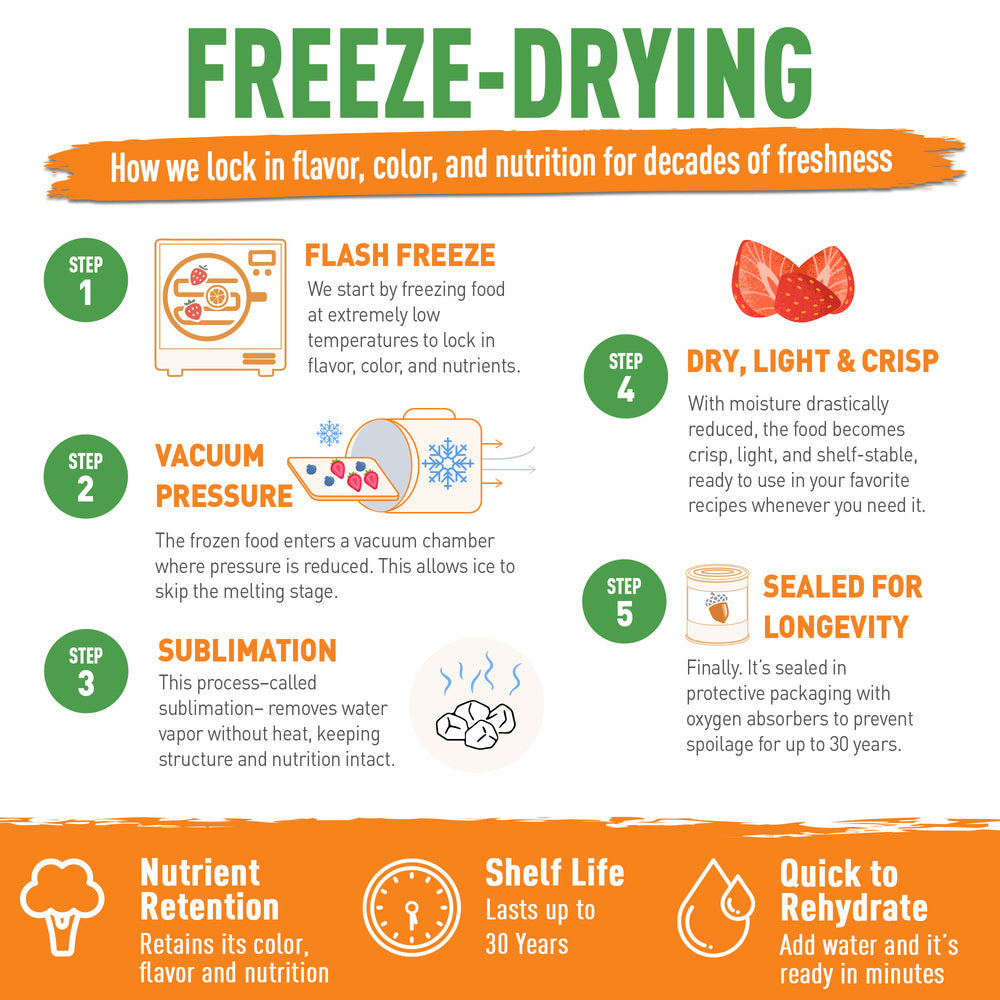
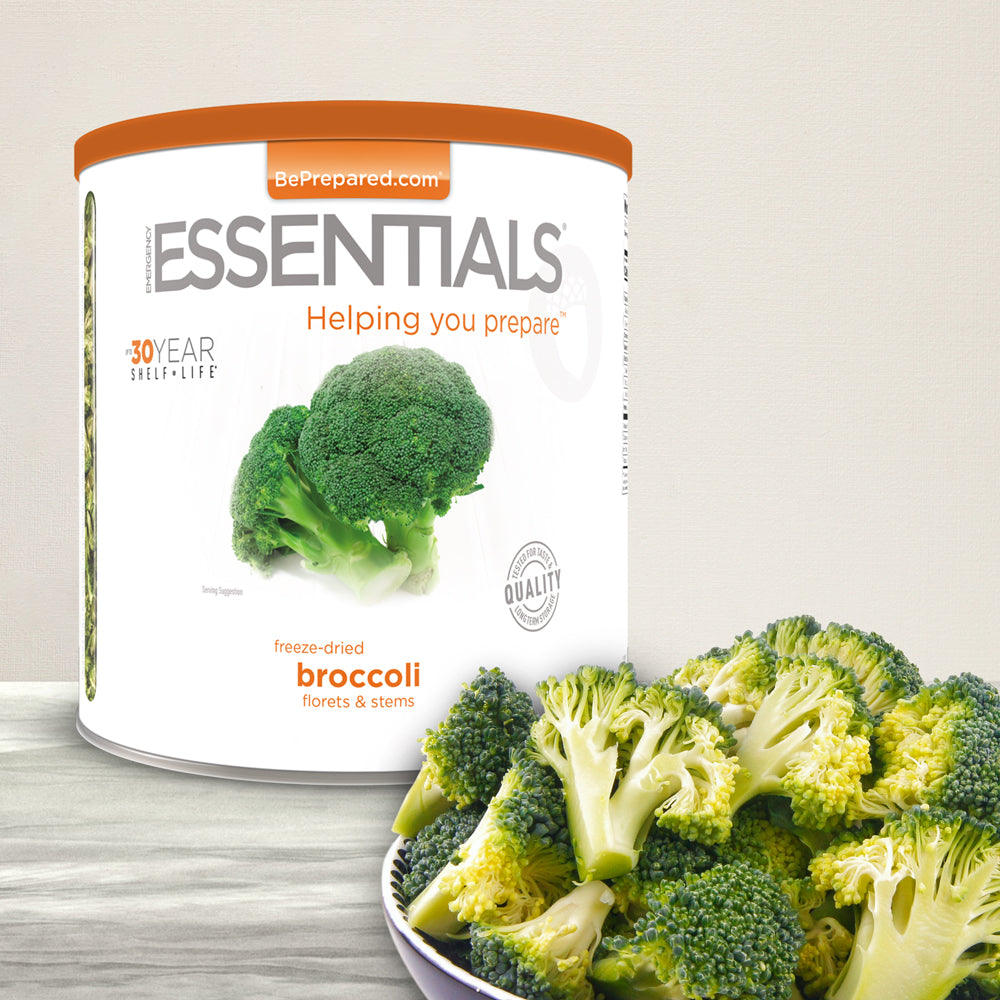
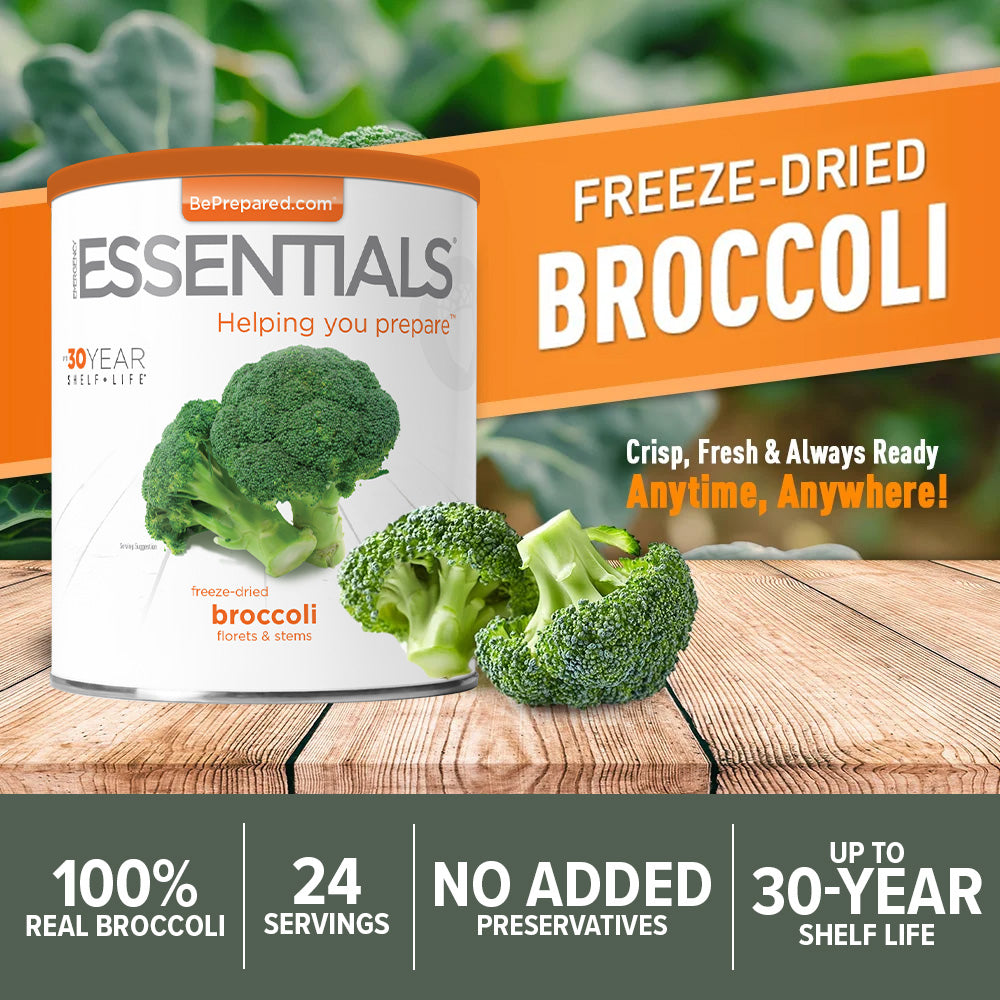
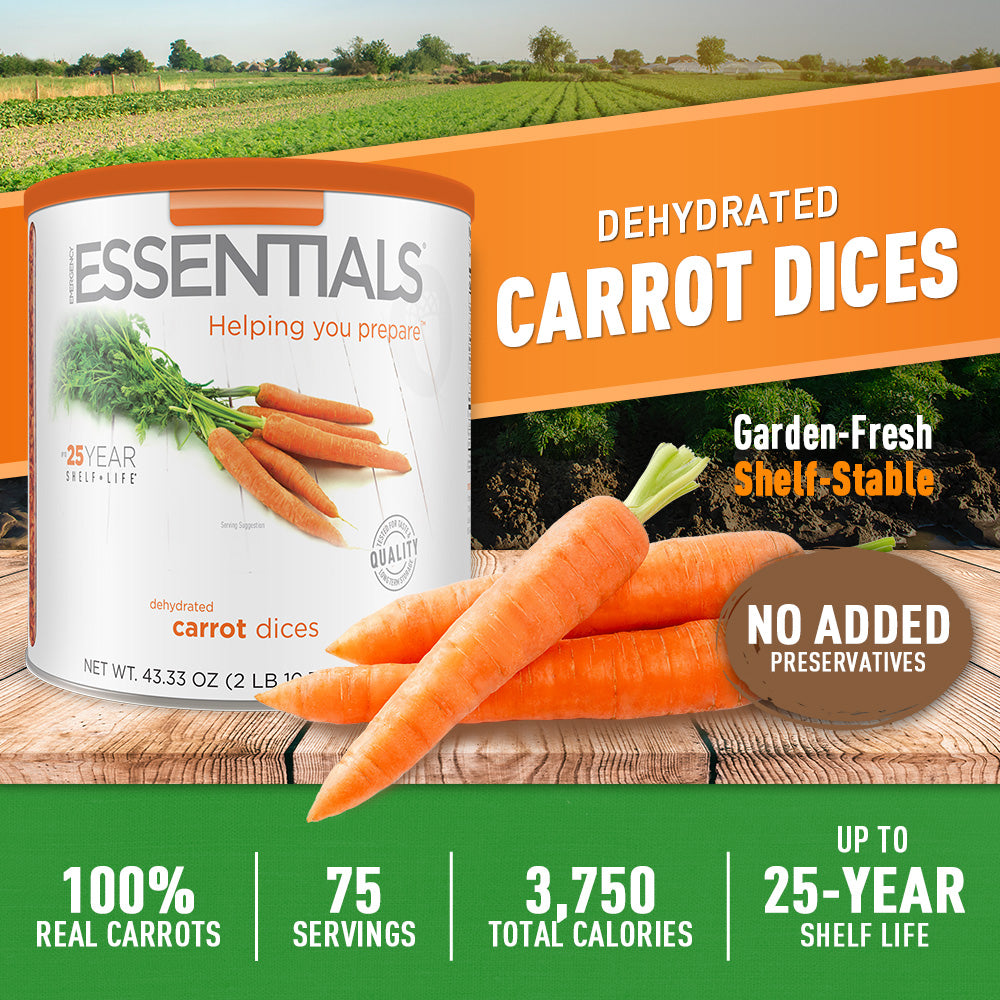
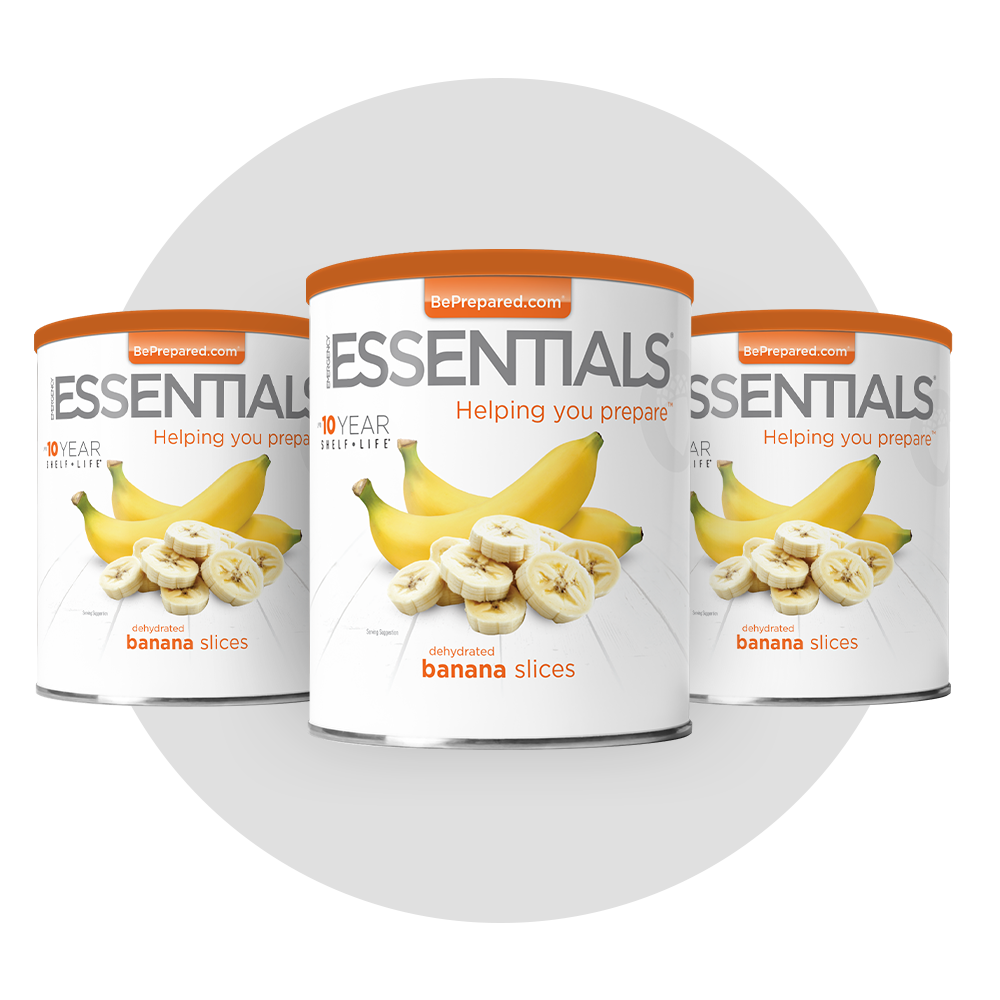
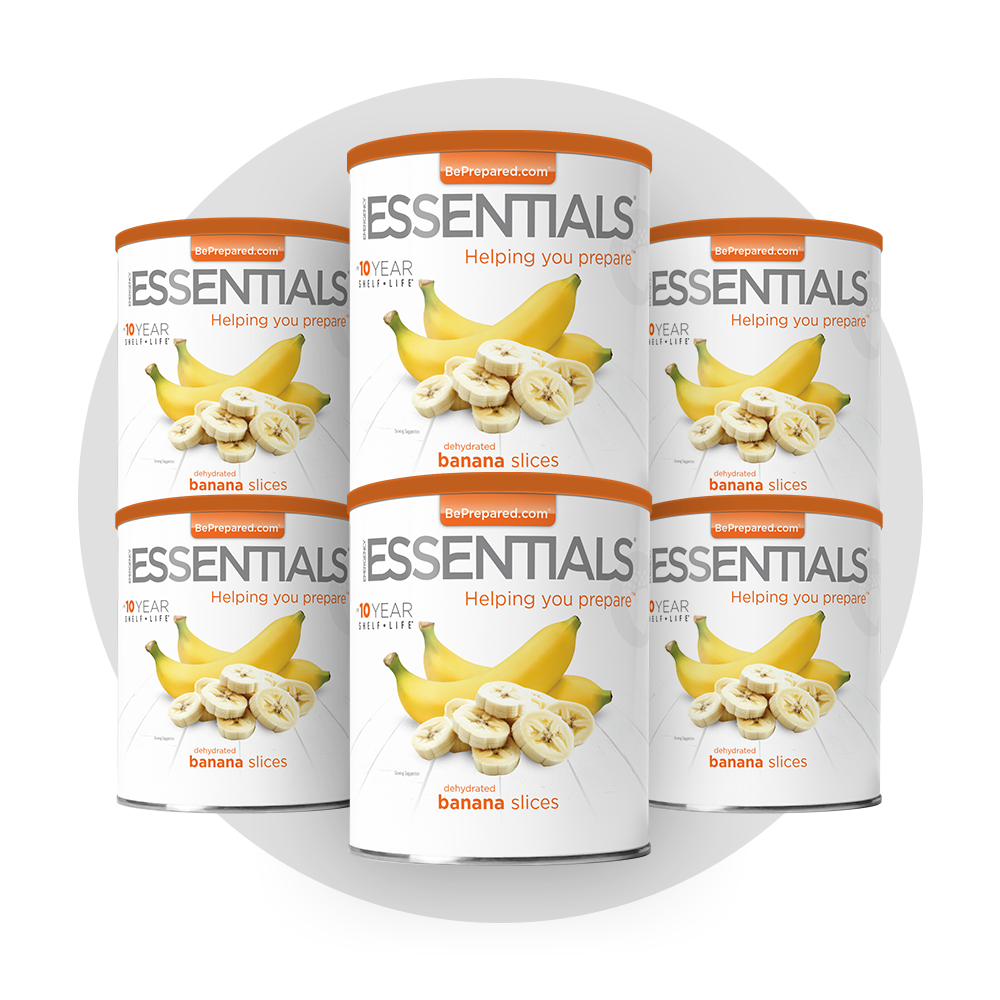
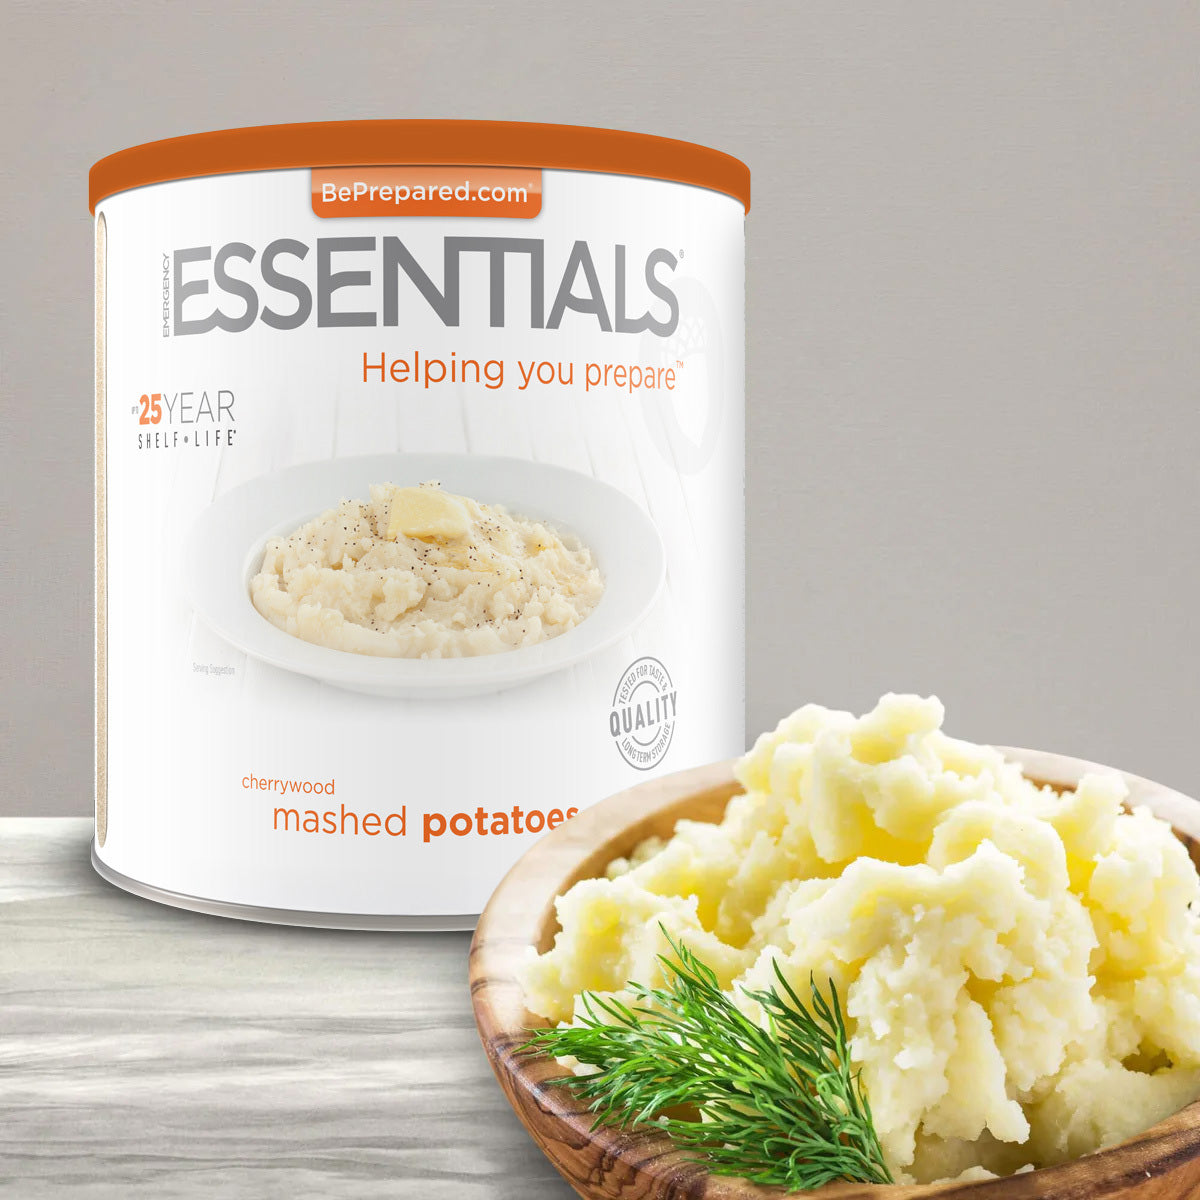
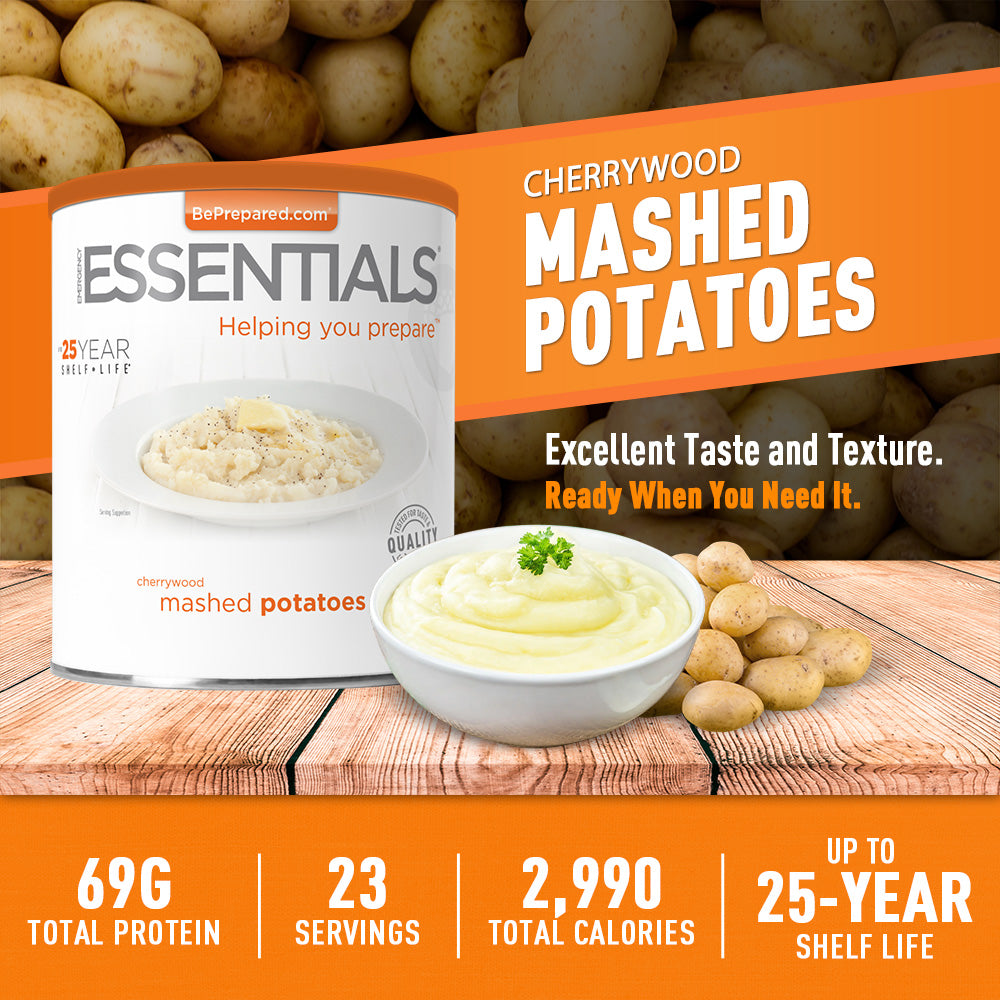
Shelf life varies by product, even when the foods come in the same size container. These examples show why it’s worth checking each label.
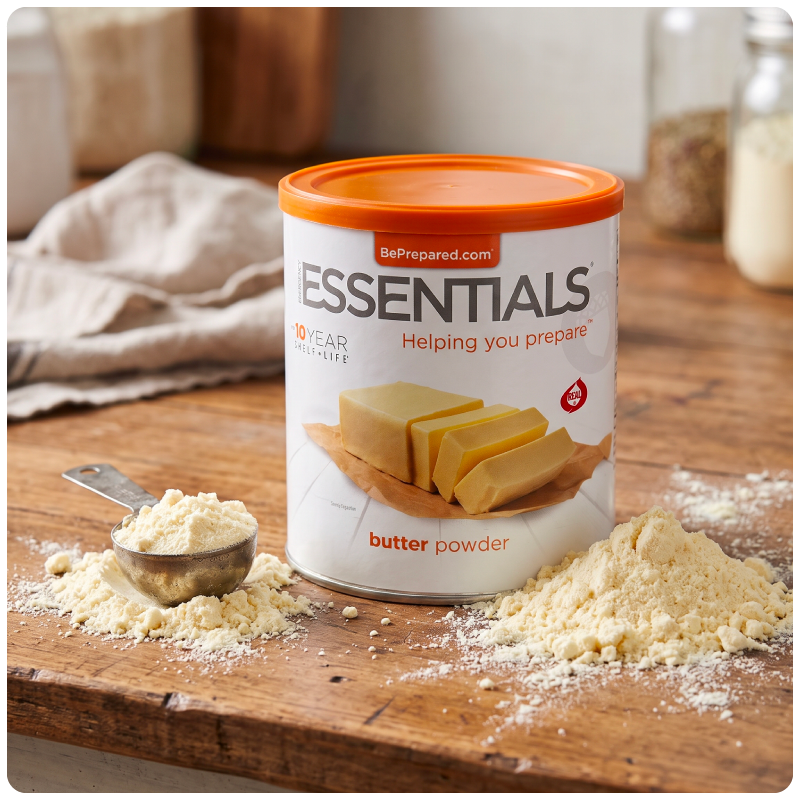
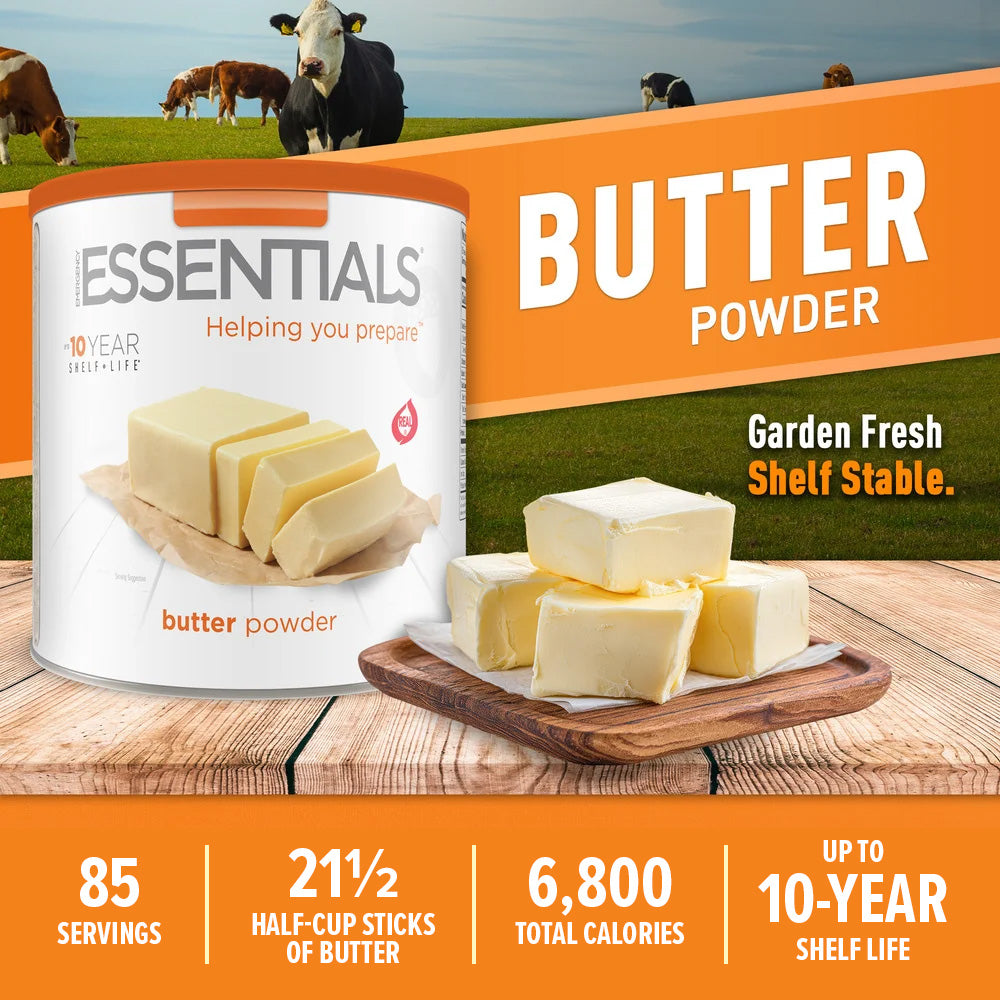
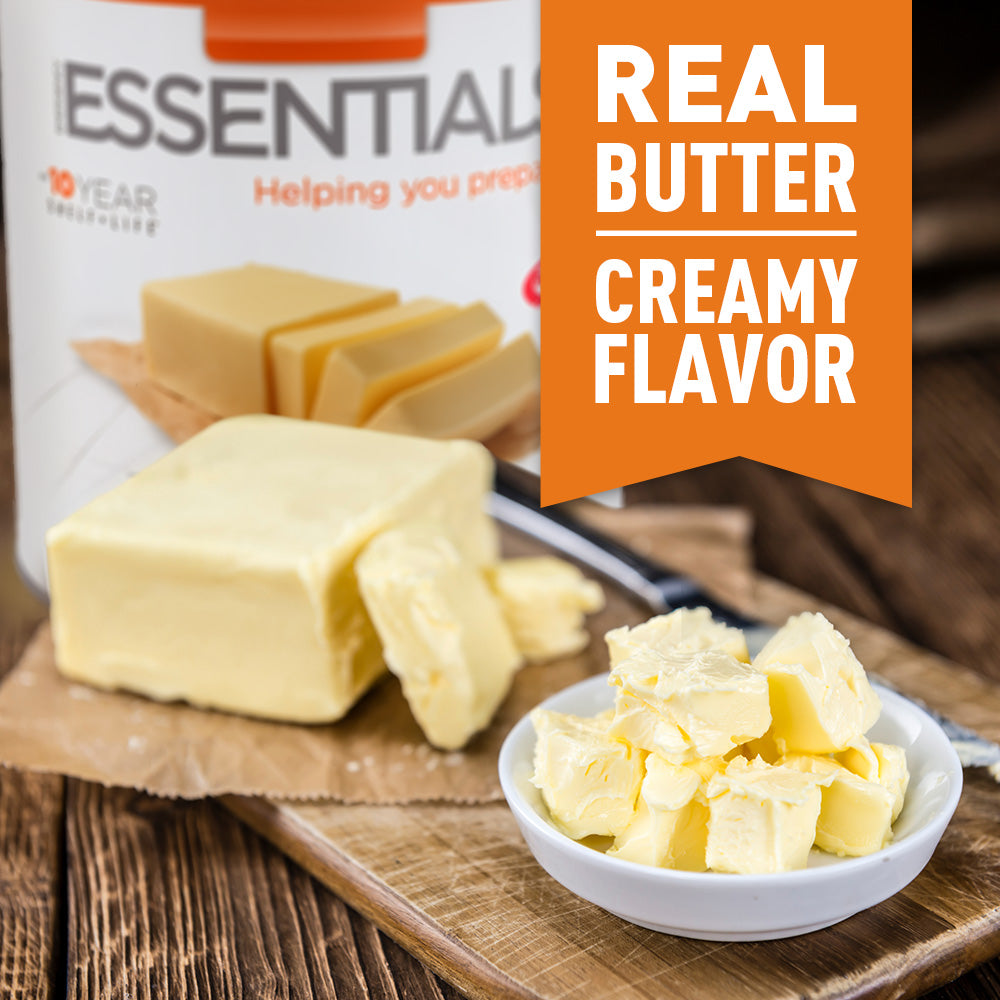
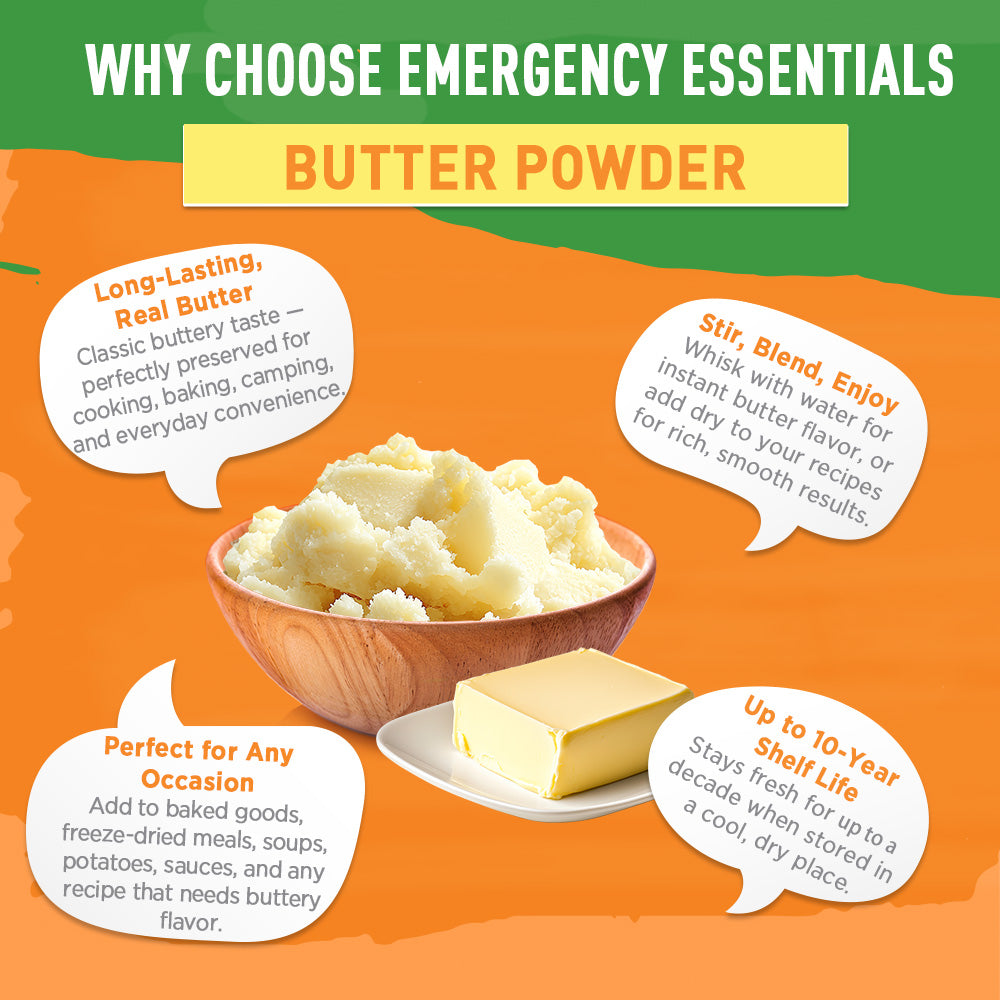
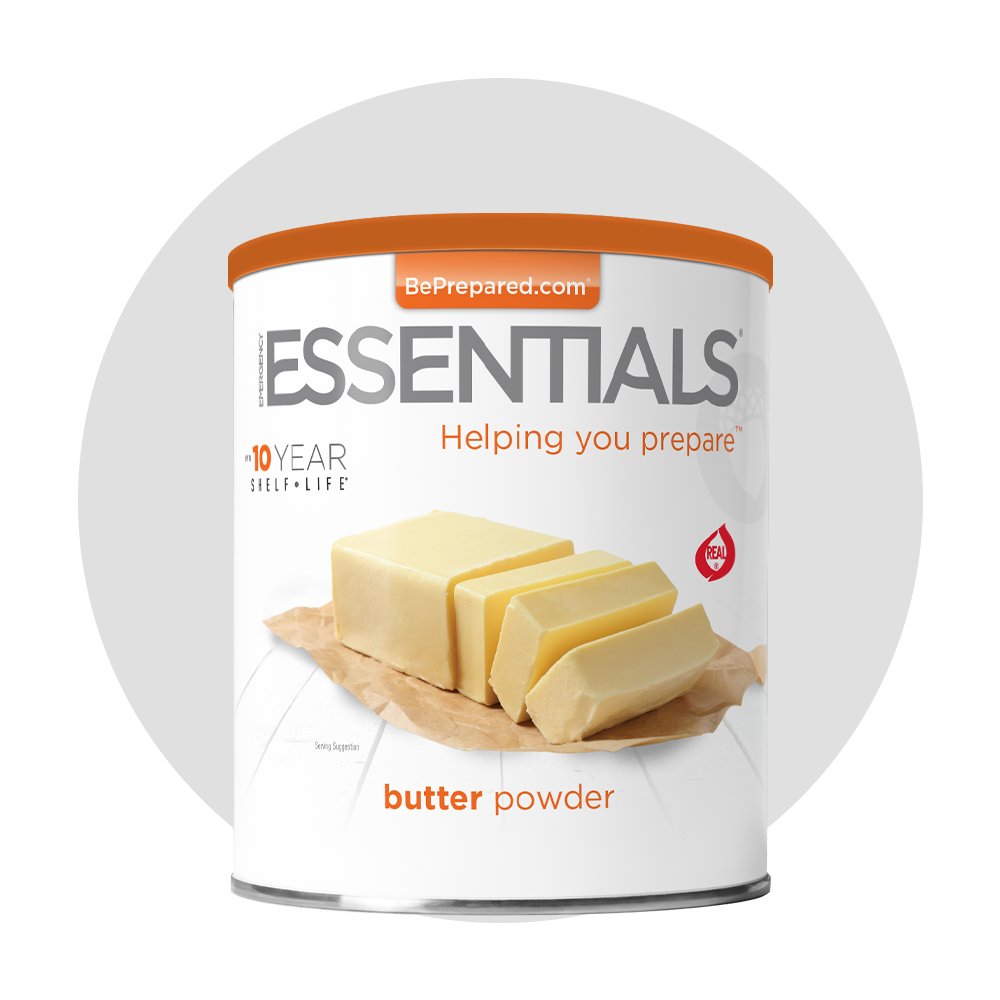
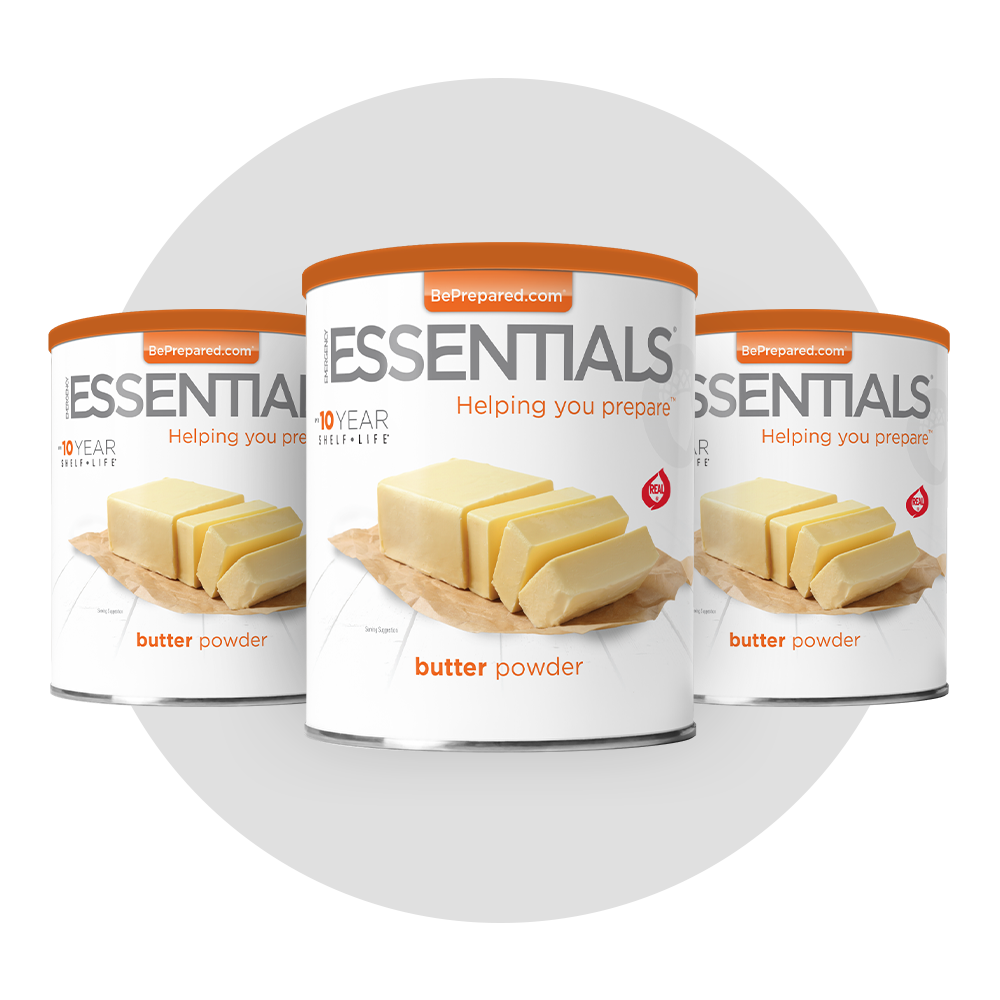
UP TO 10 YEARS
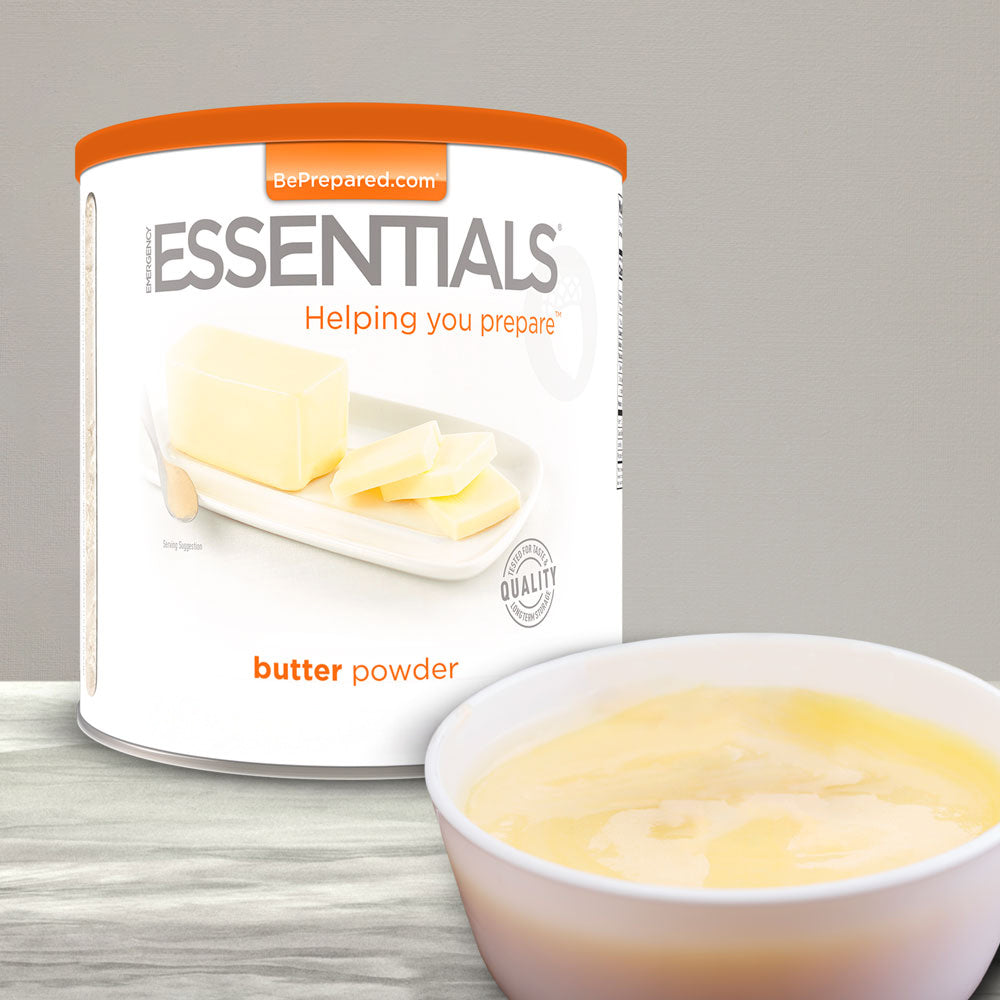
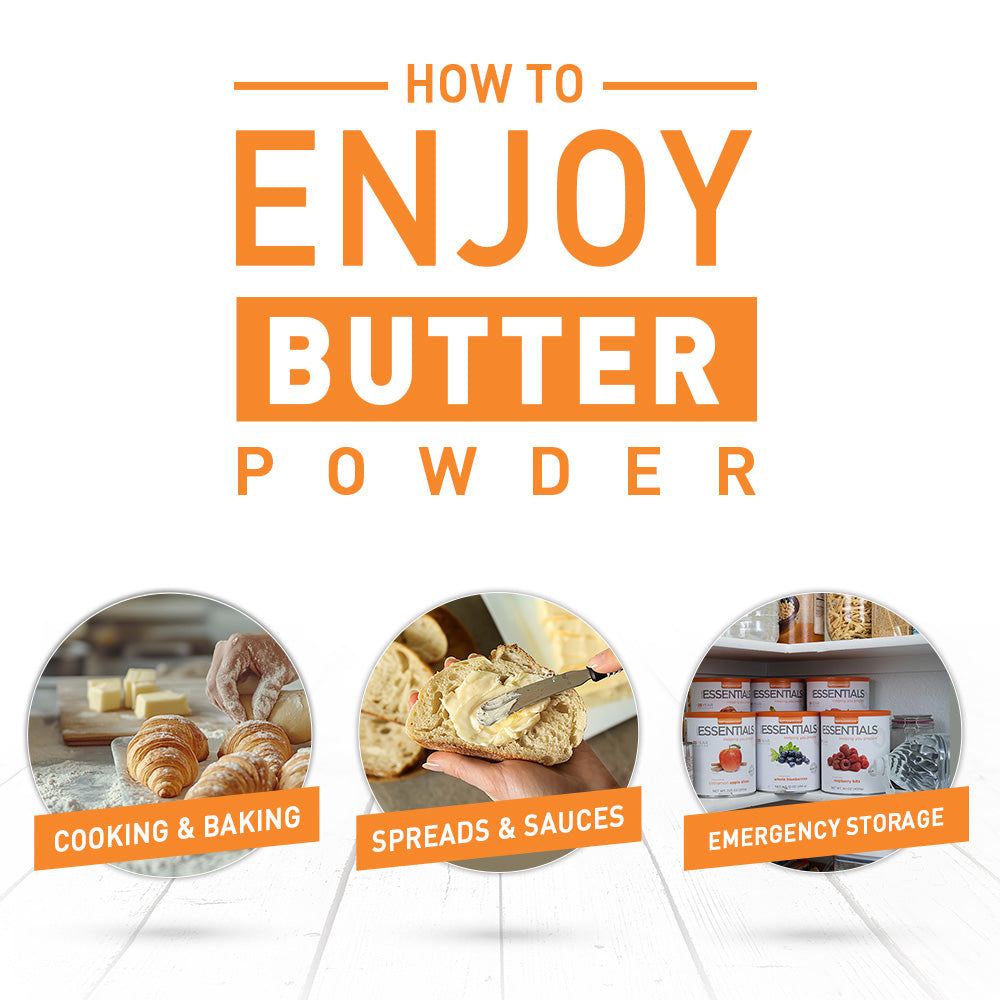
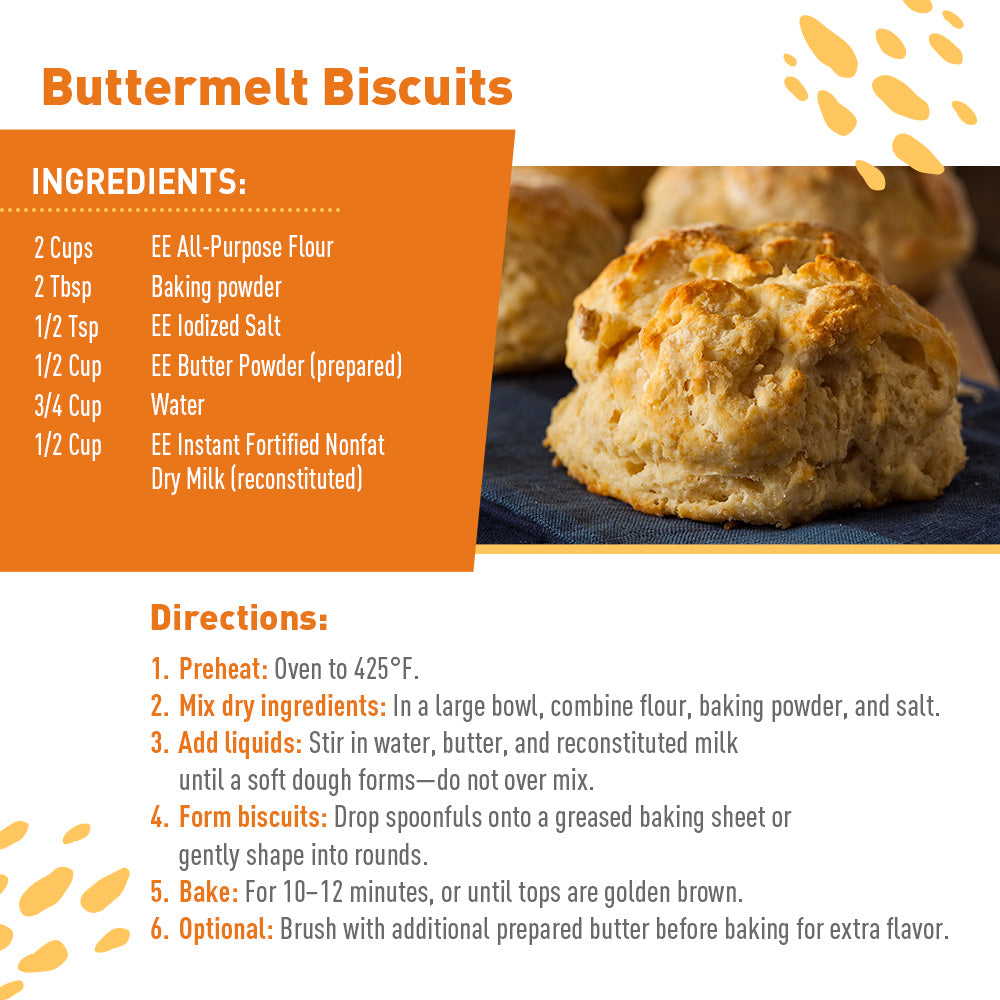
BUTTER POWDER
Add essential fats and flavor to everyday scratch cooking.
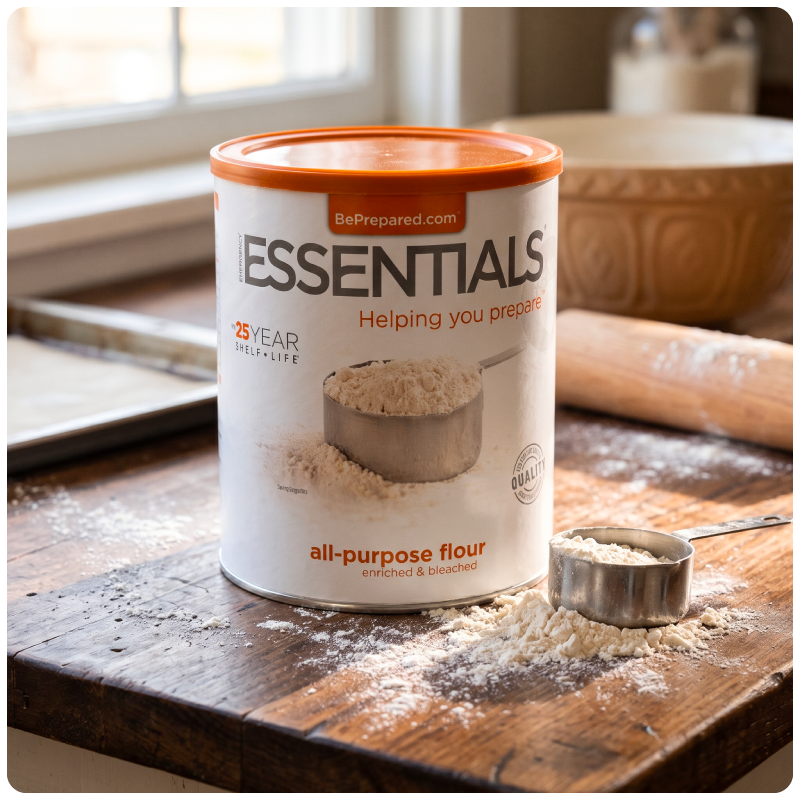
UP TO 25 YEARS
ALL-PURPOSE FLOUR
Long-term pantry staple for cooking and baking.
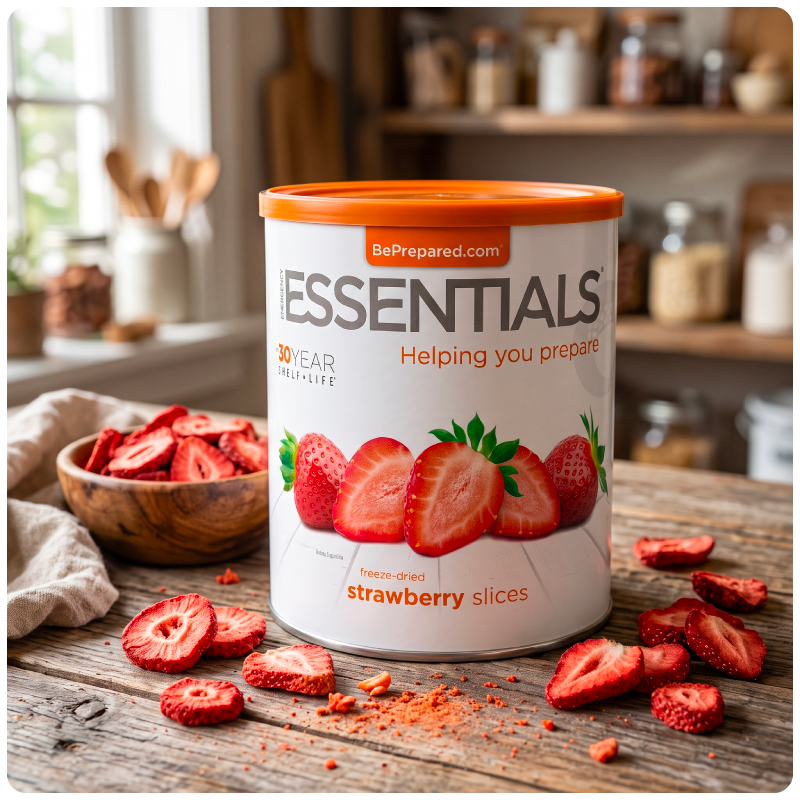
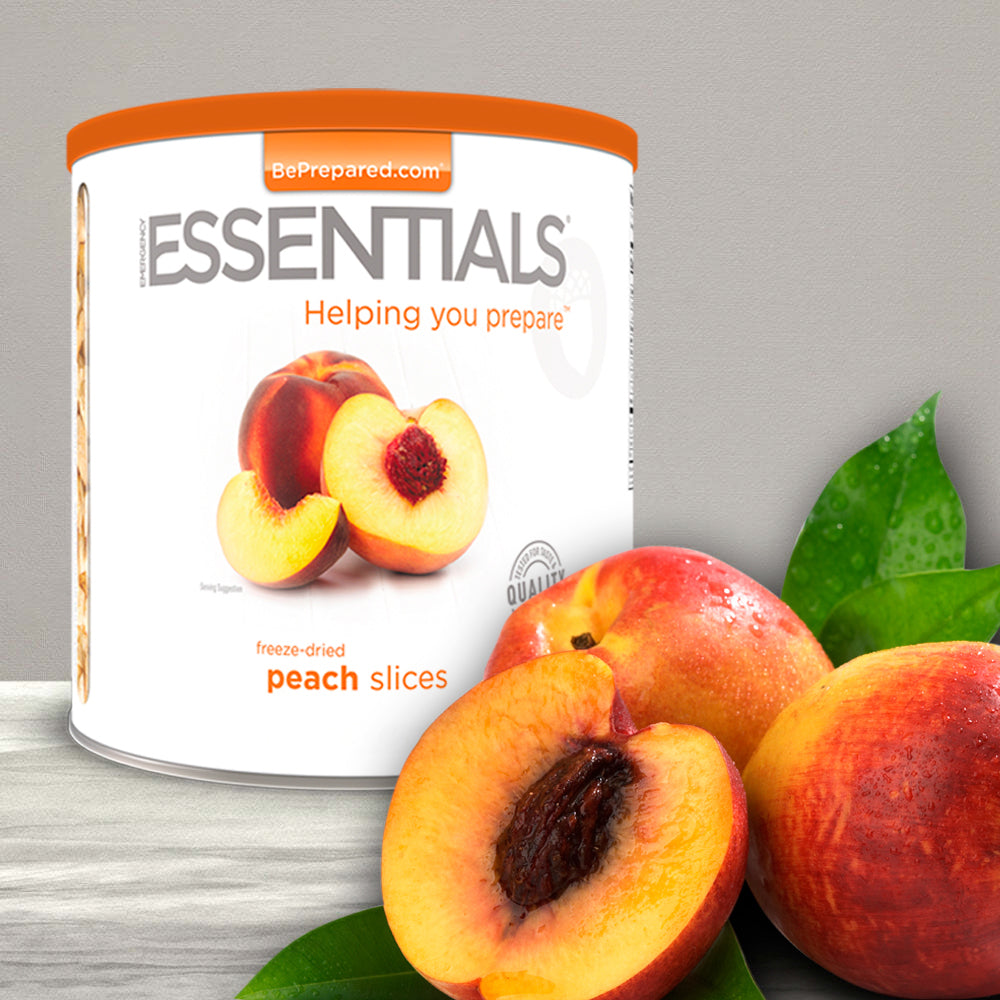
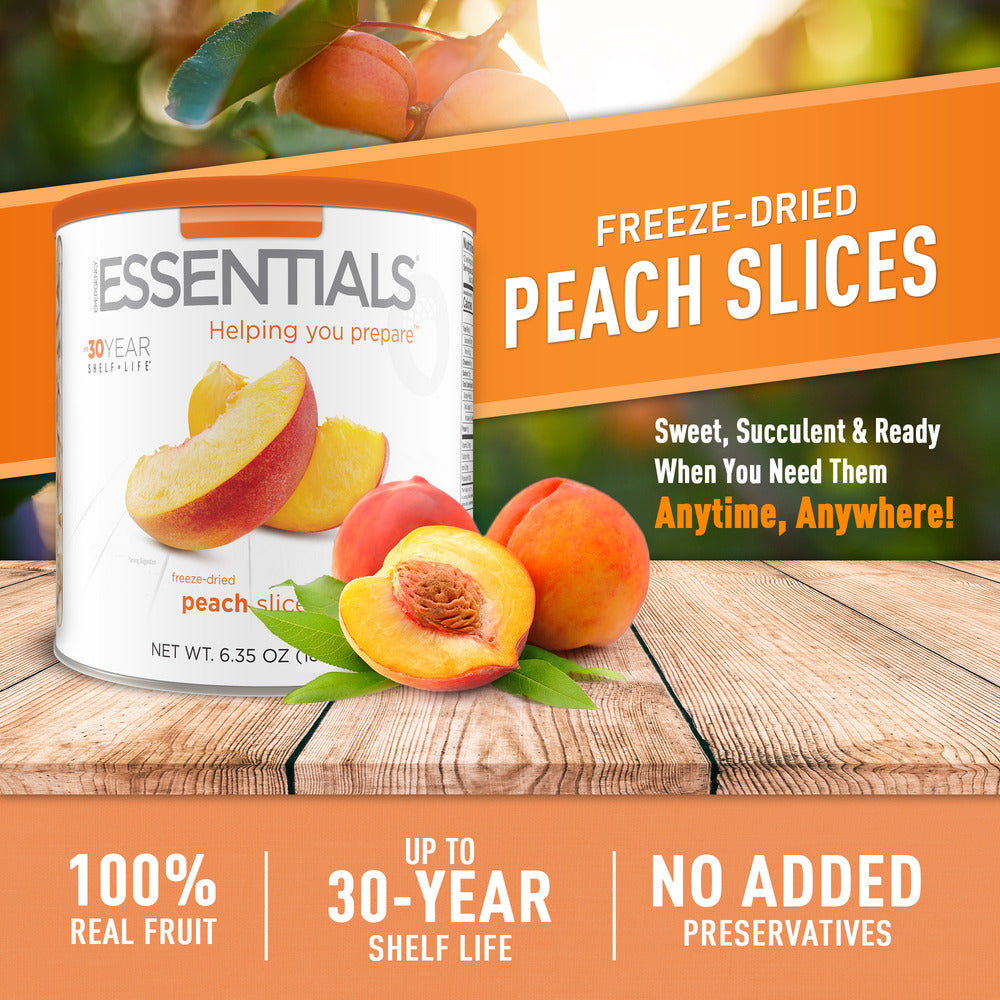
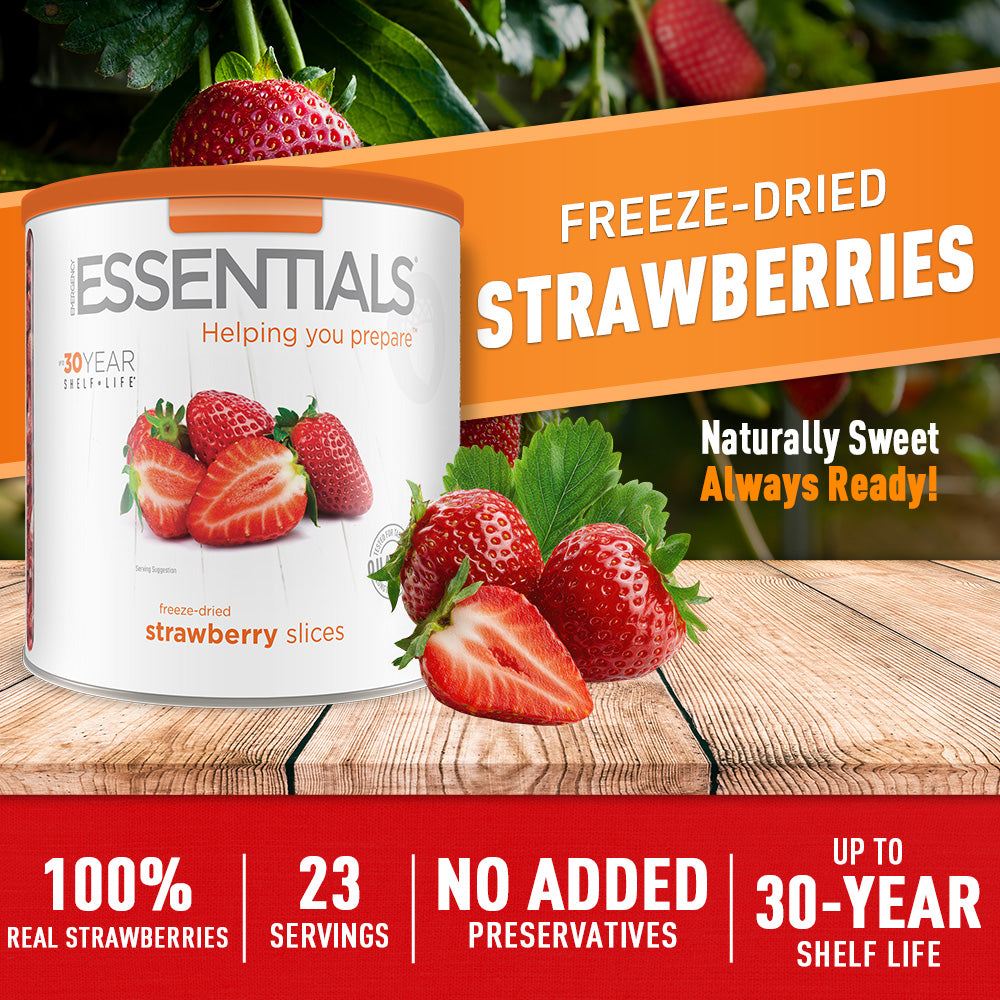
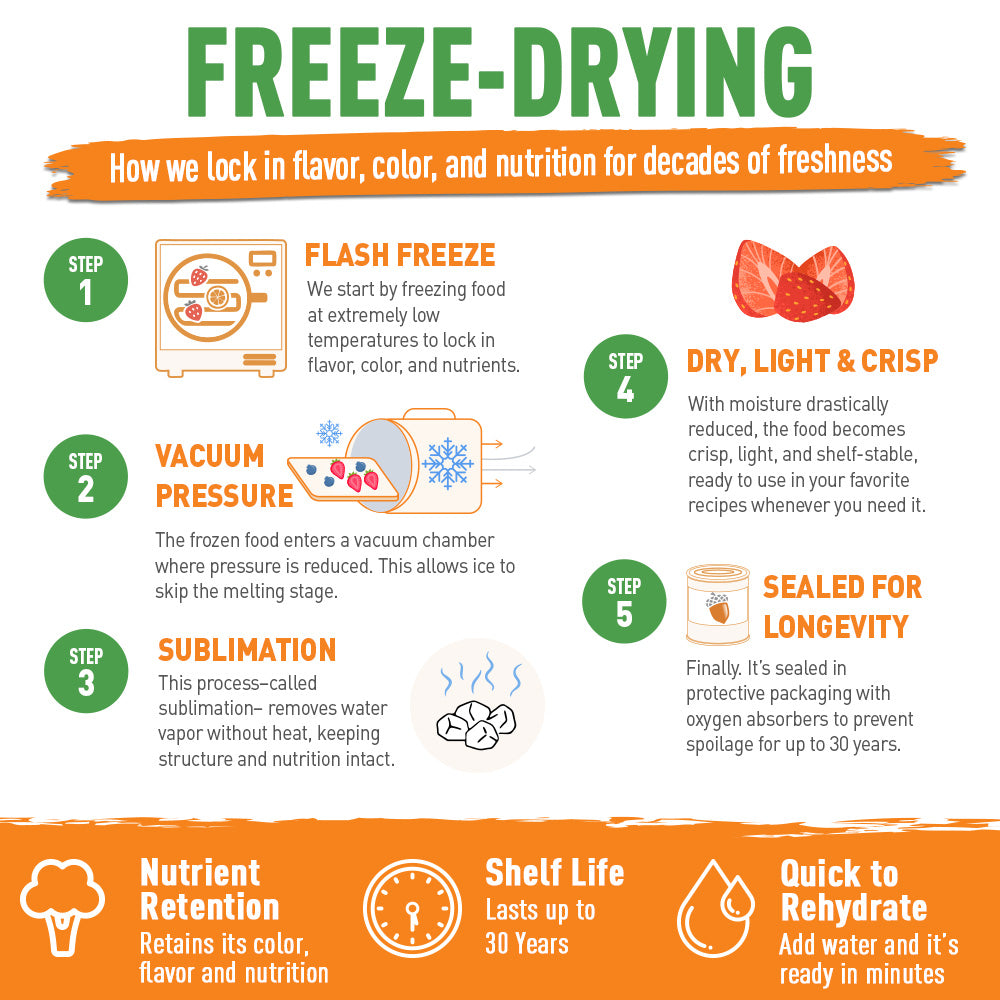
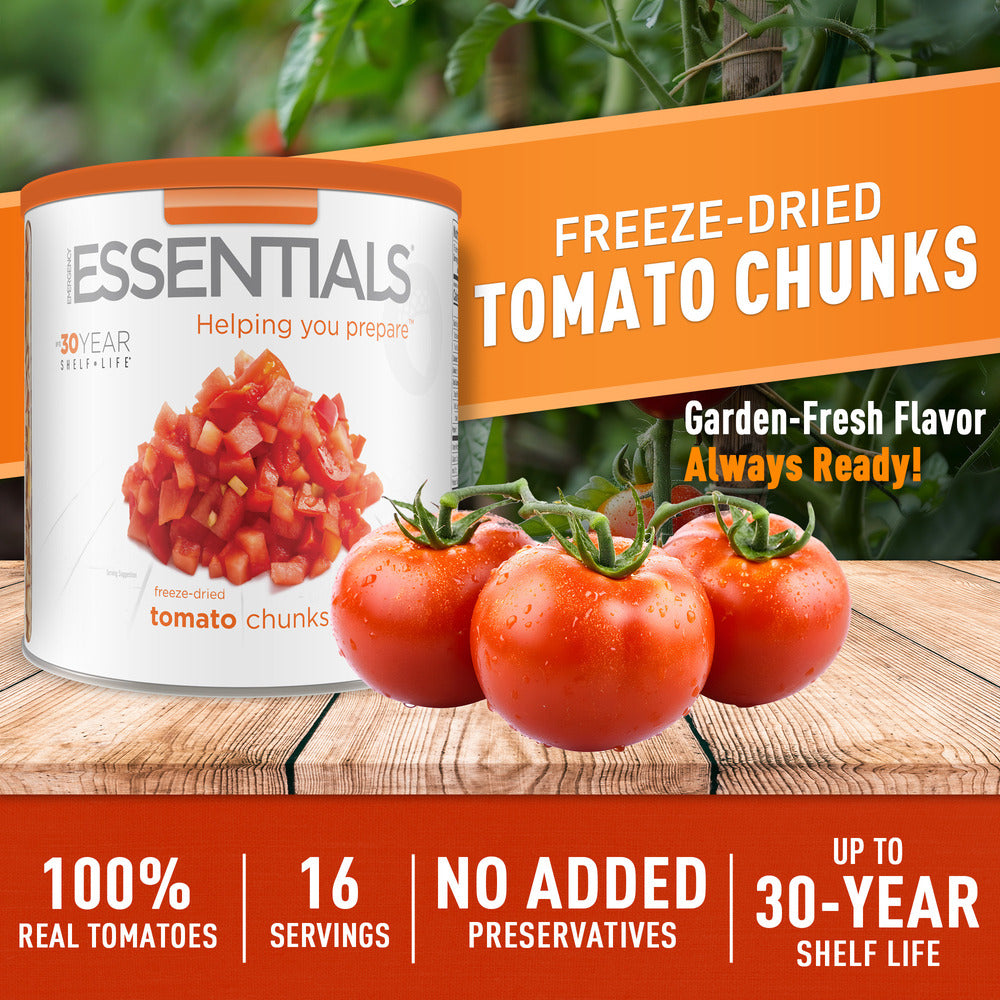
UP TO 30 YEARS
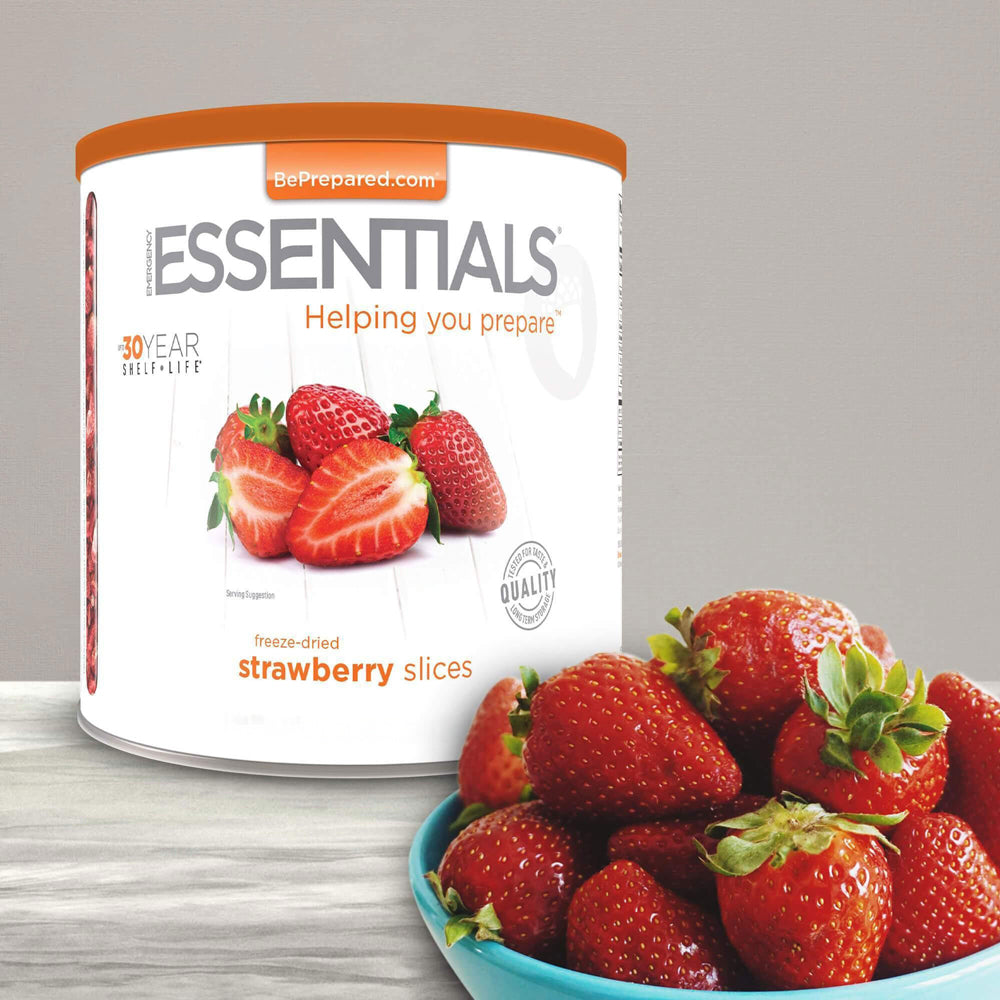
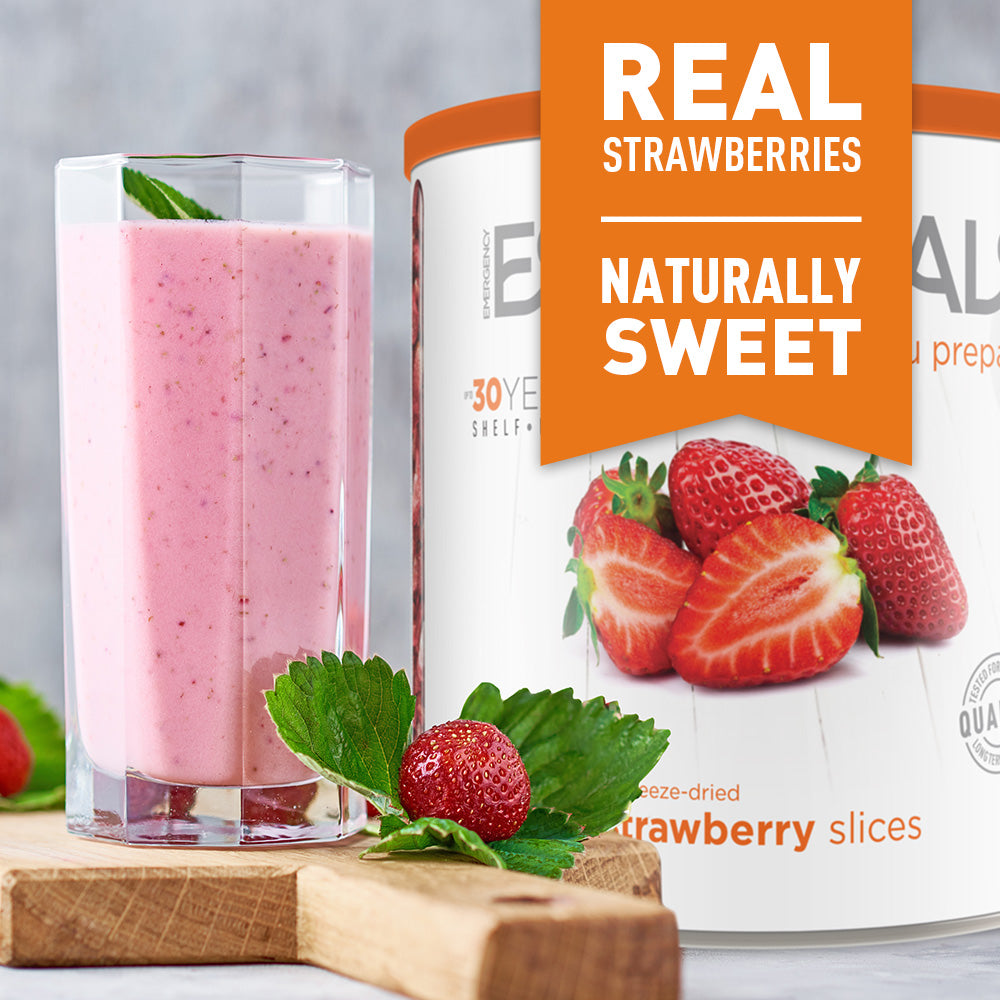
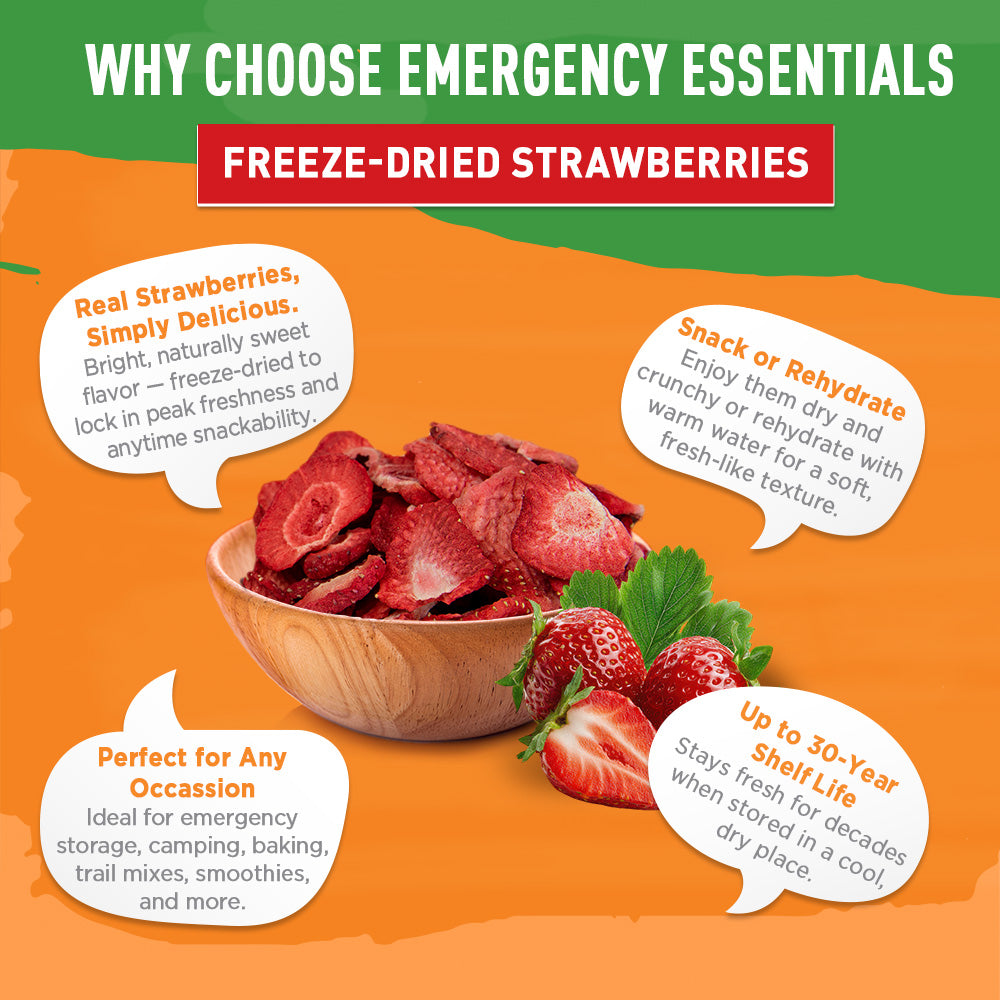
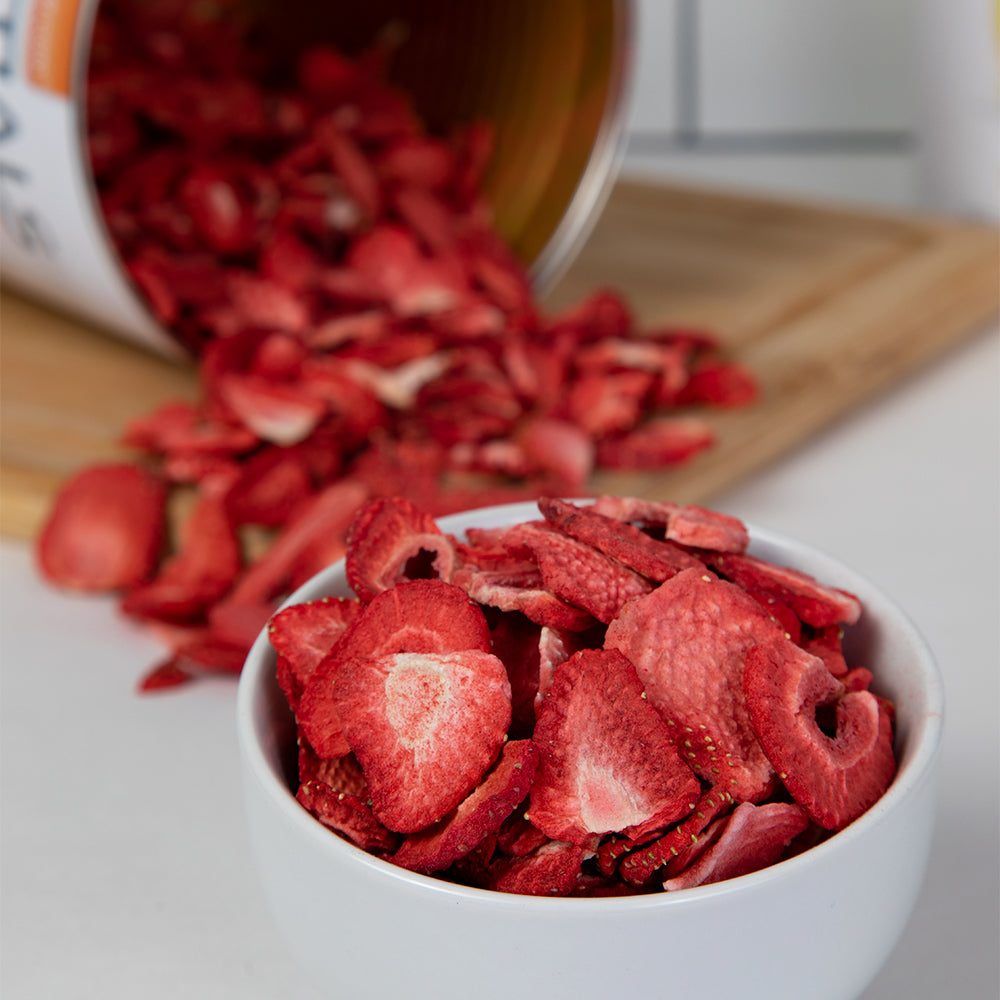
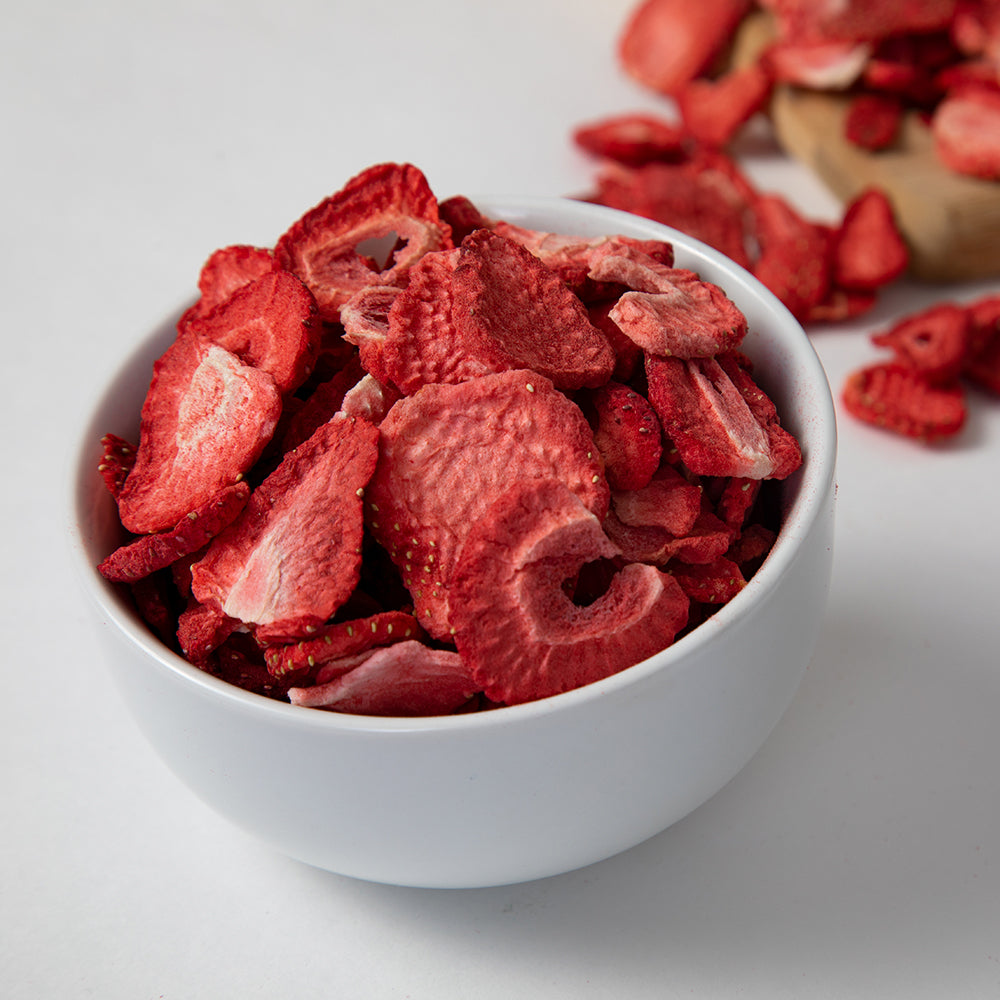
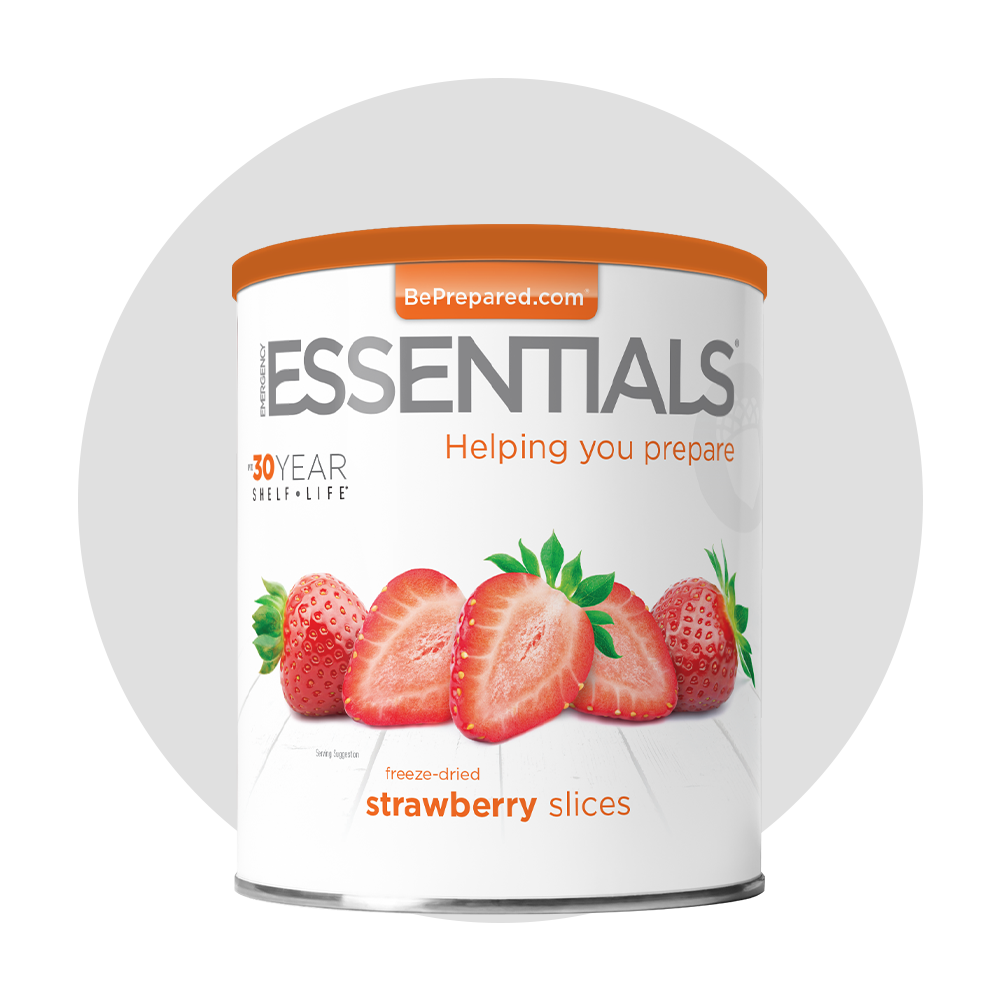
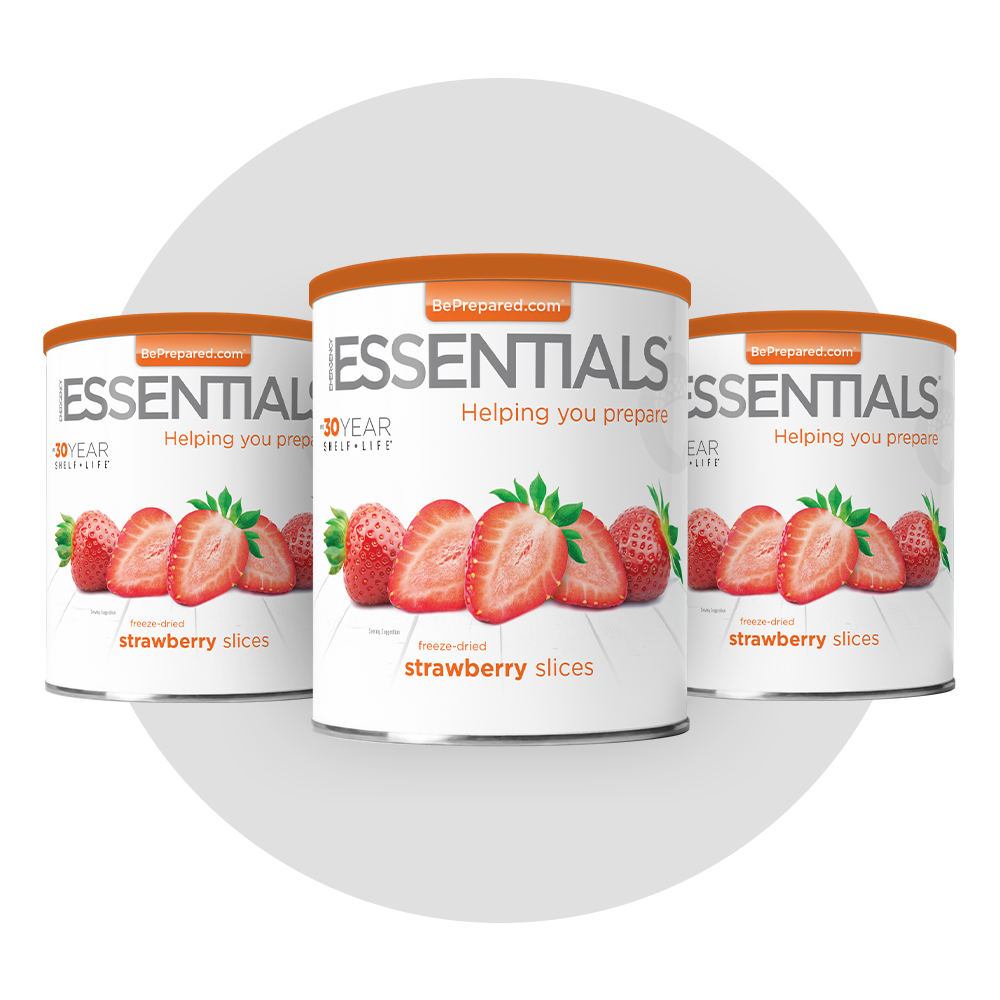
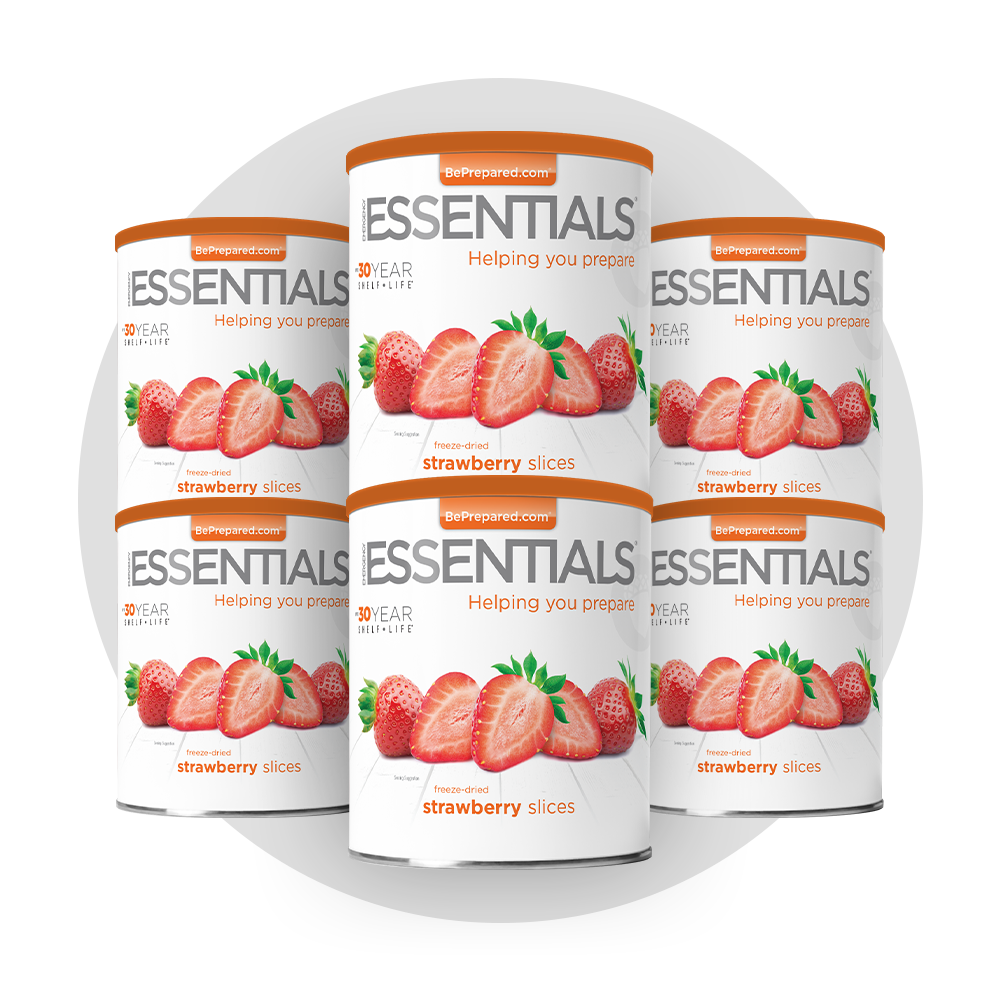
STRAWBERRY SLICES
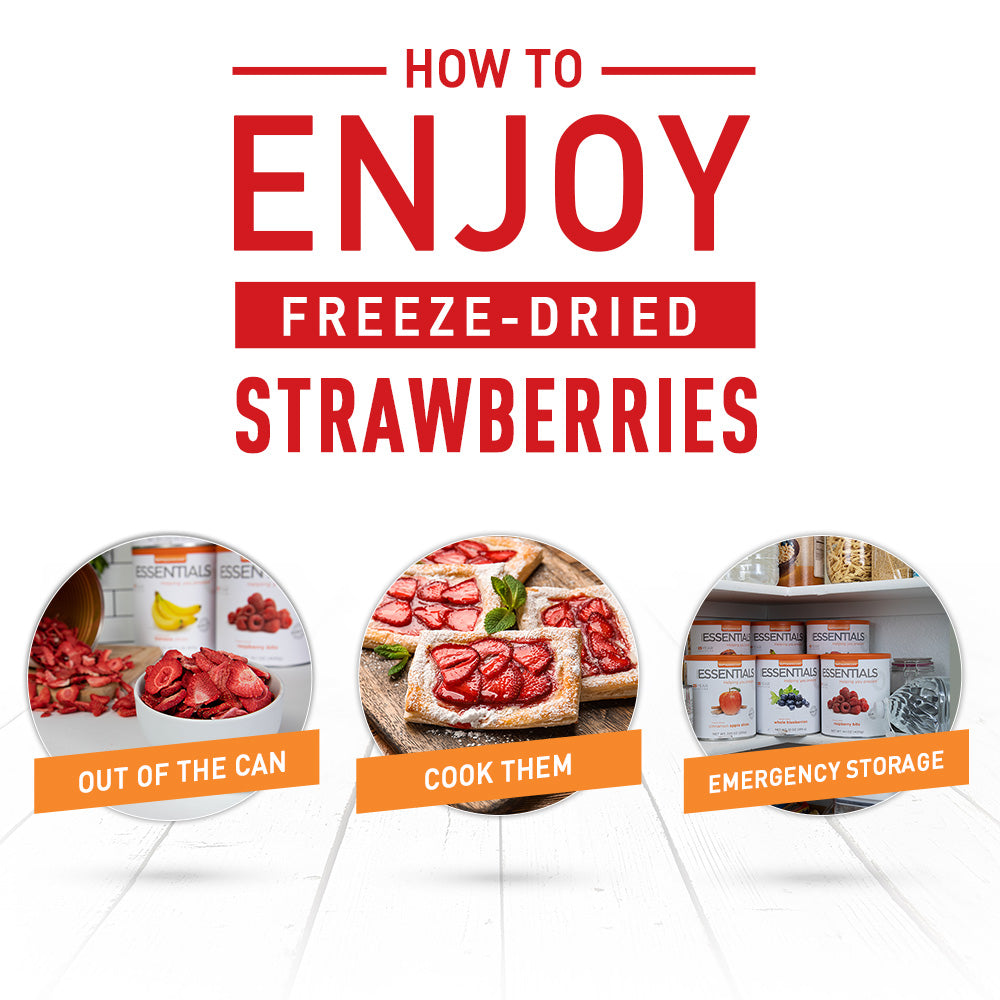
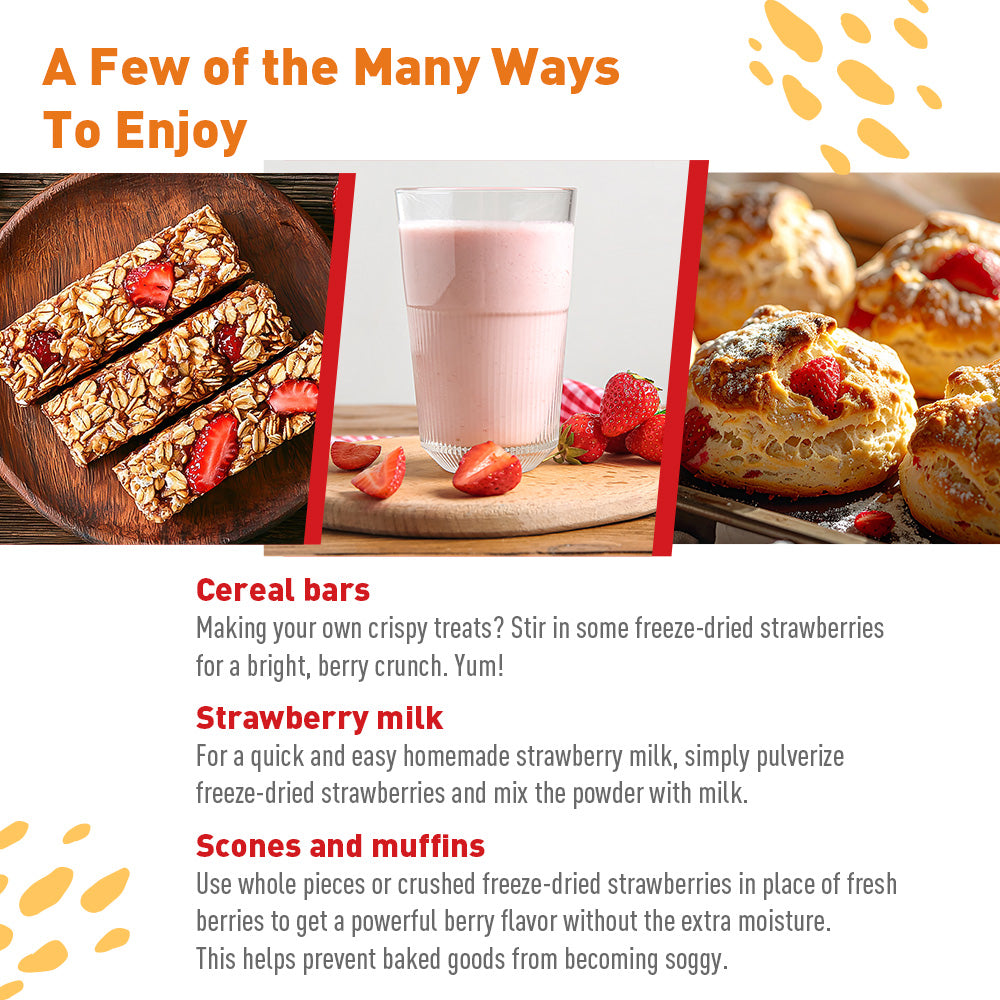
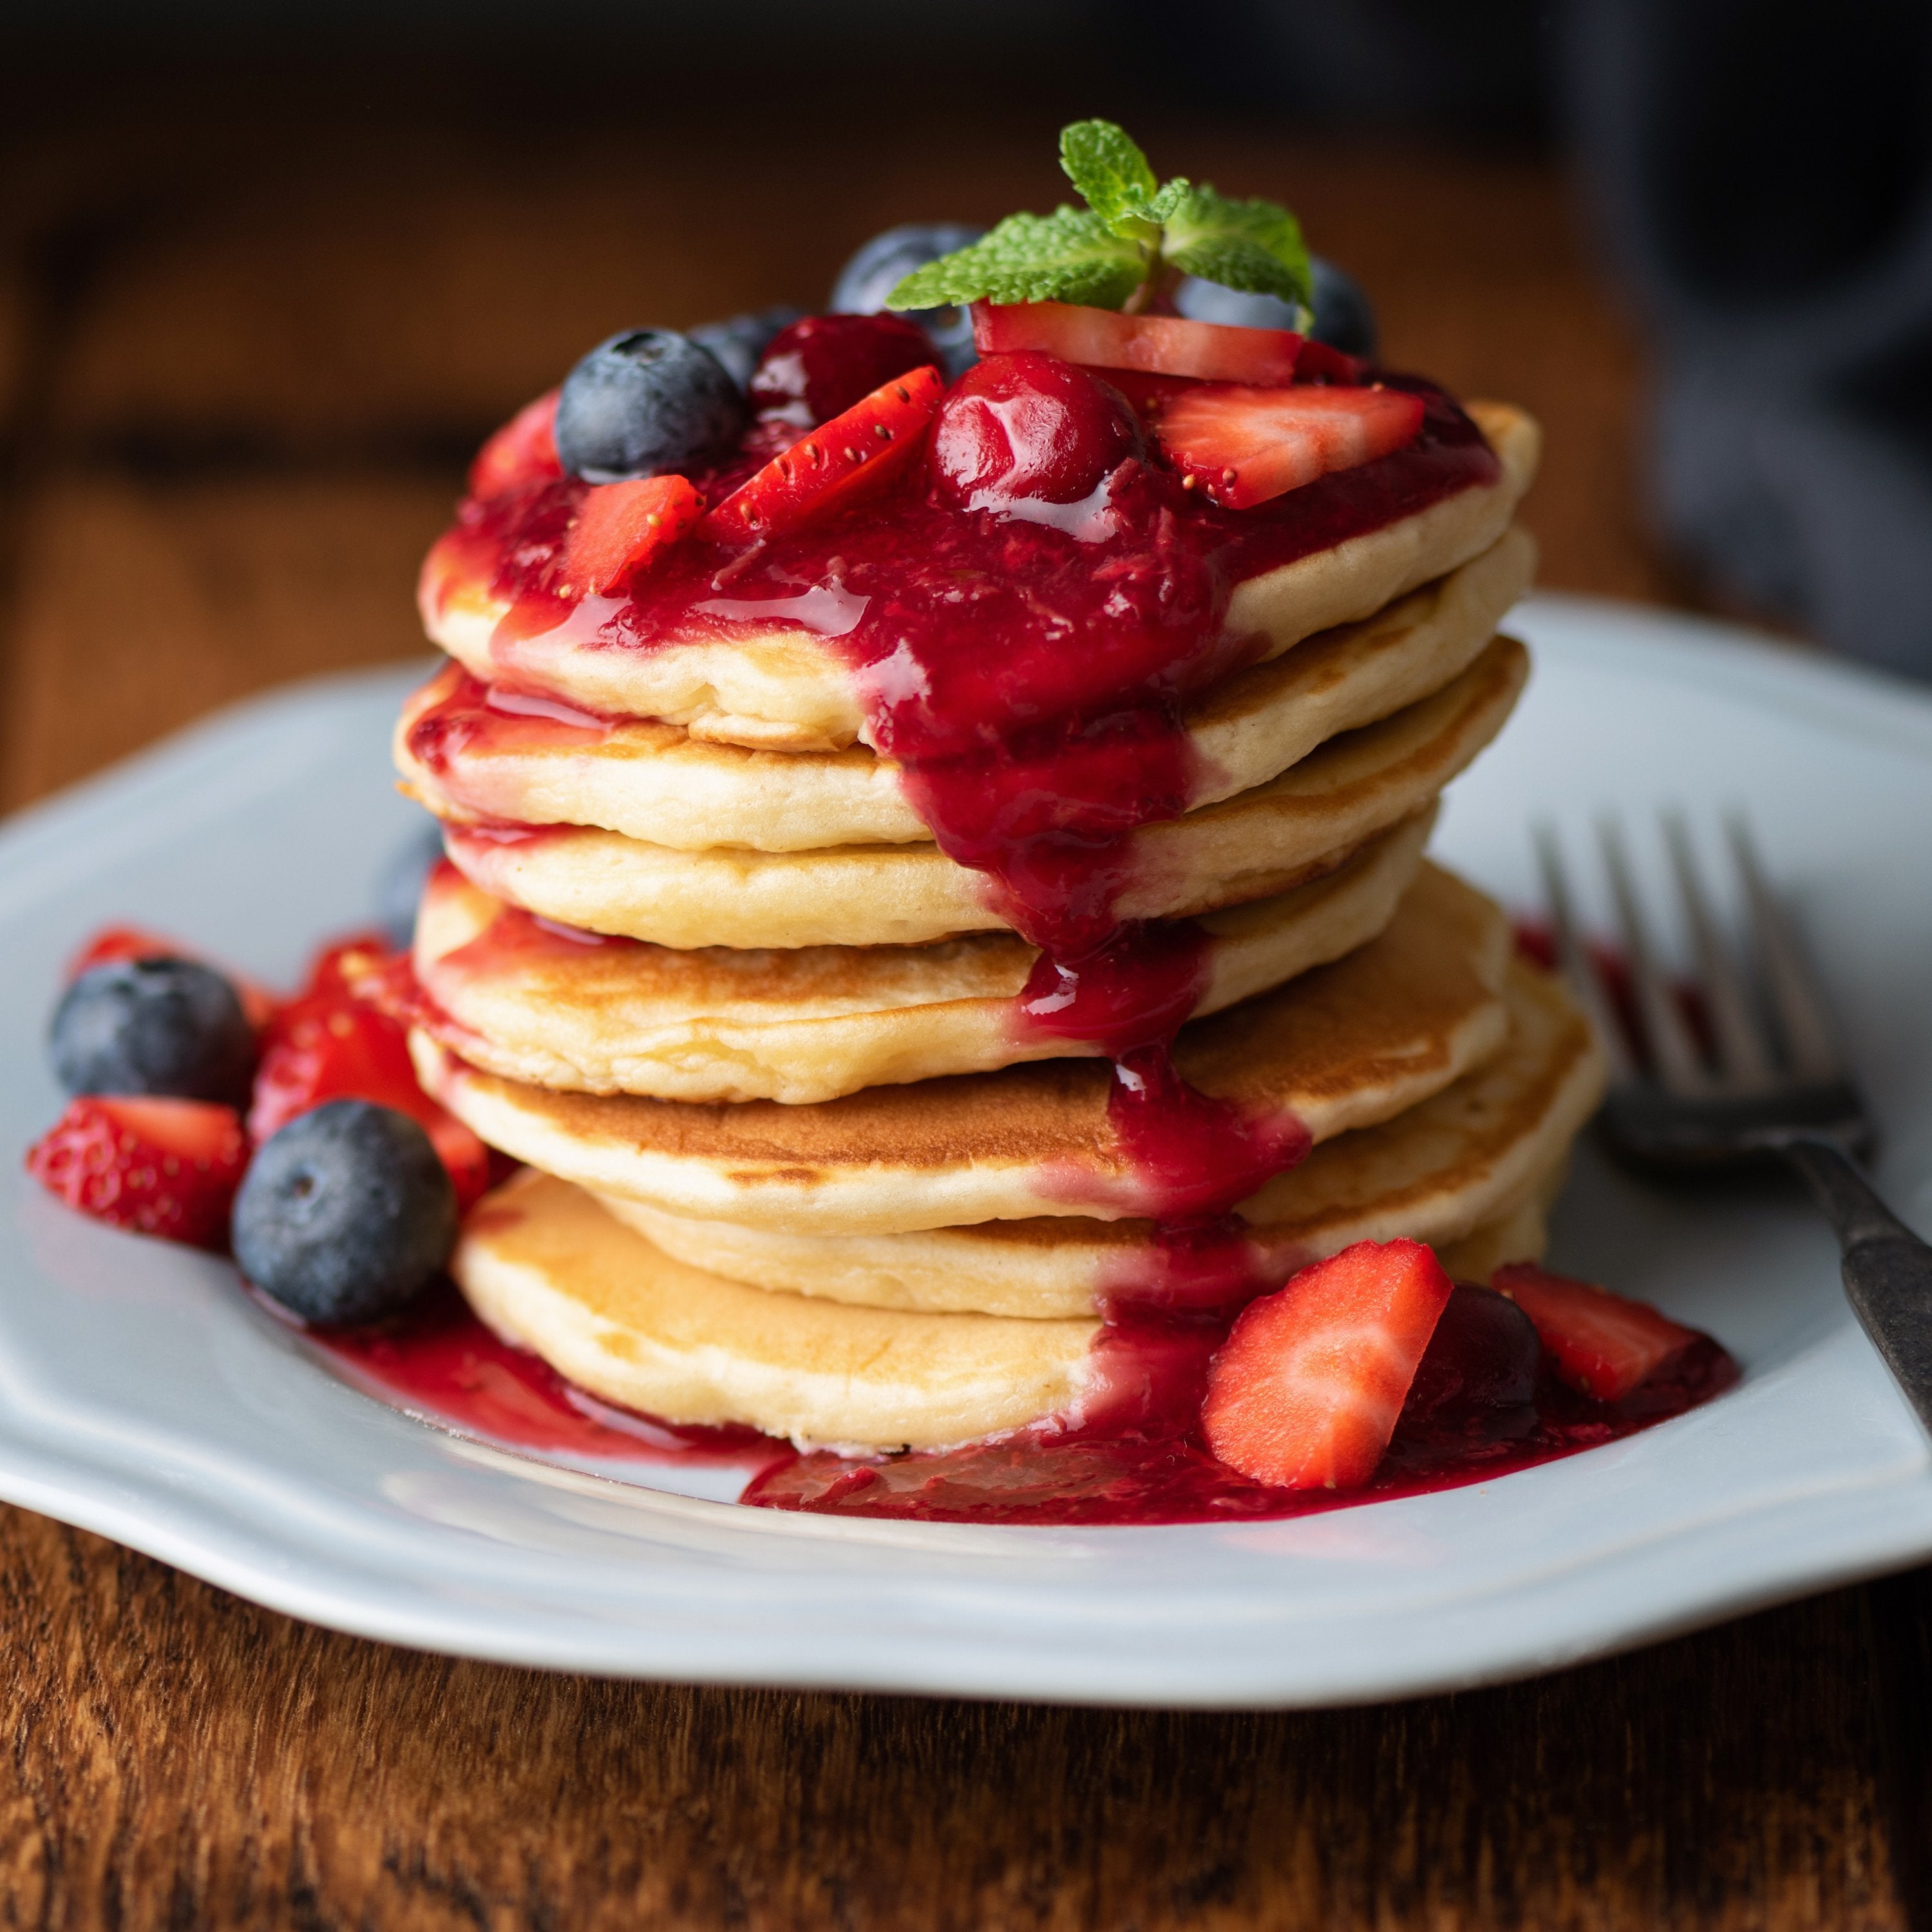
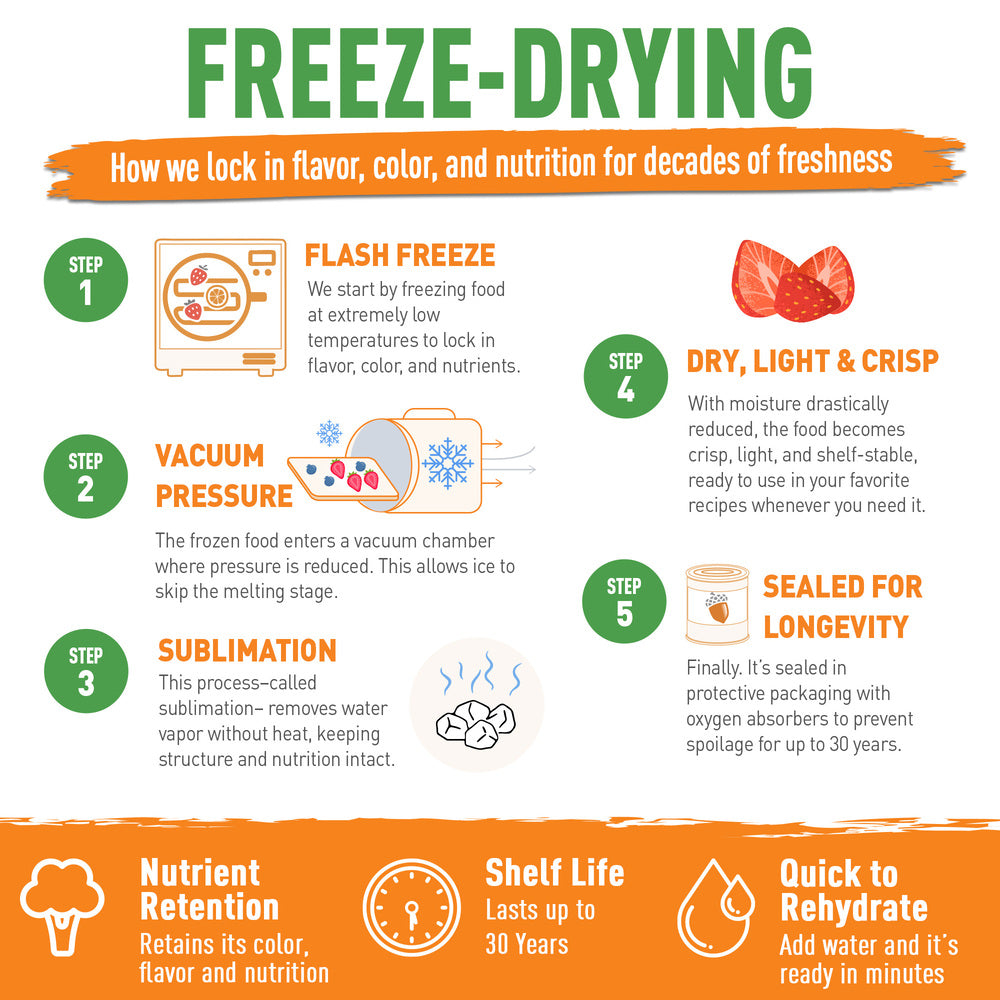
Eat out of the can as a snack, bake with them, or add them to breakfast.
ONCE THE CAN IS OPEN
Dry Food Storage (Up to 1 Year): You do not need to cook an entire #10 can at once. Scoop out what you need, transfer the remaining dry food into a heavy-duty resealable bag, press out all excess air, seal, and store it back inside the can with the plastic lid on. Always write the opened date on the lid.
Prepared Leftovers: Once rehydrated or cooked, emergency foods behave like fresh meals. Refrigerate leftovers within 2 hours.
TIPS FOR GETTING STARTED

- Pick out a few familiar staples your family enjoys
- Plan out 3–5 complete, balanced meals
- Check dietary and allergen restrictions against ingredients listed on each can
- Set aside a dedicated water amount for rehydration and cooking
- Keep a manual can opener, heat source, and utensils ready
- Find a dedicated storage spot between 55°F–70°F
- Keep resealable storage bags and permanent marker with your supply
LOOKING FOR IDEAS? CHECK OUT THESE ARTICLES:
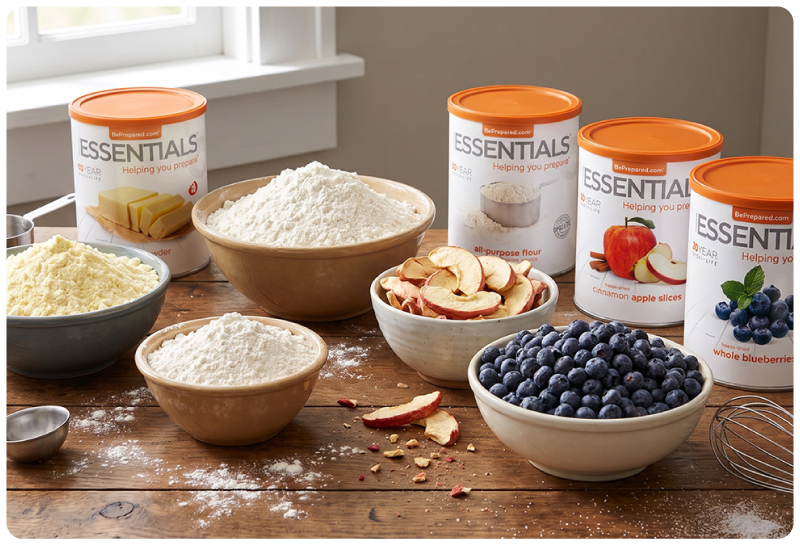
Baking Beyond the Bunker: Freeze-Dried Fruits in Everyday Confections
You don't have to wait to open your food supply. Baking with freeze-dried fruit instead of fresh or frozen eliminates excess moisture and intensifies flavor.
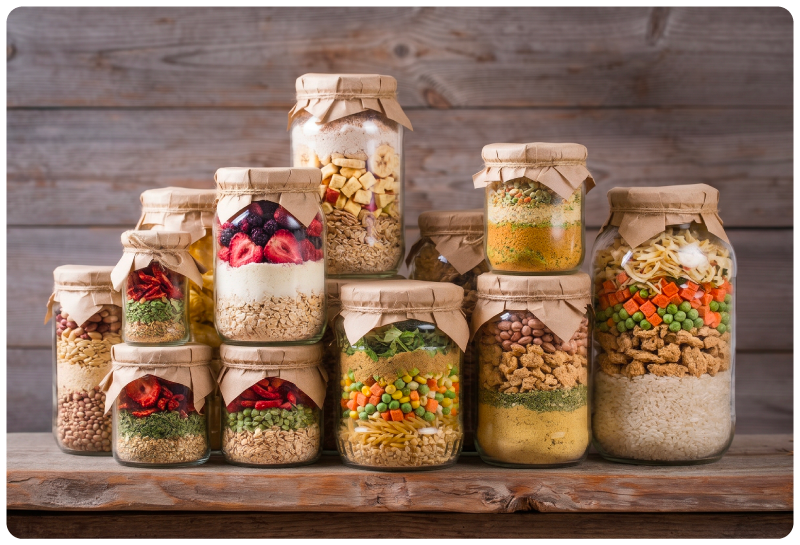
How to Make Pre-Made Meal Jars: Just Add Water for Meals in Minutes!
Layer long-lasting foods from your supply inside individual jars for complete meals that are ready to cook right when you need them.
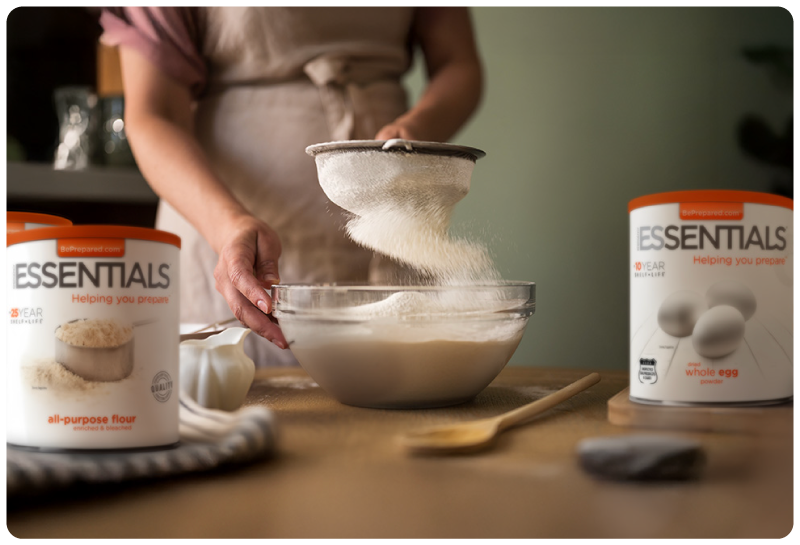
5 Simple Meals Using Food Storage Staples
This wide range of simple recipes is just a glimpse into the kind of concoctions you can create from your collection of freeze-dried foods!